


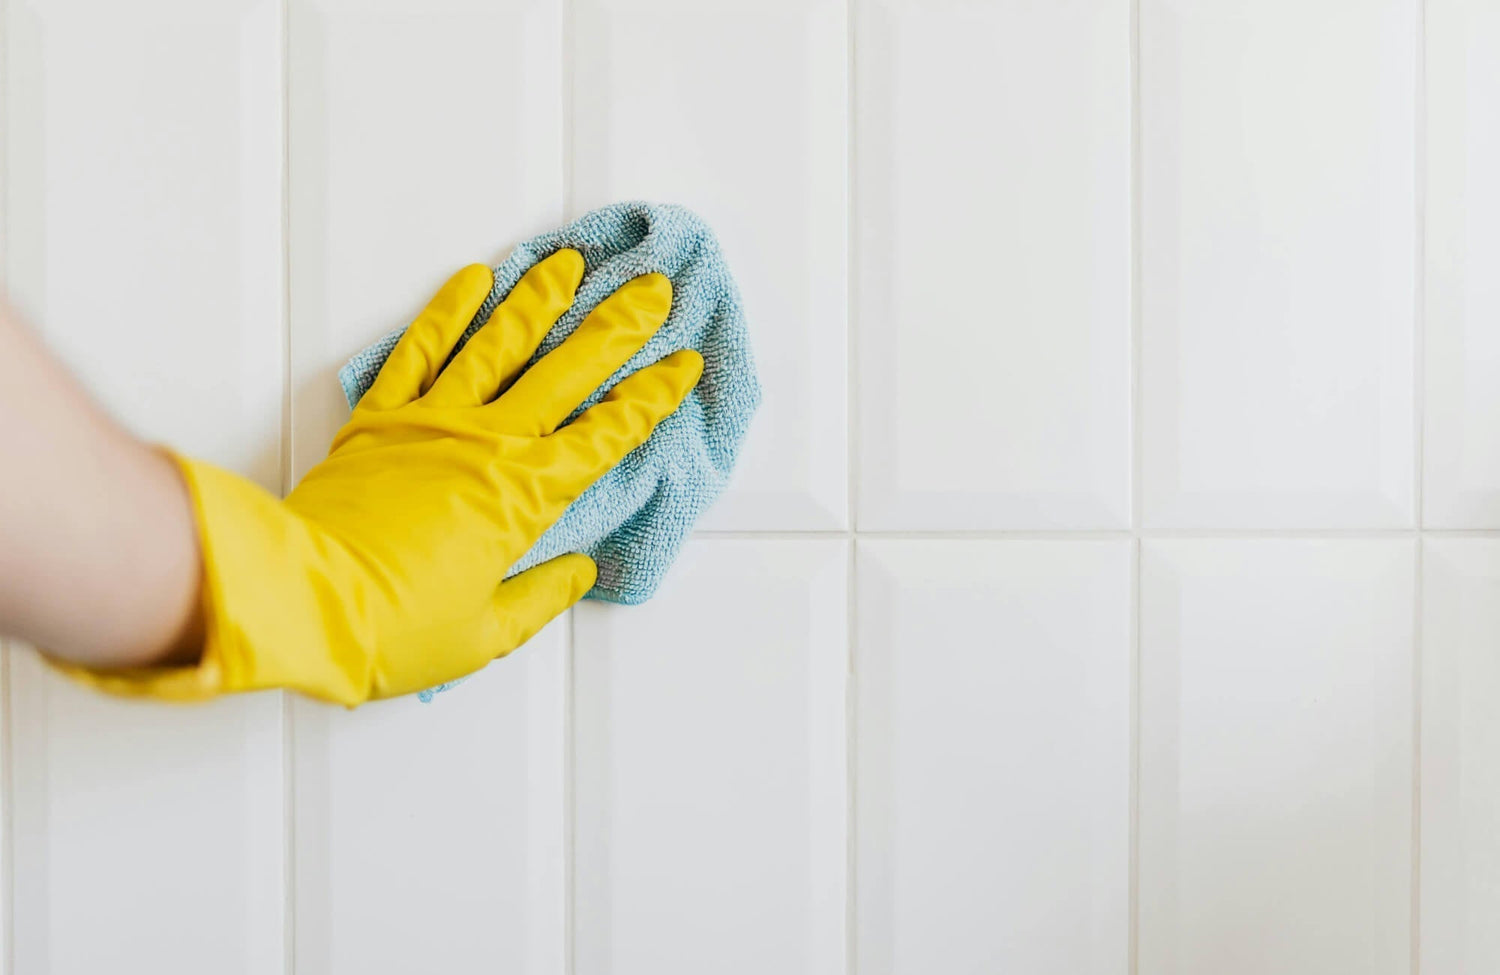
Grouting is where subway tiles start to look finished, but it’s also where small mistakes can leave a lasting impact. That thin haze left on the surface, uneven residue along edges, or excess moisture trapped during cleaning can all affect how the tiles look once everything dries. The difference between a clean, even finish and a dull or streaky one usually comes down to how the surface is handled right after grouting. In this guide, we’ll walk through how to remove grout haze properly, what to use without damaging the surface, and how to keep your subway tiles looking consistent long after installation.

A Step-by-Step Guide to Post-Grouting Cleaning
Cleaning right after grouting is what determines whether your subway tiles look clean and polished or slightly dull and uneven. The main issue at this stage is grout haze, a thin film that settles over the tile surface and becomes harder to remove the longer it sits. Handling it within the right window makes the process easier and prevents buildup that can affect both appearance and long-term finish.
Let the Grout Cure Before Cleaning
Before doing anything, timing matters more than the tools you use. Grout needs time to set properly, usually around 24 to 48 hours, depending on the product and conditions in the room. Cleaning too early can pull grout out of the joints or leave the surface uneven before it fully hardens. At the same time, waiting too long allows haze to bond more firmly to the tile, making it more difficult to remove without extra effort. This balance is where most issues come from, since both rushing and delaying can lead to avoidable problems. Checking the manufacturer’s recommended curing time and observing how the grout looks and feels before cleaning helps you avoid disrupting the installation.
Prepare the Right Tools for Controlled Cleaning
Having the right tools ready keeps the process controlled and prevents unnecessary damage as you work through the surface. A soft sponge or microfiber cloth allows you to lift residue without scratching the tile, while a bucket of clean water helps you rinse frequently instead of spreading haze from one section to another. For grout lines and corners, a soft-bristled brush gives you enough reach without wearing down the edges. It’s also helpful to keep multiple cloths or sponges on hand so you can switch them out once they become saturated. Using the right materials isn’t just about convenience; it’s what keeps the finish even and avoids streaks or marks caused by using tools that are too rough or overused.
Apply and Break Down the Grout Haze
Once the grout has cured, the next step is loosening the haze before it fully settles into the tile surface. Applying a grout haze remover, whether it’s a tile-safe commercial product or a diluted vinegar solution, helps break down that thin layer without needing excessive force. Letting the solution sit briefly gives it time to react with the residue, which makes the cleaning process more controlled. This step should feel gradual rather than aggressive, since forcing the haze off too quickly can affect both the tile surface and the grout lines. Working in small sections also helps you manage the timing more effectively and prevents the solution from drying before it’s wiped away.
Gently Clean Without Disturbing the Grout Lines
After the haze has softened, cleaning should stay light and consistent across the surface. Using gentle circular motions with a damp sponge helps lift residue evenly without pushing it deeper into the grout lines or spreading it unevenly across the tile. Applying too much pressure at this stage can create uneven areas, especially on freshly cured grout that hasn’t fully hardened. It’s better to go over the same area more than once than to try to remove everything in a single pass. Paying attention to edges and corners is also important, since residue tends to collect in those areas more easily. Keeping the motion controlled helps maintain a clean, uniform finish.
Rinse and Remove Any Remaining Residue
Once the main layer of haze has been removed, rinsing becomes just as important as the initial cleaning step. Any leftover cleaning solution or loosened residue can dry back onto the surface, leaving behind streaks or a slightly dull film if it’s not fully cleared. Using clean water and rinsing frequently ensures that you’re removing the residue instead of redistributing it. It also gives you a clearer view of the surface so you can spot areas that may need another pass. Changing the rinse water when it becomes cloudy helps maintain consistency and prevents reintroducing particles back onto the tile.
Dry the Surface to Prevent Streaks and Spots
The final step is often overlooked, but it plays a big role in how the finished surface looks. Allowing water to air dry can leave behind streaks, especially on glossy subway tiles where marks are more visible. Using a clean, dry microfiber cloth or absorbent towel helps remove any remaining moisture before it settles into spots or film. This step also gives you a chance to check the surface from different angles to make sure no haze or residue remains. Taking the extra time to fully dry the tiles is what gives them that clean, even finish instead of a surface that looks slightly cloudy or inconsistent.

Selecting Safe and Effective Cleaning Solutions
Choosing the right cleaning solution affects more than just how your subway tiles look after cleaning. It directly impacts how well the surface holds up over time, especially around grout lines and edges where damage tends to show first. Strong chemicals and abrasive products can wear down finishes, fade color, or weaken grout without it being obvious right away. What starts as a quick fix can turn into long-term discoloration or uneven surfaces if the wrong products are used repeatedly. That’s why it’s less about finding the strongest cleaner and more about using something that works with the material instead of against it. Keeping the approach controlled from the start helps maintain both appearance and durability.
For everyday cleaning and light residue, simpler solutions often work better than expected. A diluted mix of white vinegar and water can break down mineral deposits and light grout haze without putting too much stress on the surface, while baking soda can be used more selectively for areas that need a bit more attention. The key is moderation, since even mild solutions can cause issues if they’re overused or left sitting too long. For more stubborn buildup, tile-specific cleaners are a safer option because they’re designed to work within the limits of both the tile and grout. Testing any product in a less visible area first helps you avoid surprises, especially with darker grout or glossy finishes that tend to show changes more easily. It’s a small step, but it prevents uneven results across the surface.
How you use the solution matters just as much as what you use. Letting cleaners sit too long can lead to streaking, dull patches, or surface etching, particularly on more sensitive finishes. Working in smaller sections and rinsing as you go keeps the process controlled and prevents residue from settling back onto the tile. Using clean water to fully remove any leftover solution also helps maintain a consistent finish instead of leaving behind a thin film that attracts dirt. Drying the surface afterward with a soft cloth or microfiber towel makes a noticeable difference, especially on glossy tiles where water spots are more visible. When each step is handled carefully, the result stays clean without gradually wearing down the surface.

How to Protect Grout for Long-Term Results
Grout tends to be the first place where wear shows, even when the tiles themselves still look clean. Because it’s more porous, it absorbs moisture, residue, and stains more easily, which is why early care makes a noticeable difference over time. Right after installation, grout haze should be removed once the grout has fully cured, using a gentle solution that won’t weaken the surface. If haze is left too long, it can settle into the grout lines and make them look uneven or dull. For tougher spots, a baking soda paste paired with light scrubbing helps lift residue without damaging the joints. Taking care of these details early prevents buildup that becomes harder to correct later.
Stains are usually easier to manage when you understand what caused them. Hard water deposits, soap scum, and everyday spills each behave differently, so treating them with the right approach keeps the grout from discoloring over time. For example, mold in damp areas responds better to a controlled cleaning solution in a well-ventilated space, while more stubborn marks may need targeted spot cleaning rather than repeated scrubbing across the entire surface. What matters most is avoiding excessive force, since aggressive cleaning can wear down grout and make it more vulnerable to future staining. Addressing stains as they appear keeps the grout looking consistent instead of allowing layers of buildup to develop.
Long-term protection comes down to small habits that reduce how much the grout is exposed to moisture and residue. Sealing grout creates a barrier that slows down absorption, which helps prevent stains from settling in. Keeping surfaces dry after use, especially in bathrooms, and maintaining airflow, reduces the chance of mildew forming in the first place. Regular cleaning with mild solutions keeps dirt from embedding into the grout lines, while occasional deeper cleaning removes anything that builds up over time. Reapplying sealer when needed maintains that layer of protection, so the grout stays easier to manage instead of becoming more difficult to restore later.

Special Considerations for Different Tile Materials
Not all subway tiles respond the same way to cleaning, and that difference usually comes down to the material itself. What works for one surface can be too harsh or ineffective for another, especially when it comes to moisture, cleaning solutions, and long-term wear. Taking the time to understand how each material behaves helps you avoid damage and maintain a more consistent finish over time.
Ceramic Subway Tiles and Everyday Maintenance
Ceramic subway tiles are often the easiest to manage, which is why they’re commonly used in kitchens, bathrooms, and decorative wall applications. Their surface is typically smooth and non-porous, so dirt, residue, and moisture tend to stay on the surface instead of absorbing into the material. This makes routine cleaning more straightforward, since most buildup can be removed with a damp cloth, mild detergent, or a simple wipe-down. There’s less risk of staining or long-term discoloration as long as cleaning stays consistent.
As shown above, our Teagan 3x12 Glossy Ceramic Tile in Denim is a good example of how ceramic performs in real use. Its glossy surface helps reflect light while making residue more visible, which actually makes it easier to maintain since you can see exactly where cleaning is needed. Because of that finish, avoiding abrasive tools is important to prevent scratching, but beyond that, upkeep stays simple and predictable. This makes ceramic a reliable option for spaces where you want both visual impact and low-maintenance care.
Porcelain Subway Tiles and High-Moisture Performance
Porcelain subway tiles are built for more demanding conditions, especially in areas where moisture and frequent use are part of daily life. Compared to ceramic, porcelain is denser and less absorbent, which means it resists water penetration more effectively. This makes it a strong choice for showers, bathroom walls, and other spaces where surfaces are regularly exposed to humidity. Instead of reacting to moisture, it maintains its structure and finish more consistently over time.
Because of that durability, cleaning porcelain is usually straightforward, but it still benefits from a controlled approach. Warm water and a mild tile cleaner are often enough to keep the surface clear without affecting the finish. Our Aniston 3x12 Polished Porcelain Tile in Carrara Bianco highlights this balance, combining a refined marble look with a surface that resists stains and buildup. Its polished finish can show water spots more easily, so drying after cleaning helps maintain that clean, even appearance. Overall, porcelain offers a more stable option when performance matters just as much as design.
Natural Stone Subway Tiles and Specialized Care
Natural stone subway tiles, such as marble, require a more careful approach because of how the material reacts to cleaning products and moisture. Unlike ceramic or porcelain, stone is more porous and sensitive, which means it can absorb liquids and react to certain chemicals. Acidic cleaners, even mild ones like vinegar, can cause etching or dull patches that are difficult to reverse. Because of that, using stone-specific cleaning solutions becomes essential rather than optional.
Maintenance also tends to be more deliberate. Regular sealing helps reduce how much moisture or residue the surface absorbs, while gentle cleaning prevents gradual wear. It’s less about frequent cleaning and more about using the right method each time. Paying attention to these details helps preserve the natural variation and depth that make stone appealing in the first place. Without that care, the surface can lose its consistency much faster than expected.
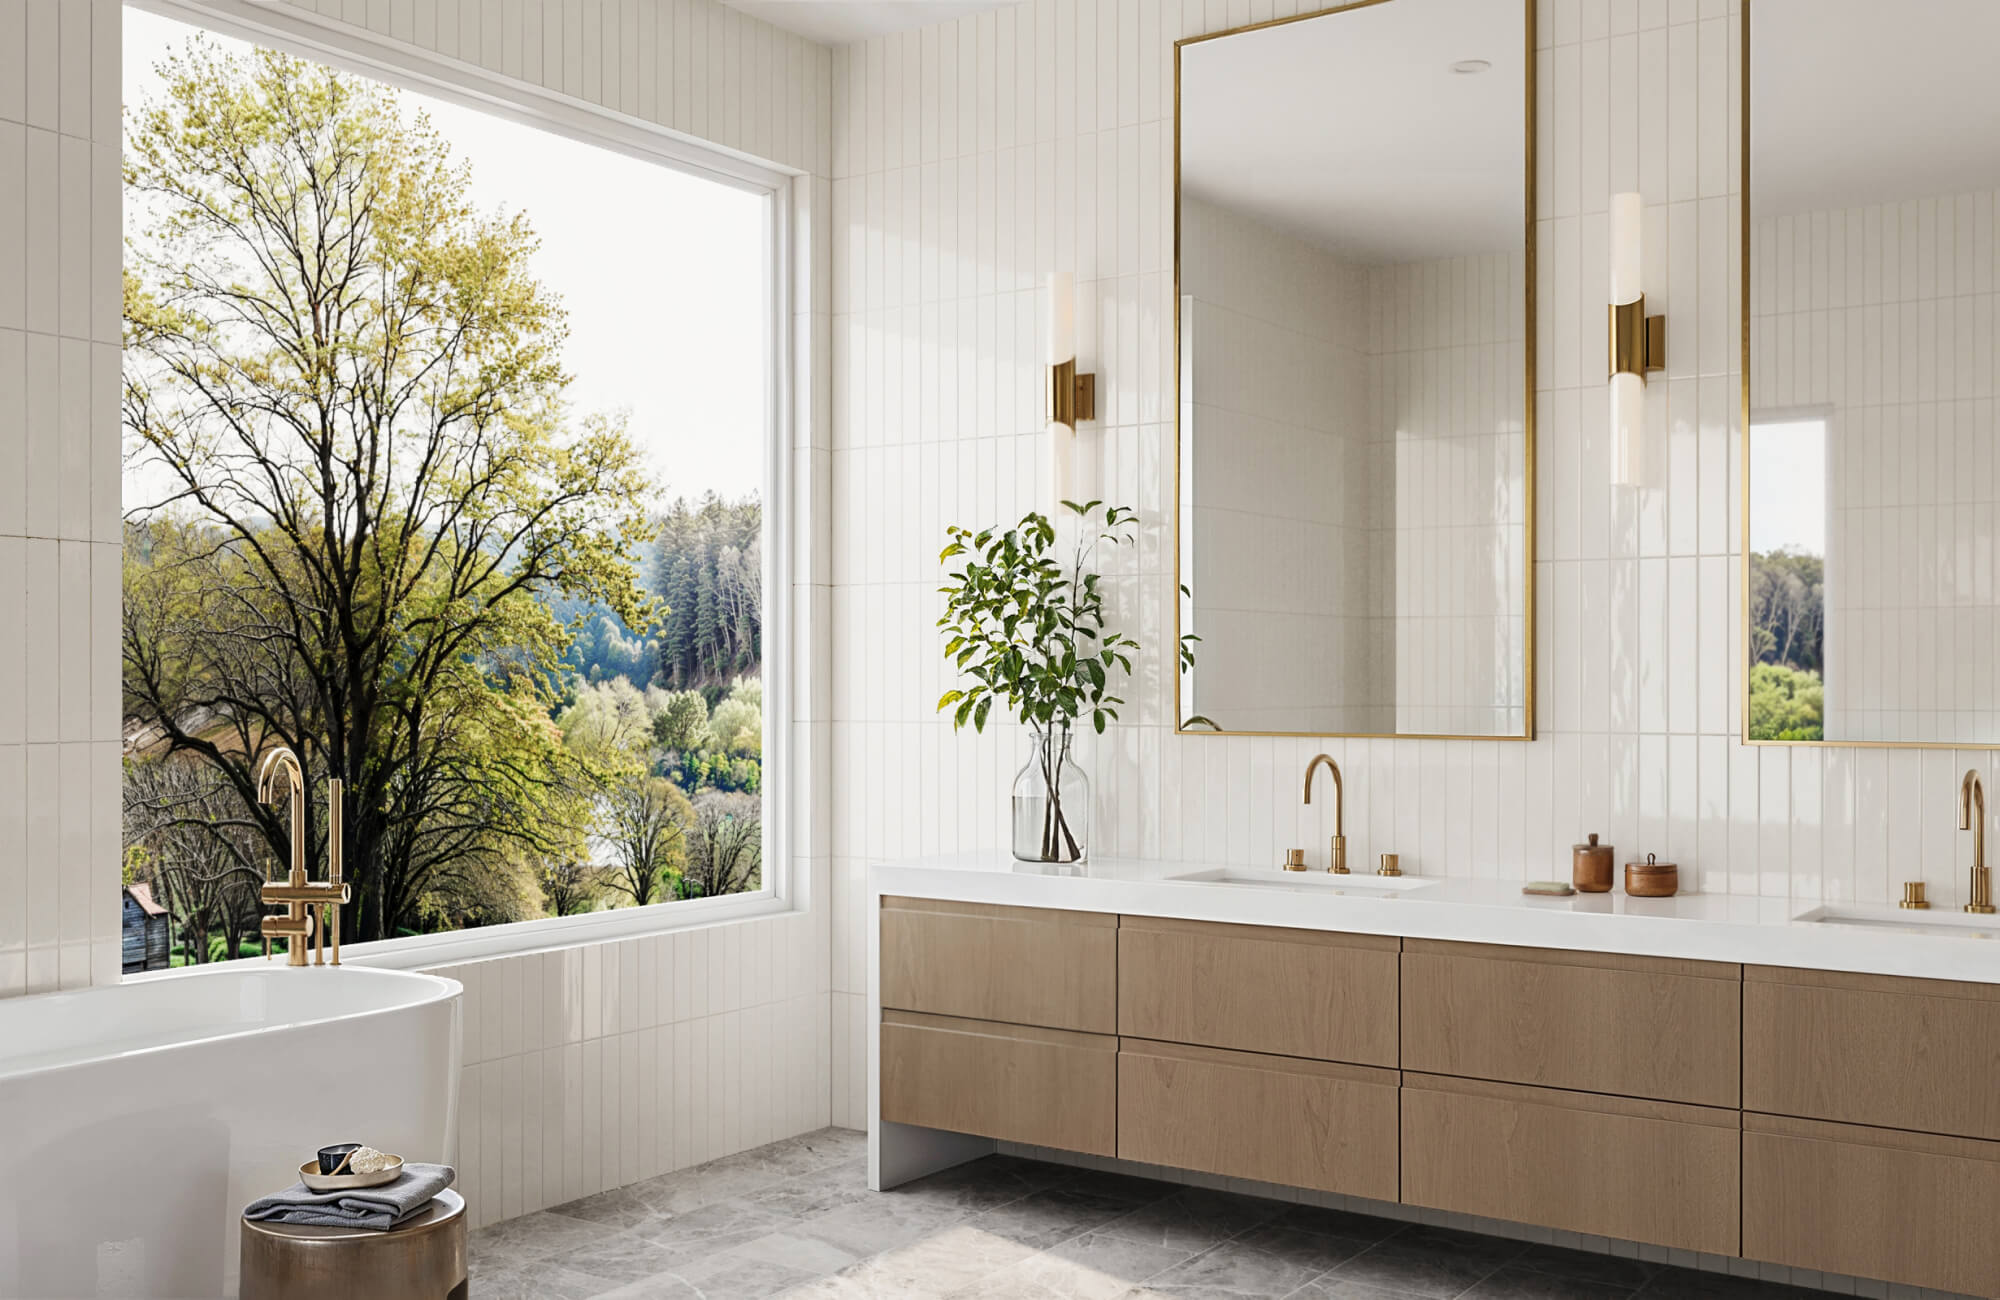
Using the AR Tool to Choose the Right Tile for Your Space
Choosing the right tile isn’t just about material performance; it’s also about how it fits into your space visually. That’s where it helps to see how different options actually look before making a decision. Using our augmented reality (AR) tool allows you to preview subway tiles directly in your own space, so you can compare finishes, colors, and layouts in real conditions instead of relying on samples alone.
This becomes especially useful when deciding between materials like ceramic and porcelain, where the difference isn’t always obvious at first glance. Seeing how light reflects on a glossy surface or how a matte finish settles into a room can influence both your design and maintenance expectations. Having that visual reference helps you make a more informed choice, so the tile you select not only performs well but also fits naturally into your space long-term.
Maintaining a Beautiful and Hygienic Subway Tile Installation
Consistent cleaning and proper maintenance are essential to preserving the beauty, durability, and functionality of your subway tile installation. From addressing grout haze immediately after installation to selecting safe cleaning solutions and adopting preventive measures, each step plays a vital role in ensuring your tiles remain vibrant and damage-free. Tailoring your care routine to the specific needs of your tiles, whether ceramic or porcelain, further enhances their longevity and aesthetic appeal.
Beyond upkeep, the quality of the tiles themselves plays a vital role in achieving a long-lasting, polished finish. If you’re planning your next update or want to make sure your tile choices work well for your space and maintenance needs, our personalized design consultation can help you get it right from the start. With the right guidance and materials, your subway tile installation stays consistent, easy to maintain, and built to last for years to come.
