


Choosing the right mounting height for a picture light transforms how you experience a piece of art. The height influences everything from shadow and color accuracy to the overall harmony between the artwork and its surroundings. When the fixture is placed thoughtfully, it also enhances not just the painting but the entire room, guiding the eye and shaping the emotional tone of the space.
As you explore the principles behind picture light height, you will discover how subtle adjustments can dramatically change the clarity, depth, and presence of the artwork. This article brings together technical insight and practical strategy so you can achieve lighting that feels both beautifully refined and intuitively right. With the right knowledge, your picture light becomes more than a utility. It becomes a design element that elevates the artwork in ways that feel deliberate and visually rewarding.

Adapting the Light Height to the Specific Artwork Characteristics
No two artworks respond to light in the same way, which means your picture light should be positioned with the artwork’s unique features in mind. Texture, color palette, and material sensitivity all influence how high the fixture should sit for both optimal presentation and long-term preservation.
Textured Artwork
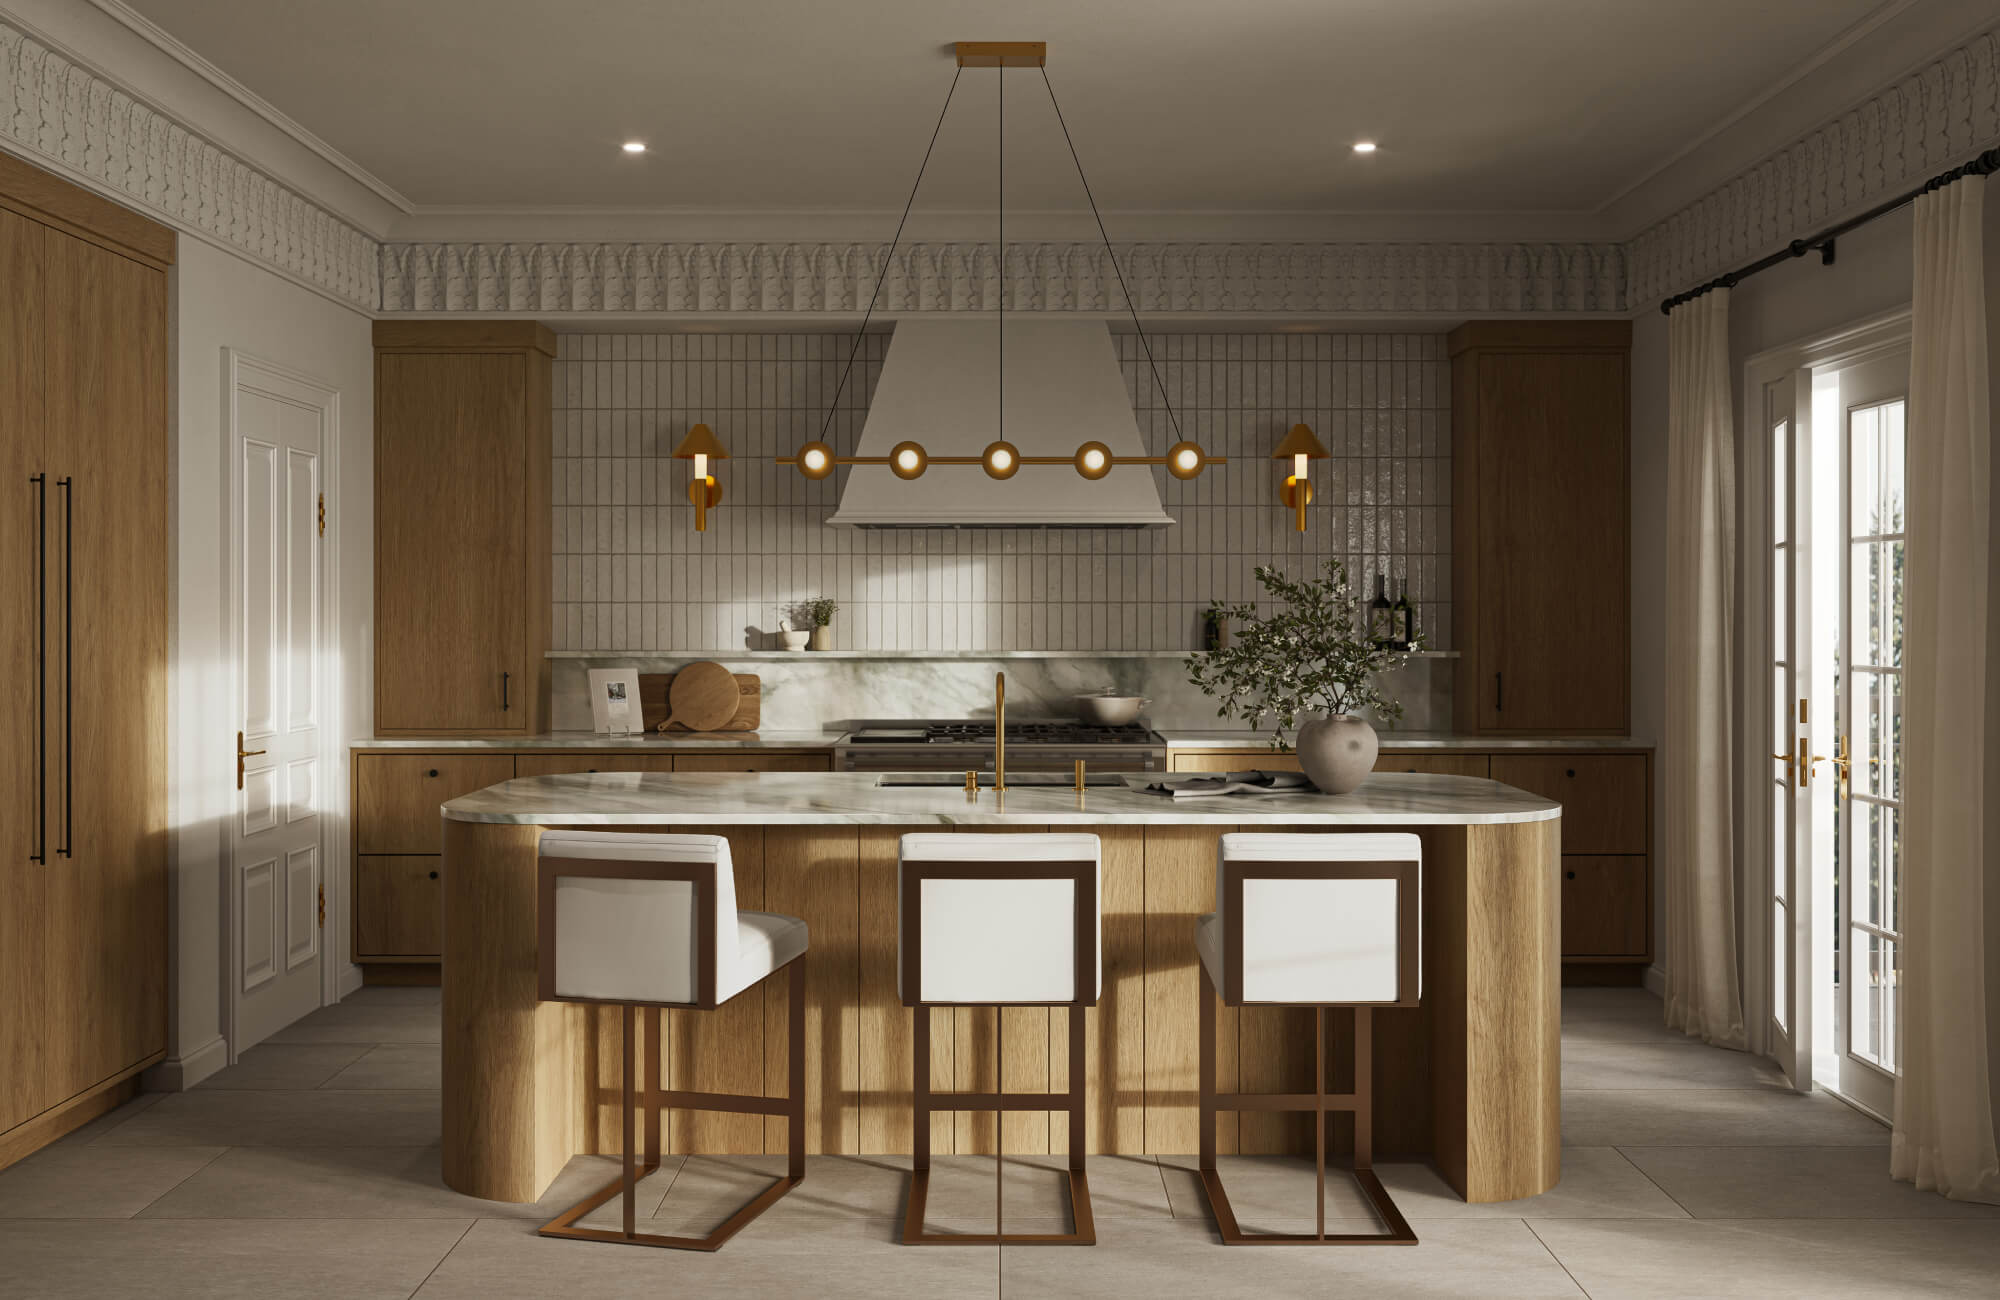
Texture interacts with light in powerful ways, and mounting height determines whether that interaction enhances or overwhelms the artwork. In the image shown above, the artwork is illuminated by our Ernest Picture Light In Aged Brass/Distressed Bronze, a warm metal finish which pairs beautifully with the wood-paneled wall and geometric artwork. Positioned correctly, a fixture like this creates raking illumination that emphasizes ridges, brushstrokes, and raised elements, allowing you to appreciate depth and craftsmanship more vividly when the goal is to highlight texture.
If the artwork features only gentle texture, or if you prefer a softer, more color-focused viewing experience, raising the picture light creates a smoother wash of illumination. With a higher mount, shadows diminish, and surface irregularities fade into the background, helping the composition feel more cohesive. This transition from dramatic to subtle lighting underscores why testing different heights matters; even small adjustments can shift the artwork’s visual emphasis.
Dark Versus Light Color Palettes
Color behaves differently under light depending on how much illumination the surface absorbs or reflects. Darker artworks tend to soak in light, which can cause them to appear muted or flat if the fixture is mounted too high. Lowering the fixture increases the intensity of light reaching the surface, restoring the richness of deep hues and revealing details that otherwise disappear under insufficient illumination. A fixture such as our McAvoy 24" Picture Light in Aged Brass is well-suited to this task, as its warm brass finish and even beam spread can bring depth and clarity to darker compositions, making the artwork feel more vibrant and visually accessible.
Conversely, light-toned artworks reflect far more light, which means a low-mounted fixture can easily create glare or washed-out highlights. Raising the picture light allows the illumination to diffuse more gently across the surface, preserving subtle gradients and delicate tones. By adjusting the height according to the artwork’s palette, you ensure that color feels natural, balanced, and true to the artist’s original intention.
Fragile or Light-Sensitive Materials
Artwork composed of delicate or light-sensitive materials calls for thoughtful lighting placement that prioritizes preservation. Watercolors, vintage photographs, textiles, and aged paper can deteriorate under strong or prolonged light exposure, especially when the fixture sits too close. Lower mounting heights increase illuminance and, with it, the risk of fading or discoloration over time.
To counter these risks, raising the picture light helps reduce the intensity of light that reaches the surface, creating a gentler illumination that safeguards delicate pigments and fibers. A piece like our Ernest Picture Light In Aged Brass offers a softened, atmospheric glow that pairs well with the careful mounting height adjustments required for sensitive pieces. Even a modest increase in height can meaningfully reduce lux levels while still providing a clear and enjoyable viewing experience. This careful balance ensures that you can admire the artwork while also protecting its condition for years to come.

Standard Mounting Ranges and When to Break Them
Standard mounting ranges provide a dependable framework for picture lighting, helping you establish an effective baseline before customizing the height to suit the artwork and space. Although the widely used guideline of mounting the fixture 4 to 12 inches above the frame offers consistent illumination for many average-sized pieces, it is only the beginning. Proportional approaches, such as positioning the light at one-third to one-half of the artwork’s height, further support balanced lighting by ensuring the fixture relates naturally to the artwork’s scale. As you test within these ranges, subtle adjustments quickly reveal how the height affects shadow softness, color clarity, and overall visual harmony. These refinements also demonstrate that guidelines serve as helpful anchors, but the final decision should always reflect the artwork’s personality and the room’s architectural context.
However, some artworks require you to intentionally move beyond standard measurements. Oversized vertical pieces or sculptural works, for instance, need higher mounts or extended arms to distribute light evenly from top to bottom, while small or wide-format pieces may benefit from a slightly lower placement that adds intimacy and emphasis. Glazing also plays a key role; reflective surfaces demand careful angling and sometimes lower mounting to avoid glare, whereas unglazed surfaces allow greater flexibility with height. These exceptions underline the importance of adapting lighting strategies rather than relying solely on fixed rules. Ultimately, knowing when to honor the guidelines and when to break them is what leads to picture lighting that feels both beautifully intentional and uniquely tailored to the artwork.

Integrating Picture Light Height with Room Architecture
A picture light may be small, but its placement has a big impact on how both the artwork and the room feel. Because the fixture sits within the larger architectural context, its height must work in harmony with ceiling proportions, decorative details, and nearby furniture. When these elements align, the picture light feels like a natural extension of the space rather than an afterthought.
Proportional Placement in Rooms with Low or High Ceilings
Ceiling height greatly influences how your eyes perceive the space, and the placement of a picture light should respect those visual proportions. In rooms with low ceilings, mounting the fixture too high can make the artwork feel squeezed upward, creating a sense of visual compression. Keeping the light closer to the frame helps anchor the artwork and maintains a comfortable relationship between the piece and the surrounding architecture. This lower placement also prevents the light from encroaching on the small amount of vertical breathing room available.
In taller rooms, however, the opposite challenge arises. A light positioned too low may feel disconnected or lost within the expansive vertical space. Raising the fixture slightly restores balance, allowing the artwork to sit confidently within the room’s scale. In the living room shown above, the artwork niches are illuminated by our Vicente Picture Light in Aged Old Bronze, whose warm, softly antiqued finish complements the natural wood beams and contributes to a cohesive architectural composition. Moreover, a higher placement keeps the light source out of your direct line of sight, ensuring that the illumination feels intentional and gentle rather than intrusive.
Aligning Picture Light Height with Surrounding Architectural Elements
Architectural details such as crown molding, chair rails, or wall paneling naturally influence how the eye travels across a room. Your picture light should cooperate with these elements, not disrupt them. Much like the placement of a wall sconce, aligning the picture light with architectural lines or centering it within a panel creates a sense of visual order that feels intentional rather than accidental. If the fixture sits too close to molding or cuts across a design element, it introduces visual tension that distracts from both the artwork and the architecture.
Accounting for Furniture Placement
Furniture beneath or near the artwork adds another layer of spatial interaction that affects the picture light height. A light mounted too low may appear visually crowded by the furniture line, while one mounted too high risks feeling disconnected from the artwork. Ensuring a clear distinction between the fixture and the furnishings below helps maintain a balanced composition where each element has space to breathe.
Additionally, furniture can subtly interfere with how the light falls on the artwork. Objects placed on consoles or sideboards may cast shadows upward if the fixture is mounted too close to them. To avoid this, the picture light should project far enough from the wall to clear any objects and deliver even illumination across the full surface of the artwork. When the height and projection are calibrated together, the fixture enhances both the room’s rhythm and the artwork’s presence.

Fixture Design and Technology That Dictate Optimal Mounting Height
Every picture light behaves differently, and much of that comes down to its mechanical structure and lighting technology. The type of arm, the light source, and even the shape of the fixture influence how high it should be mounted for optimal coverage and safety. Understanding these differences helps you choose a placement that supports both the artwork’s appearance and its long-term preservation.
Fixed-Arm Versus Adjustable-Arm Picture Lights
Fixed-arm picture lights offer a clean, streamlined look, but their rigidity means you must get the mounting height right the first time. Because the projection distance and light angle cannot be altered after installation, you need to plan carefully to ensure the beam reaches the artwork evenly without creating harsh shadows or missing the lower portion of the canvas. The fixture shown above, our McAvoy 24" Picture Light in Aged Old Brass, is a strong example of this fixed-arm style; its elegant curve and antique brass tones create a timeless profile while requiring precise placement for optimal coverage.
Adjustable-arm lights, however, give you more room to experiment. Once mounted, you can tilt, pivot, or extend the fixture to fine-tune the angle of illumination. This flexibility allows you to adapt the lighting to different textures, artwork sizes, or future changes in your display. As a result, adjustable-arm fixtures work especially well in dynamic spaces or for artworks that require more nuanced lighting control.
LED, Halogen, and Battery-Powered Lights
The technology behind the light source shapes how high the fixture should sit. Halogen bulbs generate substantial heat, which can damage sensitive surfaces if placed too close. As a result, halogen picture lights typically require a higher mounting position to diffuse the heat and prevent long-term harm. Even with beautiful color rendering, they demand careful distancing.
LED picture lights offer the opposite advantage. They produce minimal heat and highly efficient illumination, allowing you to mount the fixture closer to the artwork without risking thermal stress. Their clean, controlled beam also makes it easier to achieve even coverage at lower heights. Battery-powered lights, meanwhile, often have lower brightness output. To compensate, they may need to be mounted slightly closer so the illumination reaches the canvas with adequate intensity. Each technology carries its own strengths, and understanding them ensures you position the fixture safely and effectively.
Beam Angle and Fixture Length
The fixture’s width and beam angle determine how the light distributes across the artwork, which directly influences mounting height. A good rule of thumb is to choose a fixture measuring roughly one-half to two-thirds the width of the artwork. This proportion helps the light spread evenly across the top of the frame, avoiding dark edges or overpowering brightness in the center.
Beam angle refines this further. A narrow beam produces focused illumination, which requires a higher mount so the light has space to expand and cover the artwork uniformly. If mounted too low, you may see bright hotspots in the center with noticeable fall-off along the borders. A wide beam, however, naturally spreads light across a larger area, allowing for a lower placement without compromising evenness. By pairing fixture length with the correct beam angle and height, you create lighting that enhances the artwork rather than distracts from it.
The Best Height for Mounting a Picture Light
The best height for mounting a picture light is the one that provides even illumination, accurate color, and a comfortable viewing experience while respecting the artwork’s unique characteristics and the room’s architectural context. By applying standard guidelines as a starting point and adjusting for texture, palette, glazing, ceiling height, and fixture design, you can strike the ideal balance between clarity and subtlety. When thoughtfully placed, the picture light enhances the artwork without calling attention to itself, creating a timeless, visually cohesive presentation that feels intentional and beautifully aligned with the space it inhabits.
If you are exploring picture lights for your space and want guidance on choosing the right fixture, our team is here to help you make a confident selection. From understanding sizes and finishes to determining which light style best suits your artwork and room design, we can walk you through the details that matter. Whether you are illuminating a single statement piece or building a cohesive lighting plan for multiple artworks, we are available to provide personalized recommendations that ensure your final choice feels both intentional and beautifully suited to your space.