


Choosing the right tile for your shower is one of the most significant decisions in a bathroom remodel. While the visual appeal of intricate mosaics or the timelessness of subway tile often dominates the discussion, modern homeowners are equally concerned with maintenance. The question on everyone's mind is simple: how can I reduce the hours spent scrubbing grout lines?
This comprehensive guide explores the direct link between tile size and long-term cleaning effort, specifically addressing the growing popularity of large format tiles (LFTs) in shower enclosures. We will break down the science of grout, compare installation complexities, and provide a definitive answer to whether choosing larger tiles truly translates to a cleaner, more effortless shower space.

The Grout Factor and Surface Area
Before diving into design appeal or installation details, it’s important to understand how tile size impacts maintenance at the most basic level, the grout. Grout lines define not just the look of your shower, but also how much surface area you’ll actually have to clean.
The Physics of Grout Lines
From a materials science perspective, grout introduces micro-gaps between tiles that increase total exposed surface area. Standard 3/16-inch joints on smaller tiles create significantly more linear footage of grout per square foot compared to large format layouts. Because grout is porous, even when sealed, it absorbs moisture and provides micro-textures where dirt and biofilm can accumulate.
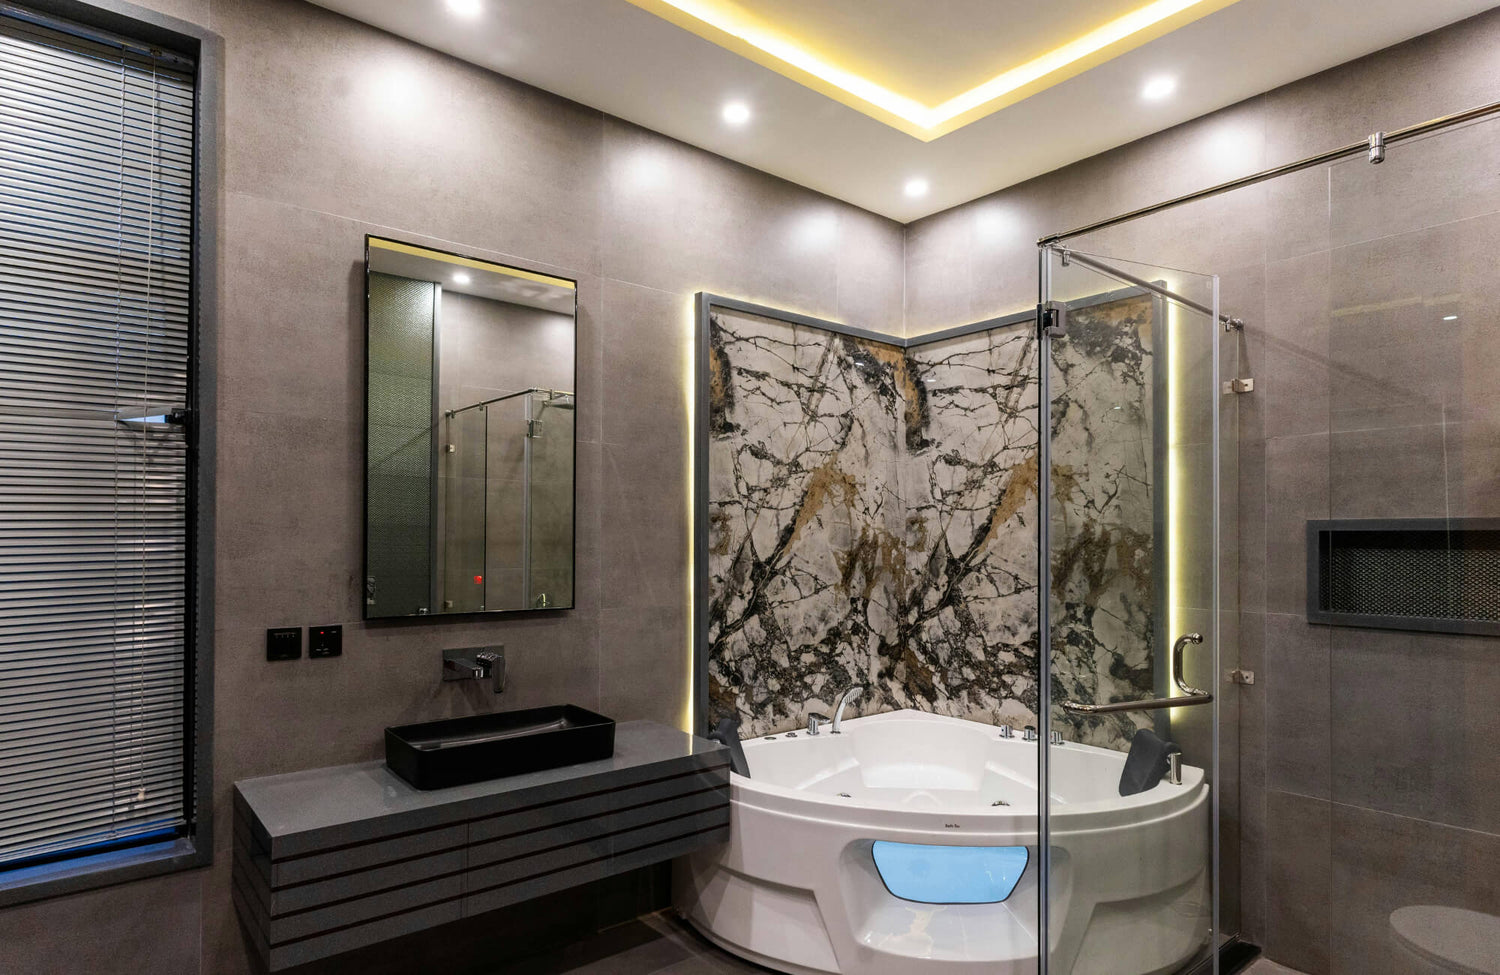
In contrast, larger tiles minimize the number of joints, reducing capillary action and surface irregularities that trap debris. A perfect example of this principle can be seen in Edward Martin’s Leona 24x24 Checkerboard Matte Porcelain Tile in Calacatta and Amani Grey, as shown above. The expansive surface and minimal grout lines between the alternating light and dark tiles demonstrate how large format porcelain can achieve both aesthetic precision and superior cleanliness with less frequent maintenance.
Why Less Grout Means Less Mildew
Mildew and mold thrive in humid environments where moisture lingers. Grout, with its cementitious base and microporous structure, retains water far longer than glazed porcelain or natural stone tile. Each additional joint increases the potential for microbial colonization, especially if not properly sealed or maintained. By decreasing grout density, large format tiles effectively limit moisture reservoirs and biofilm growth. This translates to fewer problem areas and a longer interval between deep cleanings, particularly in high-humidity shower environments.
Comparing Standard to Large Format Tile Layouts
In a traditional shower using 4x4 or 6x6 tiles, grout can represent up to 10–15% of the wall’s total surface area. By contrast, a 12x24 or 24x48 large format tile layout may reduce that ratio to as little as 2–3%. This reduction drastically cuts cleaning time and maintenance demands while creating a seamless, contemporary aesthetic. However, larger tiles require flatter substrates, precise leveling, and specialized setting materials such as medium-bed mortars to avoid lippage. The trade-off is a more technically demanding installation that rewards homeowners with lower long-term upkeep.

Aesthetics and Visual Seamlessness
Building on the practical advantages of reduced grout, large format tiles also transform how a shower looks and feels. Their clean lines and expansive surfaces create a sense of openness and flow that elevates both form and function.
Creating the Illusion of Space
Large format tiles reduce visual interruption by minimizing grout joints, allowing the eye to travel continuously across the surface. This uninterrupted flow enhances the perception of scale, making compact showers appear wider and taller. Light reflection also serves an important function: larger tiles create broader reflective planes that amplify natural and artificial light, contributing to a brighter, airier atmosphere.
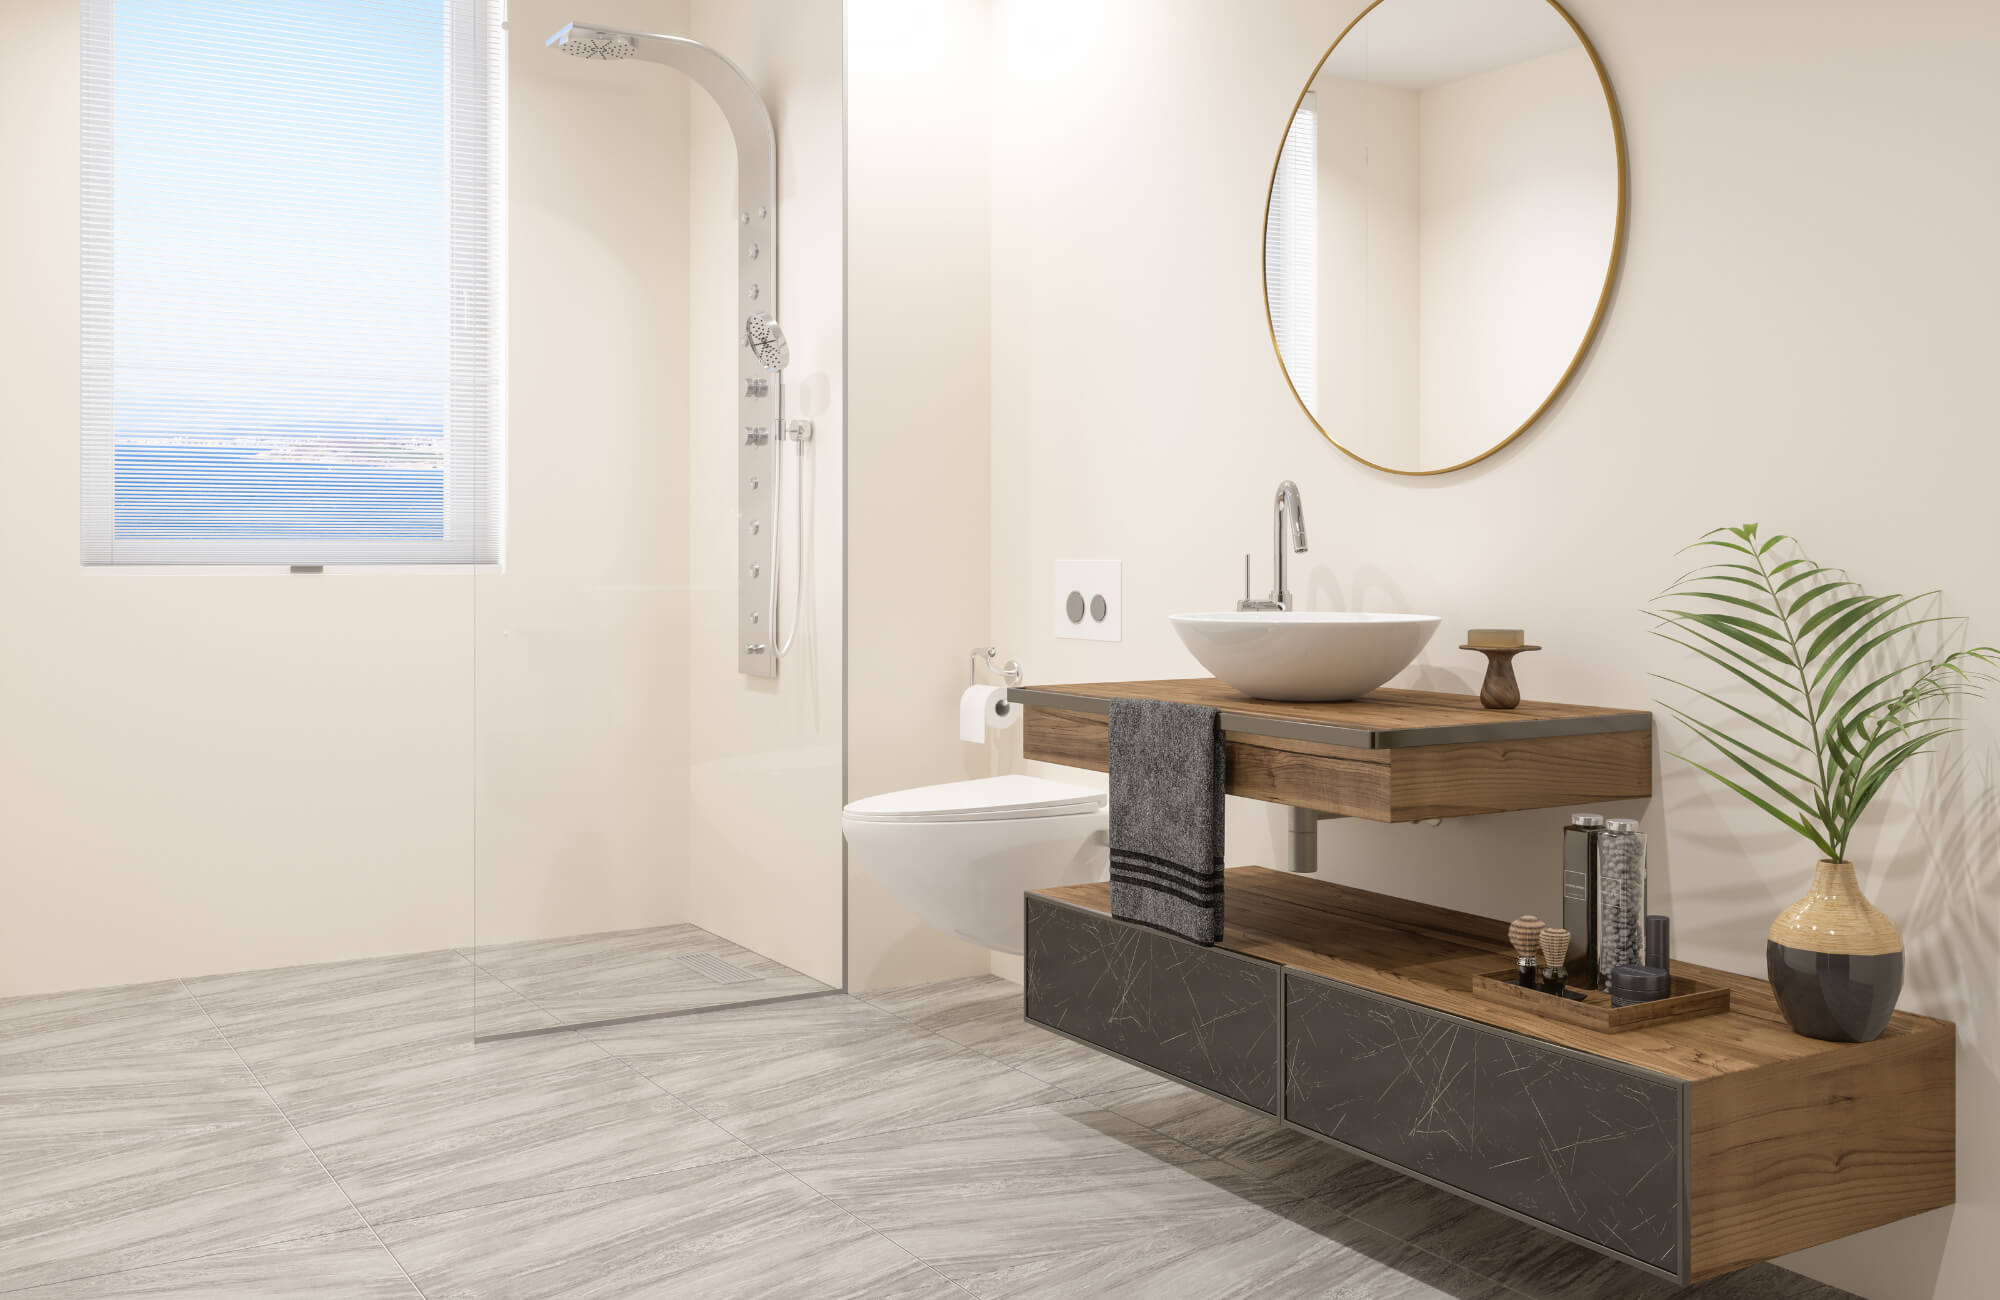
As shown above, Edward Martin’s Ramsey 24x48 Matte Porcelain Tile in Putty perfectly demonstrates this principle. Its smooth, concrete-inspired finish and expansive proportions create a seamless, grounded aesthetic that visually expands the room while maintaining a calm, minimalist feel, ideal for both modern and transitional bath designs.
The Rise of Continuous Slab Looks
Advancements in porcelain manufacturing and digital printing have made seamless “slab-style” installations increasingly attainable. Porcelain panels, often measuring 5–10 feet in length, replicate the luxurious continuity of natural stone slabs without the weight or porosity of real marble. These surfaces showcase uninterrupted veining patterns that enhance spatial flow and design cohesion. In contemporary architecture, this aesthetic aligns with the minimalist trend toward monolithic finishes and reduces visual clutter, creating a spa-like ambiance.
Impact of Rectified Edges on Clean Lines
Rectified tiles, precision-cut to achieve exact dimensions with laser or diamond saws, allow for tighter grout joints, typically as narrow as 1/16 inch. This precise alignment produces crisp, linear transitions between tiles and heightens the perception of a unified surface. The result is a cleaner, more deliberate look that complements modern and transitional design schemes alike. However, rectified tiles demand meticulous installation on perfectly leveled substrates to maintain alignment accuracy and prevent edge lippage, reinforcing the importance of professional craftsmanship in achieving true visual seamlessness.

Installation Complexity and Cost Considerations
While the visual benefits are clear, achieving that seamless look requires skill and precision. Large format tiles demand more careful handling, specialized tools, and proper preparation, all factors that influence overall cost and complexity.
The Weight and Handling Challenge
Large format tiles, particularly those exceeding 24 inches on one side, are significantly heavier and more rigid than traditional tiles. This added mass increases the risk of cracking during transport, cutting, or placement. Installers often require specialized equipment, such as suction-cup lifters, leveling systems, and larger trowels, to ensure safe handling and accurate alignment. Additionally, cutting large tiles demands a wet saw with extended capacity or a bridge saw, both of which add to setup time and labor cost. Because installation errors are more visible on large surfaces, contractors typically allocate additional time for layout planning and dry-fitting before adhesion. For best results and safety, it’s always recommended that homeowners hire certified tile professionals experienced with large format materials.
Ensuring Proper Drainage on the Floor
In shower floors, tile size must be compatible with the required slope toward the drain, typically a 1/4-inch per foot gradient to ensure effective water runoff. Large format tiles are less flexible and cannot conform easily to these slopes, especially near linear or center drains. This makes them more challenging to install on uneven or multi-directional pitches. Installers may opt to cut large tiles into smaller sections or use pre-sloped shower pans to maintain proper drainage while preserving design continuity. Failing to achieve the correct pitch can result in ponding, grout deterioration, or premature waterproofing failure, leading to costly repairs. To ensure lasting performance, these drainage details should always be handled by a qualified tile contractor familiar with wet-area installations.
The Necessity of Substrate Preparation
Substrate flatness is critical when working with large format tiles. Industry standards, such as those from the Tile Council of North America (TCNA), specify no deviation greater than 1/8 inch over 10 feet for these installations. Any irregularities in the backing surface can cause “lippage,” where one tile edge sits higher than another, disrupting both aesthetics and safety. To achieve proper flatness, installers often perform self-leveling underlayment applications or use patching compounds prior to setting. These preparatory steps add material and labor expenses but are essential for long-term durability and a flawless finish. Because this process demands technical precision, homeowners should rely on experienced installers who understand substrate correction and large-format setting standards.

Material Differences and Porosity
Of course, not all tiles perform the same once installed. The composition and porosity of materials like porcelain, ceramic, and stone determine how well they resist moisture, staining, and wear in the long run.
Porcelain Versus Ceramic Tiles
Porcelain and ceramic tiles are both made from clay-based bodies, but their performance diverges due to manufacturing differences. Porcelain is fired at higher temperatures, often above 2,300°F, and compressed under greater pressure, producing a denser, less porous structure with a water absorption rate below 0.5%. Ceramic, by contrast, is more porous and typically suited for walls or low-moisture environments. In showers, porcelain’s low absorption minimizes water infiltration, reducing the risk of efflorescence, freeze-thaw damage, and microbial growth beneath the tile surface.
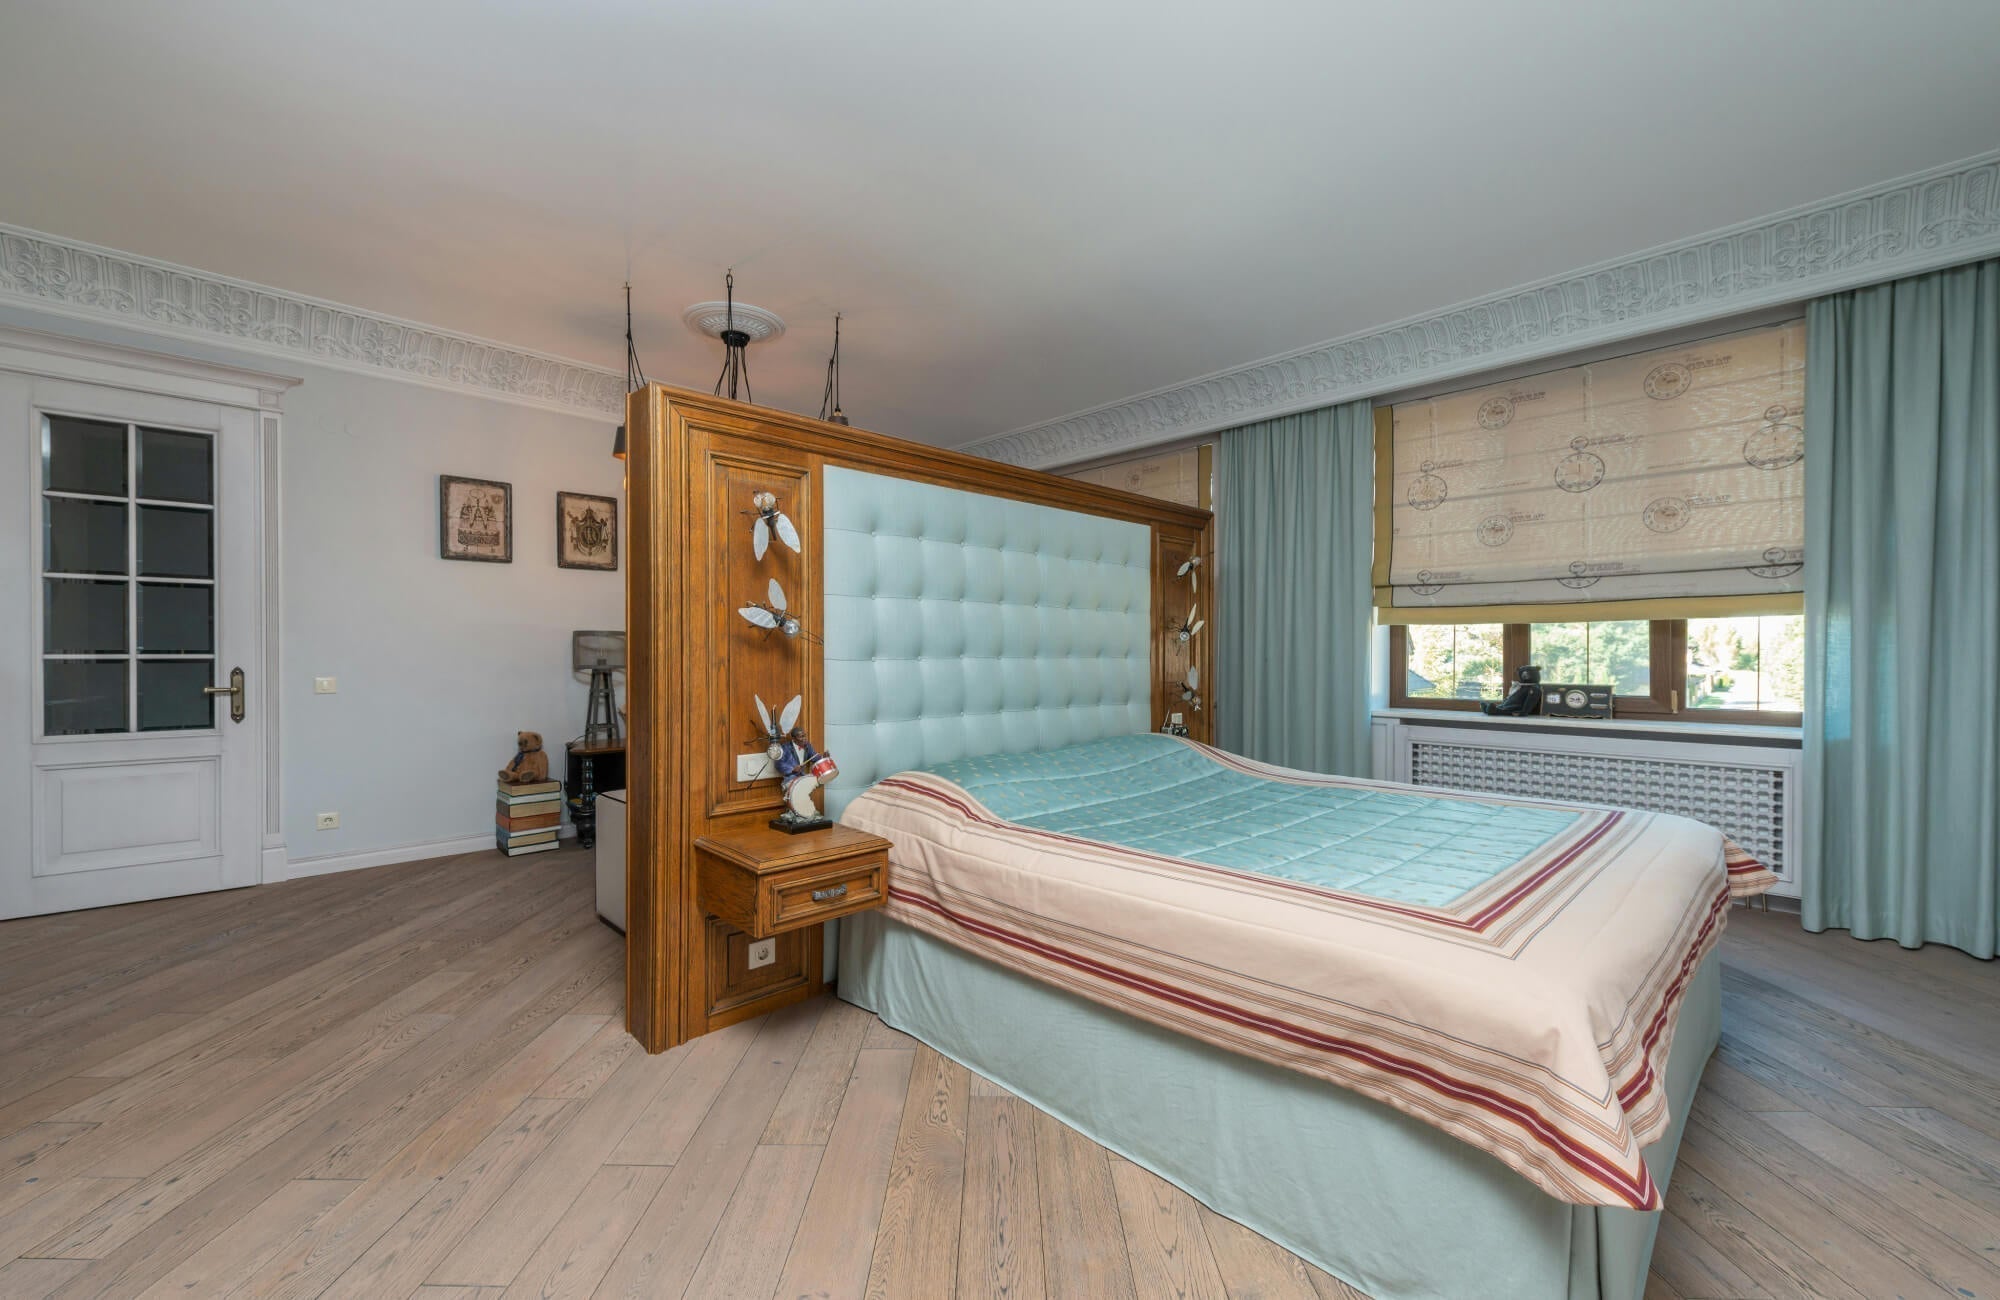
As illustrated above, Edward Martin’s Brody 12x24 Matte Porcelain Tile in Sienna embodies the dense, refined characteristics that make porcelain ideal for shower floors and high-moisture areas. Its subtle variation and matte texture enhance traction while maintaining a sophisticated, natural look. Complementing this, the Edward Martin Jameson 12x36 Matte Ceramic Tile in Camel Deco, not pictured here, offers a warm, tactile wall finish with linear detailing, ideal for adding dimension and contrast. Together, these materials balance performance and visual appeal, showcasing the functional and aesthetic versatility of porcelain and ceramic tiles.
The Maintenance Benefit of Non-Porous Surfaces
Non-porous tiles, such as glazed porcelain or sintered stone, significantly reduce maintenance demands by creating a barrier against moisture and staining agents. Their compact microstructure prevents water, soap residue, and oils from penetrating the surface, allowing easy removal with mild detergents rather than aggressive chemical cleaners. Over time, this reduced permeability translates into fewer discoloration issues and a lower likelihood of grout degradation. For busy or wet environments, selecting a non-porous material directly correlates with lower cleaning frequency and enhanced hygiene, a critical factor in both residential and commercial settings.
Glazed Versus Un-Glazed Finishes
Glazing adds an additional protective layer of vitreous coating fused to the tile’s surface during firing. Glazed finishes offer superior stain resistance and a wider range of colors and textures, making them ideal for decorative shower walls. Un-glazed tiles, while more slip-resistant due to their natural texture, are inherently more absorbent and require sealing to prevent moisture penetration. Matte or textured glazes can offer a balance of traction and protection, combining aesthetic flexibility with functional performance. Selecting the appropriate finish depends on both the application, wall versus floor, and the desired balance between maintenance ease, safety, and design appeal.

Long-Term Maintenance Best Practices
After choosing the right material and ensuring expert installation, maintenance becomes the key to preserving your investment. Proper cleaning methods, grout sealing, and water management help your shower stay as sleek and low-maintenance as the day it was finished.
Best Cleaning Products for Low-Grout Spaces
In showers with minimal grout lines, non-abrasive, pH-neutral cleaners are the most effective choice for routine maintenance. Acidic or alkaline products can erode grout or dull the tile’s glaze over time, particularly on polished porcelain or natural stone surfaces. Instead, mild detergents formulated for tile and stone gently break down soap scum without leaving residue. For busy showers, enzyme-based cleaners can help degrade organic buildup while preserving sealants. Using microfiber cloths or soft nylon brushes ensures effective cleaning without scratching the tile face or dislodging grout. For optimal care and compatibility, always refer to the manufacturer’s maintenance guidelines before selecting cleaning products.
Sealing the Minimal Grout Lines
Even with fewer joints, sealing remains a critical preventive measure. Penetrating or impregnating sealers, which absorb into the grout matrix, create an invisible hydrophobic barrier that resists moisture absorption and staining. High-performance sealants containing fluoropolymers or silane/siloxane compounds offer multi-year protection and are ideal for showers with consistent water exposure. Professionals recommend resealing grout every 12–24 months depending on usage and cleaning frequency. Applying sealer carefully along narrow grout lines with a precision applicator prevents overspreading onto tile surfaces, maintaining both functionality and aesthetics. To ensure proper application and long-term performance, it’s best to follow the specific sealer manufacturer’s care and reapplication instructions.
Protecting Against Hard Water Stains
Hard water, rich in calcium and magnesium ions, can leave mineral deposits on tile surfaces, especially in areas with high evaporation rates. Over time, these deposits form a cloudy film or visible white spotting known as limescale. Preventative measures include installing water softeners or using daily spray treatments containing chelating agents that neutralize mineral ions before they bond to the surface. Regularly drying shower walls with a squeegee after use also reduces water residue and spotting. For existing buildup, gentle descaling solutions designed for porcelain or ceramic tile can dissolve deposits without etching or compromising the grout sealer. For best long-term results, consult the tile manufacturer’s maintenance recommendations regarding compatible cleaning and descaling agents.
The Final Verdict on LFTs and Cleaning
The question is definitive: yes, using large format tiles in your shower absolutely means less cleaning time. This reduction is directly proportional to the elimination of porous grout lines, the number one culprit for mold, mildew, and staining in a shower environment. By combining LFTs with non-porous porcelain and rectified edges, homeowners can achieve a virtually seamless, high-end look that is both aesthetically superior and functionally low-maintenance.
To make confident design decisions, Edward Martin’s AR Visualization Tool allows you to digitally preview large format tiles in your actual bathroom space, ensuring perfect scale, color, and texture alignment before installation. Once you’ve refined your design virtually, you can order Edward Martin tile samples to experience the material’s finish and quality firsthand. Together, these tools bridge digital visualization with tactile assurance, helping you finalize your tile selection with clarity and confidence.