


Mirrors do more than reflect your image; they brighten up rooms, add depth, and elevate everyday spaces. But without proper care, they can quickly lose their clarity, collect grime, or even suffer damage that shortens their lifespan. Whether it’s a bathroom mirror fogged up after every shower or a decorative piece dulled by dust and time, the right cleaning habits make all the difference.
In this guide, we’ll walk you through what affects mirror clarity, the safest tools and techniques to use, and practical maintenance tips for long-term shine. Let’s keep your reflection streak-free, sharp, and easy to care for.

Exploring What Affects Mirror Clarity and Longevity
Before you bring out the cloth and cleaner, it helps to understand what’s actually making your mirror lose its shine. From excess moisture in the air to residue left by daily use, several factors quietly wear down mirror clarity over time. Knowing what’s causing the problem makes it easier to clean smart, not just often.
Moisture, Steam, and Humidity
Bathrooms and kitchens are common sources of mirror wear due to constant steam and high humidity. Daily showers or cooking without proper ventilation can trap moisture against the mirror surface, eventually causing blackened edges or a cloudy appearance. That trapped moisture doesn’t just sit—it seeps in and accelerates deterioration of the mirror backing.
Over time, this kind of exposure weakens the finish and can lead to irreversible spots that no cleaning will fix. Adding an exhaust fan or even cracking a window can make a big difference. If you’re installing a new mirror, consider placing it a little farther from sources of steam whenever possible.
Dust, Smudges, and Touch Marks
Even when mirrors stay dry, daily habits leave behind subtle grime. Touching the glass while fixing your hair or brushing your teeth often results in oily fingerprints or makeup dust that builds up faster than expected. These marks reduce the mirror’s sharpness and make it look duller overall.
Also, as buildup increases, cleaning becomes trickier, smudges smear more easily, and streaks become harder to avoid. Using a microfiber cloth for regular light cleaning helps control the problem without scratching the surface. It’s a small habit that keeps the mirror clearer for longer.
Harsh Cleaners and Improper Tools
What you use to clean a mirror can either preserve its clarity or slowly destroy it. Strong chemical sprays may seem efficient, but often contain ingredients that damage the reflective coating. Similarly, using paper towels or scrubbing pads can create micro-scratches that scatter light and dull the finish.
This is especially important for vintage or decorative mirrors, where the backing and surface may be more delicate. A safer approach is to stick with ammonia-free solutions and soft, lint-free cloths. They’re just as effective for routine cleaning and much gentler on the glass itself.

Choose the Right Cleaning Tools and Materials
Having the right tools on hand makes all the difference when it comes to keeping your mirrors streak-free and in great shape. While it might seem straightforward, the wrong cloth or cleaning product can leave behind smears—or worse, gradually wear down the surface. Below, we’ll break down which materials work best and which ones are better left on the shelf, so you can clean with confidence every time.
Best Cloths and Wipes to Use
It’s best to stick with soft, non-abrasive cloths, and microfiber is the gold standard for a reason. It traps dust, distributes cleaner evenly, and won’t leave behind lint like paper towels often do. For instance, a dry microfiber cloth works well for buffing away streaks once the mirror’s clean. You can also use reusable, lint-free cotton cloths, which come in handy when you need a little extra grip or thickness.
Safe Cleaning Solutions
The safest cleaning solutions are usually those labeled ammonia-free and alcohol-free, as they’re less likely to damage the mirror’s reflective coating over time. A mix of distilled white vinegar and water is also a reliable DIY option that works well on smudges and everyday grime. These choices clean effectively without leaving harsh residues or overwhelming fumes. They’re especially useful in smaller rooms like bathrooms, where ventilation might be limited.
Products to Avoid
Some products may seem powerful, but they can quietly eat away at your mirror’s finish with repeated use. It’s best to avoid bleach, heavy-duty degreasers, or gritty scrubbing powders, they’re simply too rough for glass. The same goes for textured sponges or scouring pads, which can leave behind fine scratches you won’t always notice until it’s too late. Choosing gentle tools and cleaners now helps preserve your mirror’s clarity in the long run.

Step-by-Step Guide to Cleaning Your Mirror
A consistent, structured cleaning routine can make all the difference between a mirror that sparkles and one that always looks slightly cloudy. Whether you're doing a quick daily refresh or removing stubborn buildup, following a clear process helps avoid common mistakes. Below, we’ll walk through simple steps that keep your mirror looking its best.
Daily Light Cleaning
For everyday upkeep, a quick wipe with a dry or lightly damp microfiber cloth helps remove light smudges and dust. This habit takes less than a minute and can keep buildup from settling in. It’s especially useful in busy spaces like bathrooms or entryways where mirrors tend to collect fingerprints and streaks faster than you’d expect.
Keeping a designated cloth nearby can make this step even easier to stick with. For example, tucking one inside a bathroom drawer or cabinet gives you a no-excuse reminder to give your mirror a once-over. It doesn’t need to be perfect every time, just consistent enough to prevent a gradual haze from forming.
Deep Cleaning for Stubborn Stains
When toothpaste splatter, makeup, or dried water spots set in, light cleaning won’t cut it. Start by applying a gentle, ammonia-free cleaner directly to your cloth, not the glass, to avoid overspray. Work in circular motions, letting any stuck-on areas sit for a moment before wiping again. For instance, a 1:1 mix of vinegar and water often works well for cutting through oily or sticky marks without damaging the surface.
It’s also worth inspecting the mirror from different angles as you clean, since some stains can be hard to see under flat lighting. After treating the problem areas, always follow up with a clean, dry cloth to absorb any leftover moisture. That extra step helps avoid streaks and leaves the surface looking refreshed.
Polishing for a Streak-Free Finish
Polishing brings the whole cleaning routine together. Use a clean, dry microfiber cloth and buff the surface in overlapping, circular motions. The goal here isn’t to scrub, but to gently lift any lingering streaks or cloudy patches that may have been missed. This step is especially helpful after using a water-based cleaner, which can sometimes leave light marks when air-dried.
Also, it helps to polish under natural light or angled lighting so you can catch faint smudges more easily. The polishing step doesn’t require any extra product, just a bit of attention to detail. When you’re done, your mirror should reflect clearly and feel like a refreshed part of the room.

Cleaning Techniques for Different Mirror Types
Not all mirrors are created equal—some feature intricate frames, while others include lighting elements or delicate vintage finishes. Knowing what kind of mirror you're working with helps prevent damage and ensures both the surface and structure stay intact. Below, we’ll walk through practical care tips for framed, antique, and tech-integrated mirrors to help you clean confidently without compromise.
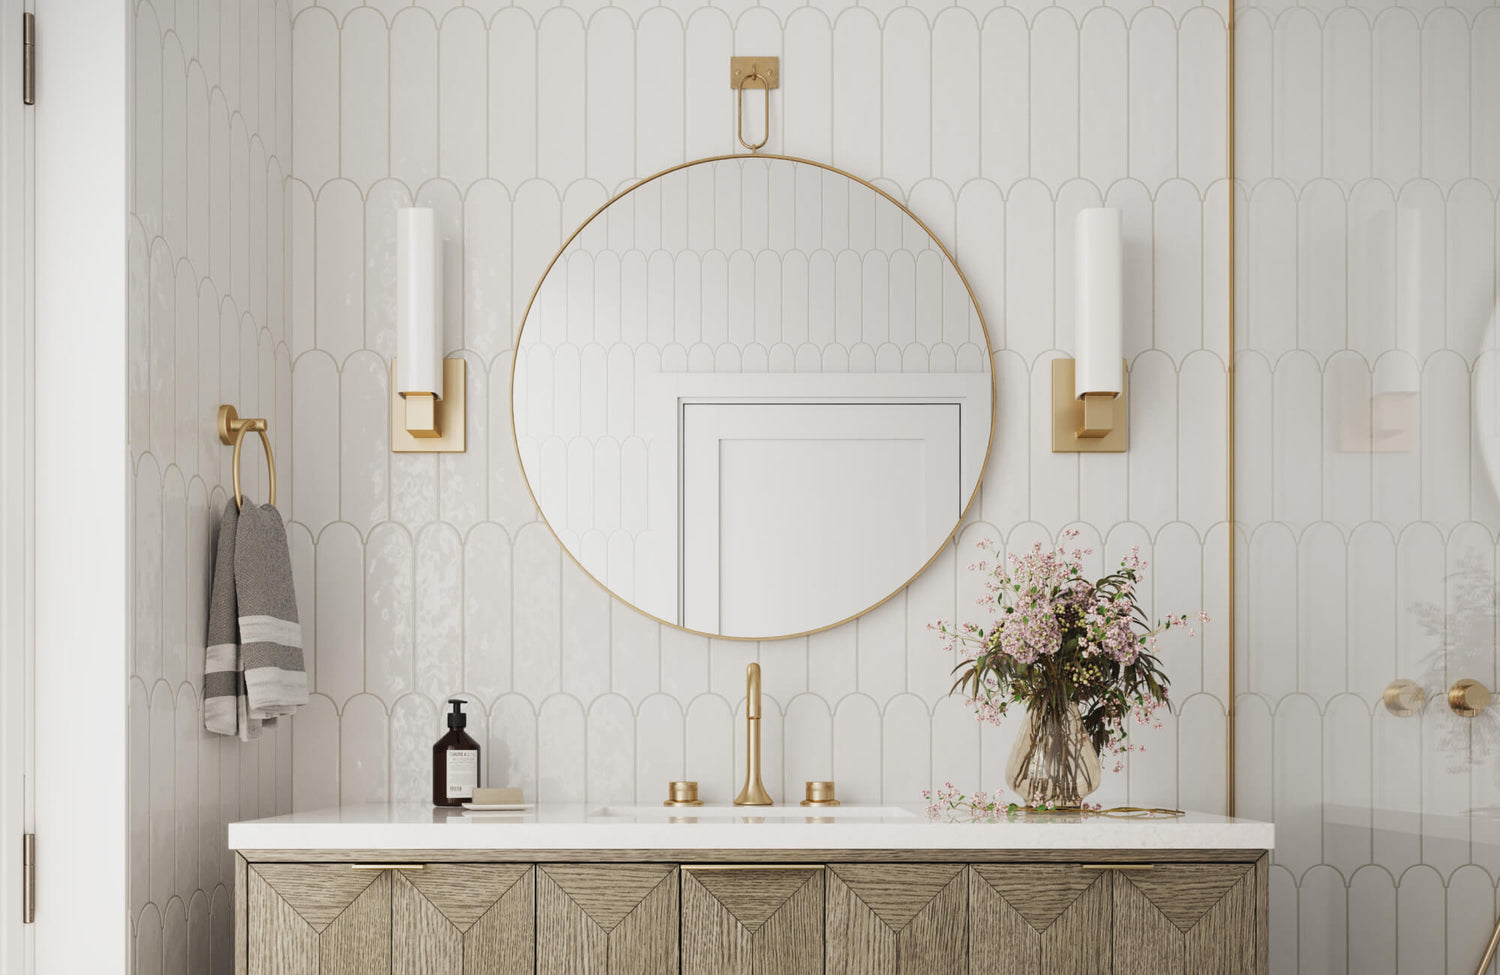
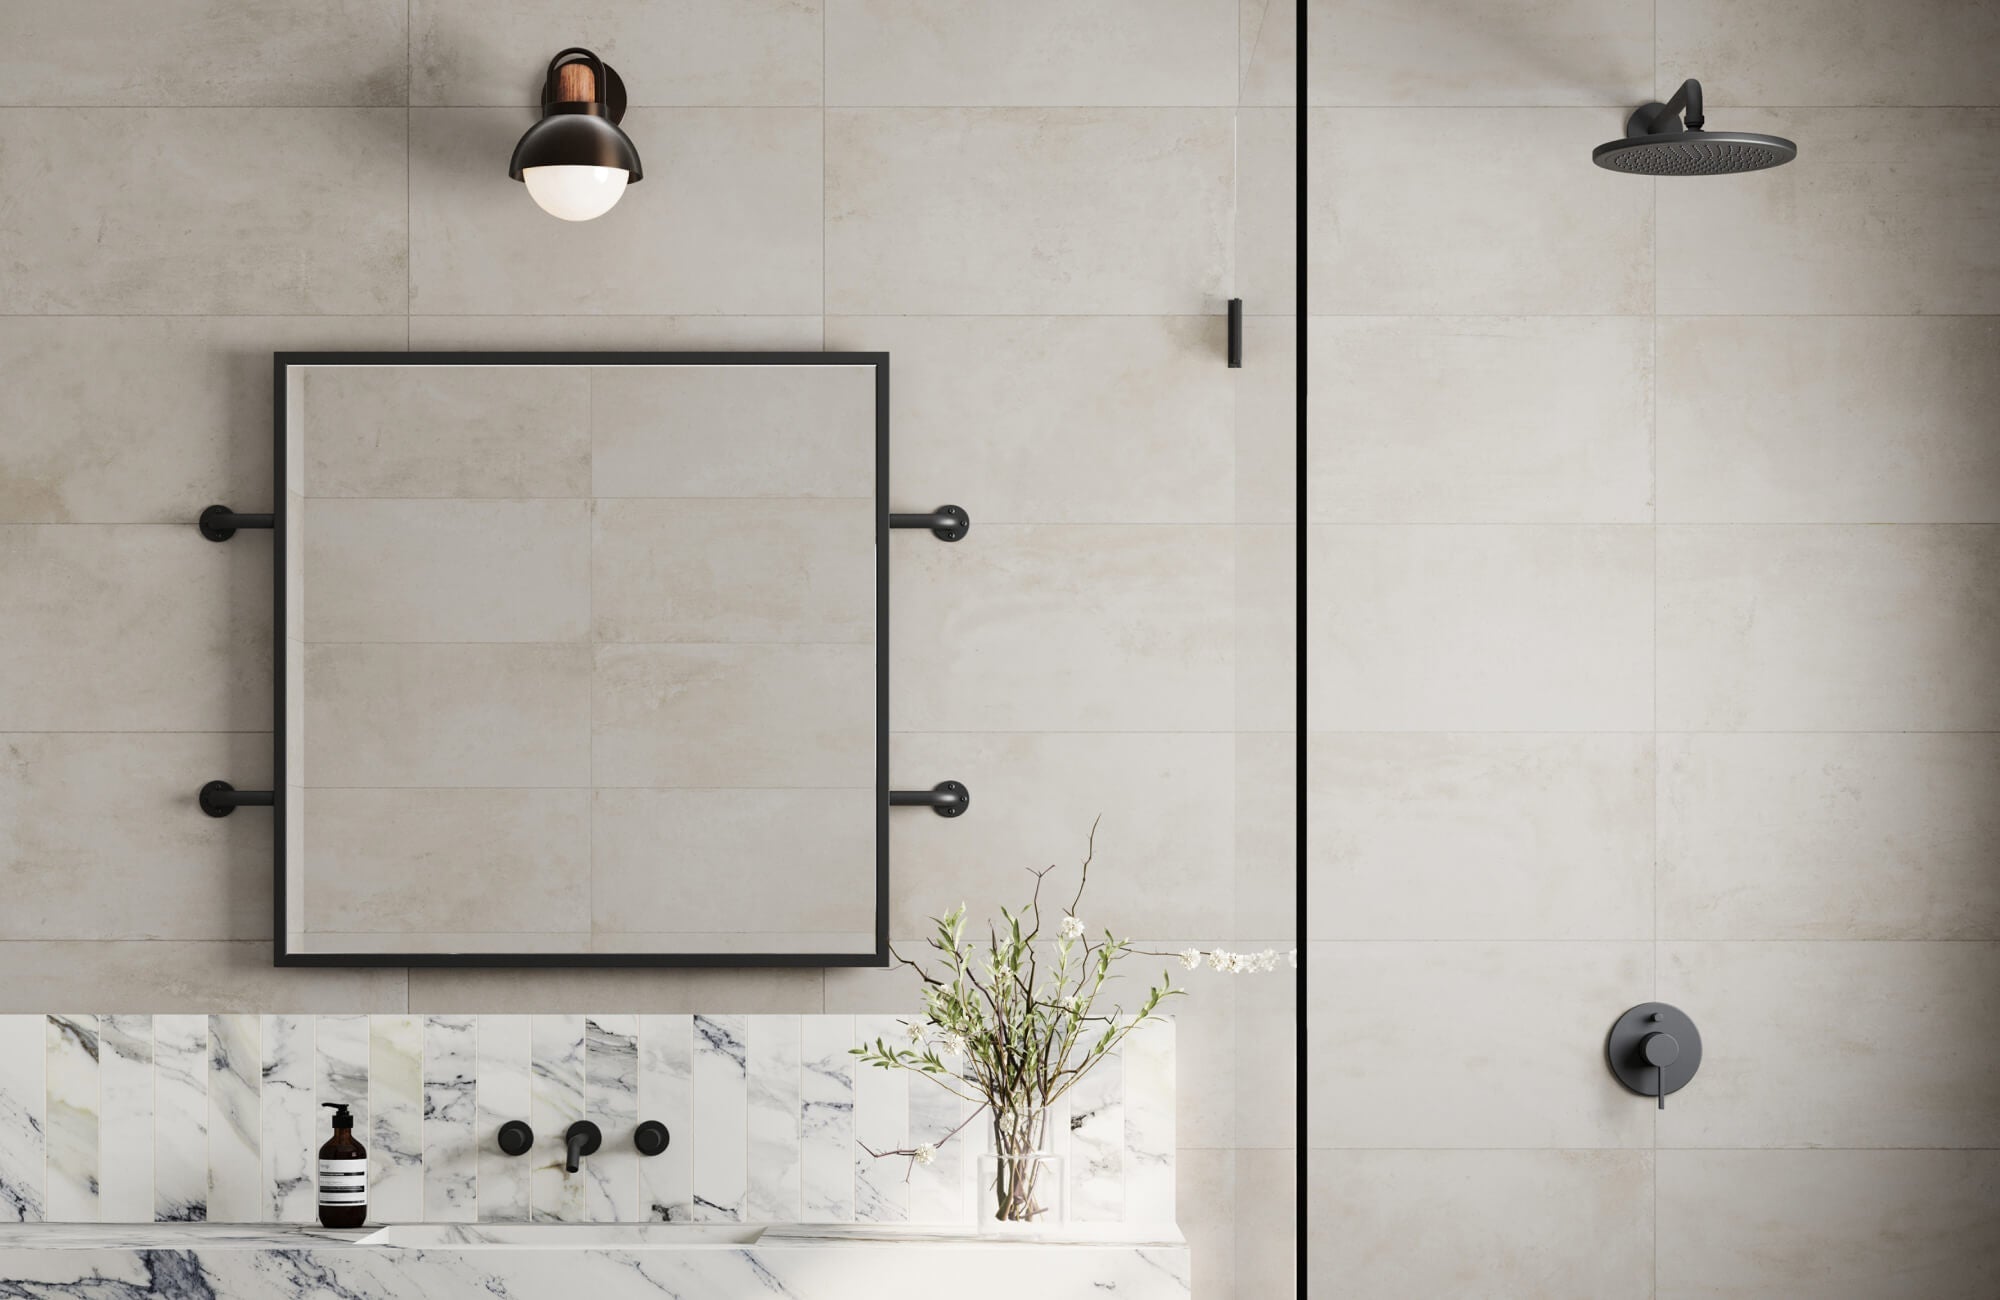
Framed Mirrors
Framed mirrors need extra care depending on the material that surrounds the glass. For instance, wooden frames are sensitive to moisture and can warp or discolor if cleaning sprays drip along the edges. Painted finishes usually respond best to a gentle, dry wipe, while metal frames may benefit from a separate polish. Treating the frame and the mirror as two distinct surfaces helps preserve their individual finishes and avoids unnecessary wear.
Antique or Vintage Mirrors
Older mirrors often feature aging silver backings and time-worn patinas, so it’s important to use a lighter hand when cleaning them. Strong cleaners or heavy scrubbing can easily damage the fragile backing or erase subtle details that give the mirror its charm. For example, a lightly dampened soft cloth is usually all that’s needed to lift dust without disturbing the finish. The goal isn’t to restore—it’s to respect the character that’s already there.
If you love the vintage look but want something easier to maintain, our Clancy Small Arch Mirror in Antique Brass offers a refined alternative. Its durable iron frame and minimalist arched design bring that antique-inspired warmth without the delicate upkeep. It’s a great option for smaller walls or layered arrangements, especially if you’re after a style with less risk of long-term wear.
Backlit or Smart Mirrors
Modern mirrors with built-in lighting or sensors require a more mindful approach. Avoid spraying any solution directly on the surface, especially near seams, buttons, or electrical components. Instead, use a soft, damp cloth and gently wipe around illuminated areas—always with the power off to avoid electrical mishaps. These mirrors may be high-tech, but their care routine should stay simple and safe to keep them looking and functioning their best.

How Often Should You Clean Your Mirror?
Knowing how often to clean your mirrors isn’t about following a strict schedule—it’s about staying ahead of grime before it builds up. How frequently you clean should depend on where the mirror is placed and how it’s used. For example, bathroom mirrors tend to fog up, collect toothpaste splatter, and show fingerprints more quickly, so they typically benefit from a light wipe every few days.
In contrast, hallway or bedroom mirrors might only need attention once every one to two weeks since they’re less exposed to moisture or daily use. Decorative mirrors placed higher on walls or behind furniture often stay cleaner longer and can be worked into your monthly cleaning routine. Also, pay attention to what the mirror shows; if streaks or spots are noticeable when light hits, it’s probably time for a quick refresh.
Seasonal deep cleans are helpful too, especially for mirrors near entryways or windows where dust and outdoor particles may settle. A good rule of thumb is to do a visual check regularly and clean as needed instead of waiting for a buildup. This helps your mirrors stay bright, streak-free, and easy to maintain without extra effort.

Long-Term Maintenance Tips
Consistent care doesn’t just keep your mirror looking clean; it also helps it last longer without developing edge wear or discoloration. Below are practical habits and placement tips that help preserve clarity and condition well beyond everyday cleaning.
Preventing Moisture Damage
Bathrooms and kitchens naturally produce a lot of moisture, so it’s worth addressing this early. Use exhaust fans or keep a window cracked during showers to help reduce steam buildup. Anti-fog sprays can also create a protective barrier that keeps the surface clear for longer. Over time, even small efforts like wiping down condensation can make a big difference in preventing damage to the mirror’s backing or edges.
Keeping Frames and Edges Clean
While the glass is often the focus, the frame and edges need care too, especially if they’re made of wood, metal, or fabric-wrapped materials. For instance, wood frames benefit from occasional dusting with a dry cloth and should be kept away from direct moisture to avoid warping. Metal edges may develop rust or patina, so gentle cleaning and drying are key. Also, always avoid letting cleaning solution drip into the frame seams, which can loosen adhesive over time.
Positioning Mirrors for Easier Maintenance
Where you hang your mirror can make a surprising difference in both how long it lasts and how easy it is to keep clean. Direct sunlight, for example, may cause gradual discoloration or damage to the backing layer over time. Mirrors hung too close to sinks, stovetops, or vanities may also face frequent splashes or heat exposure, factors that speed up wear and make cleaning more frequent.
Also, placement near open windows or in areas that collect dust, pollen, or oily residue (like kitchens) tends to invite more buildup. Consider hanging mirrors a few inches higher in moisture-prone spaces like bathrooms, and avoid placing them under harsh overhead lighting that exaggerates smudges or streaks. A little strategic positioning goes a long way in reducing upkeep and prolonging clarity.
Smart Cleaning Now, Lasting Clarity Later
Keeping your mirrors spotless doesn’t require constant work, just smart habits, the right tools, and a bit of awareness about what affects their clarity over time. From daily wipe-downs to seasonal deep cleans, every step you take adds up to a longer-lasting, better-looking mirror. And when you match your cleaning efforts with good placement and careful product choices, maintenance becomes less of a chore and more of a routine.
If you’re considering a new mirror or want help choosing the right size, shape, or location for one, our design experts can guide you. Schedule a free consultation today, and we’ll help you select mirrors that not only elevate your space but are also easy to care for in the long run.
