


Striking in design but often underestimated in upkeep, checkered tile flooring pairs timeless style with the need for thoughtful protection. Despite their hard surface, tiles, especially those made from ceramic or porcelain, can chip or scratch when exposed to daily wear, improper installation, or neglectful maintenance. Factors like PEI rating, glaze type, and subfloor prep all influence long-term durability.
But product choice is only half the equation. Preventative care, like sealing grout, minimizing abrasive contact, and cushioning furniture, is key to preserving your tile’s performance and appearance. In this article, we’ll break down expert-approved strategies to keep your checkered tiles intact and looking sharp for years to come.

Understanding the Vulnerability of Checkered Tiles
Before you can protect checkered tiles from damage, it’s important to understand why they’re vulnerable in the first place. From what they’re made of to how they’re treated day to day, several factors can quietly contribute to chips, scratches, and long-term wear.
Material Composition and Durability
To begin with, most checkered tiles are made from ceramic, porcelain, or natural stone, each with distinct characteristics that influence performance. Ceramic tiles, kiln-fired at lower temperatures, are typically glazed and more porous (compared to porcelain), making them affordable and versatile, yet prone to chipping under impact due to their softer composition.
By contrast, porcelain tiles are formed from finer clay and fired at higher temperatures, making them denser, less porous, and more durable overall. Their higher Mohs hardness rating (typically around 7) makes them well-suited for busy areas. While glazed porcelain offers enhanced scratch resistance, low-quality glazes can still wear with time.
Meanwhile, natural stone tiles such as marble and granite are appreciated for their beauty but tend to be more delicate. Marble, for instance, has a Mohs rating of around 3 and is particularly susceptible to etching and scratching. Without proper sealing and upkeep, natural stone becomes especially vulnerable in high-use environments.
Common Causes of Chips and Scratches
Understanding the causes of tile damage is just as important as knowing their material properties. To start, physical impacts, like dropped items or pressure from heavy furniture, are a leading source of chipping, especially along tile edges and corners where support is minimal. Additionally, abrasive particles such as sand or grit, often tracked in from outside, can cause gradual surface scratching. Pet claws and hard-soled shoes only add to the wear.
Beyond physical stress, poor maintenance practices can accelerate deterioration. Harsh cleaning tools (such as metal brushes or scouring pads) and acidic cleaners can wear down protective glazes, exposing more fragile underlayers. Likewise, sudden temperature changes, known as thermal shock, can cause hairline cracks that worsen over time.
Finally, installation issues have a significant impact on long-term performance. An uneven subfloor, improper mortar selection, or missing expansion joints can create structural stress points, increasing the risk of cracking or delamination. Recognizing and addressing these vulnerabilities early helps prevent costly repairs down the line.

Proactive Measures During Installation
Laying checkered tiles isn’t just about getting the pattern right, it’s about building a foundation that lasts. From the subfloor to the materials used, every installation decision directly influences the tile’s ability to resist future damage. While many aspects of the process can be easily understood, it’s always best to hire professionals for installation to ensure proper preparation, alignment, and product compatibility from the start.
Subfloor Preparation and Stability
To begin, the subfloor serves as the foundational layer of the tile system and has a direct impact on performance. Any unevenness or instability can lead to lippage, cracked tiles, or failing grout lines. According to industry guidelines, the Tile Council of North America (TCNA) recommends that subfloors supporting large format tiles, commonly used in checkered layouts, should not deviate more than 1/8 inch over 10 feet.
When working with wood substrates, ensure that joists are spaced appropriately (typically 16 inches on center) and that the surface consists of a minimum 5/8-inch exterior-grade plywood. Concrete subfloors, on the other hand, must be dry, stable, and free of efflorescence or cracking. If imperfections are present, they should be addressed with crack isolation membranes to prevent structural stress from transferring to the tile surface.
Additionally, one often overlooked yet essential step is installing an uncoupling membrane or cement backer board, particularly over wood subfloors. These underlayments accommodate minor movement and thermal expansion, helping to prevent tension-related cracks in rigid tile materials like porcelain or stone.
Choosing the Right Adhesives and Grout
Moving beyond the subfloor, selecting the appropriate adhesives and grout is just as important for long-term durability. Specifically, porcelain tiles, with their low water absorption, require polymer-modified thin-set mortar, which provides both strong adhesion and flexibility. Using the right notched trowel ensures full coverage beneath the tile, reducing the risk of air pockets and future fractures.
Grout selection should also be tailored to the application. Unsanded grout works best for joints under 1/8 inch, while sanded grout provides added strength for wider joints. In areas exposed to high moisture or frequent cleaning, such as kitchens or bathrooms, epoxy grout offers superior resistance to staining and degradation. Cementitious grout remains a viable option as well, but should always be sealed post-curing to guard against water intrusion.
Finally, careful attention to joint spacing, following ANSI standards, further minimizes stress and edge chipping, especially important when working with large-format tiles. In high-end designs like Edward Martin’s Blair 24x24 Checkerboard Polished Porcelain Tile in Oniciata Grey and Volakas White, these technical details become even more critical. The tile’s polished finish and substantial dimensions require precision at every stage to achieve both visual harmony and structural integrity.

Essential Ongoing Maintenance Practices
Even the most expertly installed checkered tile floors can show wear without the right upkeep. That’s why developing smart, consistent maintenance habits is just as important as how the tiles were laid in the first place. For best results, always consult the manufacturer's care and maintenance guidelines, as different materials and finishes may require specific products or techniques to preserve their appearance and performance.
Regular Cleaning Routines
At the core of effective maintenance is routine cleaning. Dry sweeping with a soft-bristle broom or vacuuming with a tile-safe attachment helps eliminate abrasive particles like grit and sand, which can gradually dull glazes and scratch tile surfaces.
When it comes to wet cleaning, it’s essential to avoid acidic or ammonia-based products, as they can erode glazes and etch natural stone. Instead, opt for pH-neutral cleaners formulated for tile and stone. These should be applied with a microfiber mop to minimize residue and control moisture buildup.
In addition to surface cleaning, grout care should not be overlooked. Cementitious grout needs to be resealed every 1–2 years using a penetrating sealer to protect against stains and moisture. While epoxy grout is non-porous and doesn’t require sealing, it still benefits from regular surface cleaning. Using a soft-bristle grout brush monthly helps keep busy areas clean and prevents grime buildup.
Finally, avoid the temptation to use abrasive tools like metal brushes, steam mops, or harsh pads unless they’re specifically recommended by the manufacturer. These can scratch glazed surfaces and weaken grout joints, leading to premature wear.
Protecting Against Furniture and Footfall
Beyond cleaning, physical protection measures are key to preventing chips, cracks, and surface abrasion. Use felt pads under furniture legs, and consider non-marking casters or floor protector mats under heavier items such as kitchen islands or office chairs. These help distribute weight more evenly and reduce stress points.
In areas with frequent footfall, like hallways or entryways, entry mats and runners act as the first line of defense. Mats with dual-fiber technology are especially effective at capturing dirt and grit before they reach the tile surface, helping to minimize everyday abrasion.
Moreover, lifestyle adjustments can go a long way in protecting your tile investment. Adopting a no-shoes policy indoors, or at least avoiding high heels, reduces unnecessary wear, particularly on matte finishes. For instance, Edward Martin’s Brody 24x24 Checkerboard Matte Porcelain Tile in Sand and Smoke retains its clean, subtle texture best when these practices are followed. Likewise, pet owners should keep their pets’ claws trimmed to minimize micro-scratching over time.

Advanced Protection and Restoration
Even with careful upkeep, time and everyday use can still leave their mark on checkered tiles. When that happens, knowing how to reinforce vulnerable areas and tackle small imperfections can make all the difference in preserving their look and longevity.
Sealing Grout and Natural Stone
One of the most effective long-term strategies for protecting tile installations is sealing, particularly in grout lines and on natural stone surfaces. Because of their porous nature, cementitious grout joints are especially vulnerable to moisture absorption, staining, and mold formation. A penetrating grout sealer provides an invisible, hydrophobic barrier that protects without altering the surface appearance.
For best results, sealant should be applied no sooner than 72 hours after installation to ensure proper curing. When choosing a product, solvent-based sealers tend to penetrate more deeply and offer extended durability, while water-based sealers are a safer option for those concerned about VOCs or indoor air quality. Regardless of type, resealing every 1–2 years, or more often in moisture-heavy areas, is strongly recommended.
In addition, natural stone tiles such as marble, travertine, or limestone demand extra care due to their inherently porous structure. A stone-specific impregnating sealer protects the surface, while a topical enhancer can restore sheen and enrich color in polished finishes. However, the latter may require more frequent reapplication and is more susceptible to abrasion.
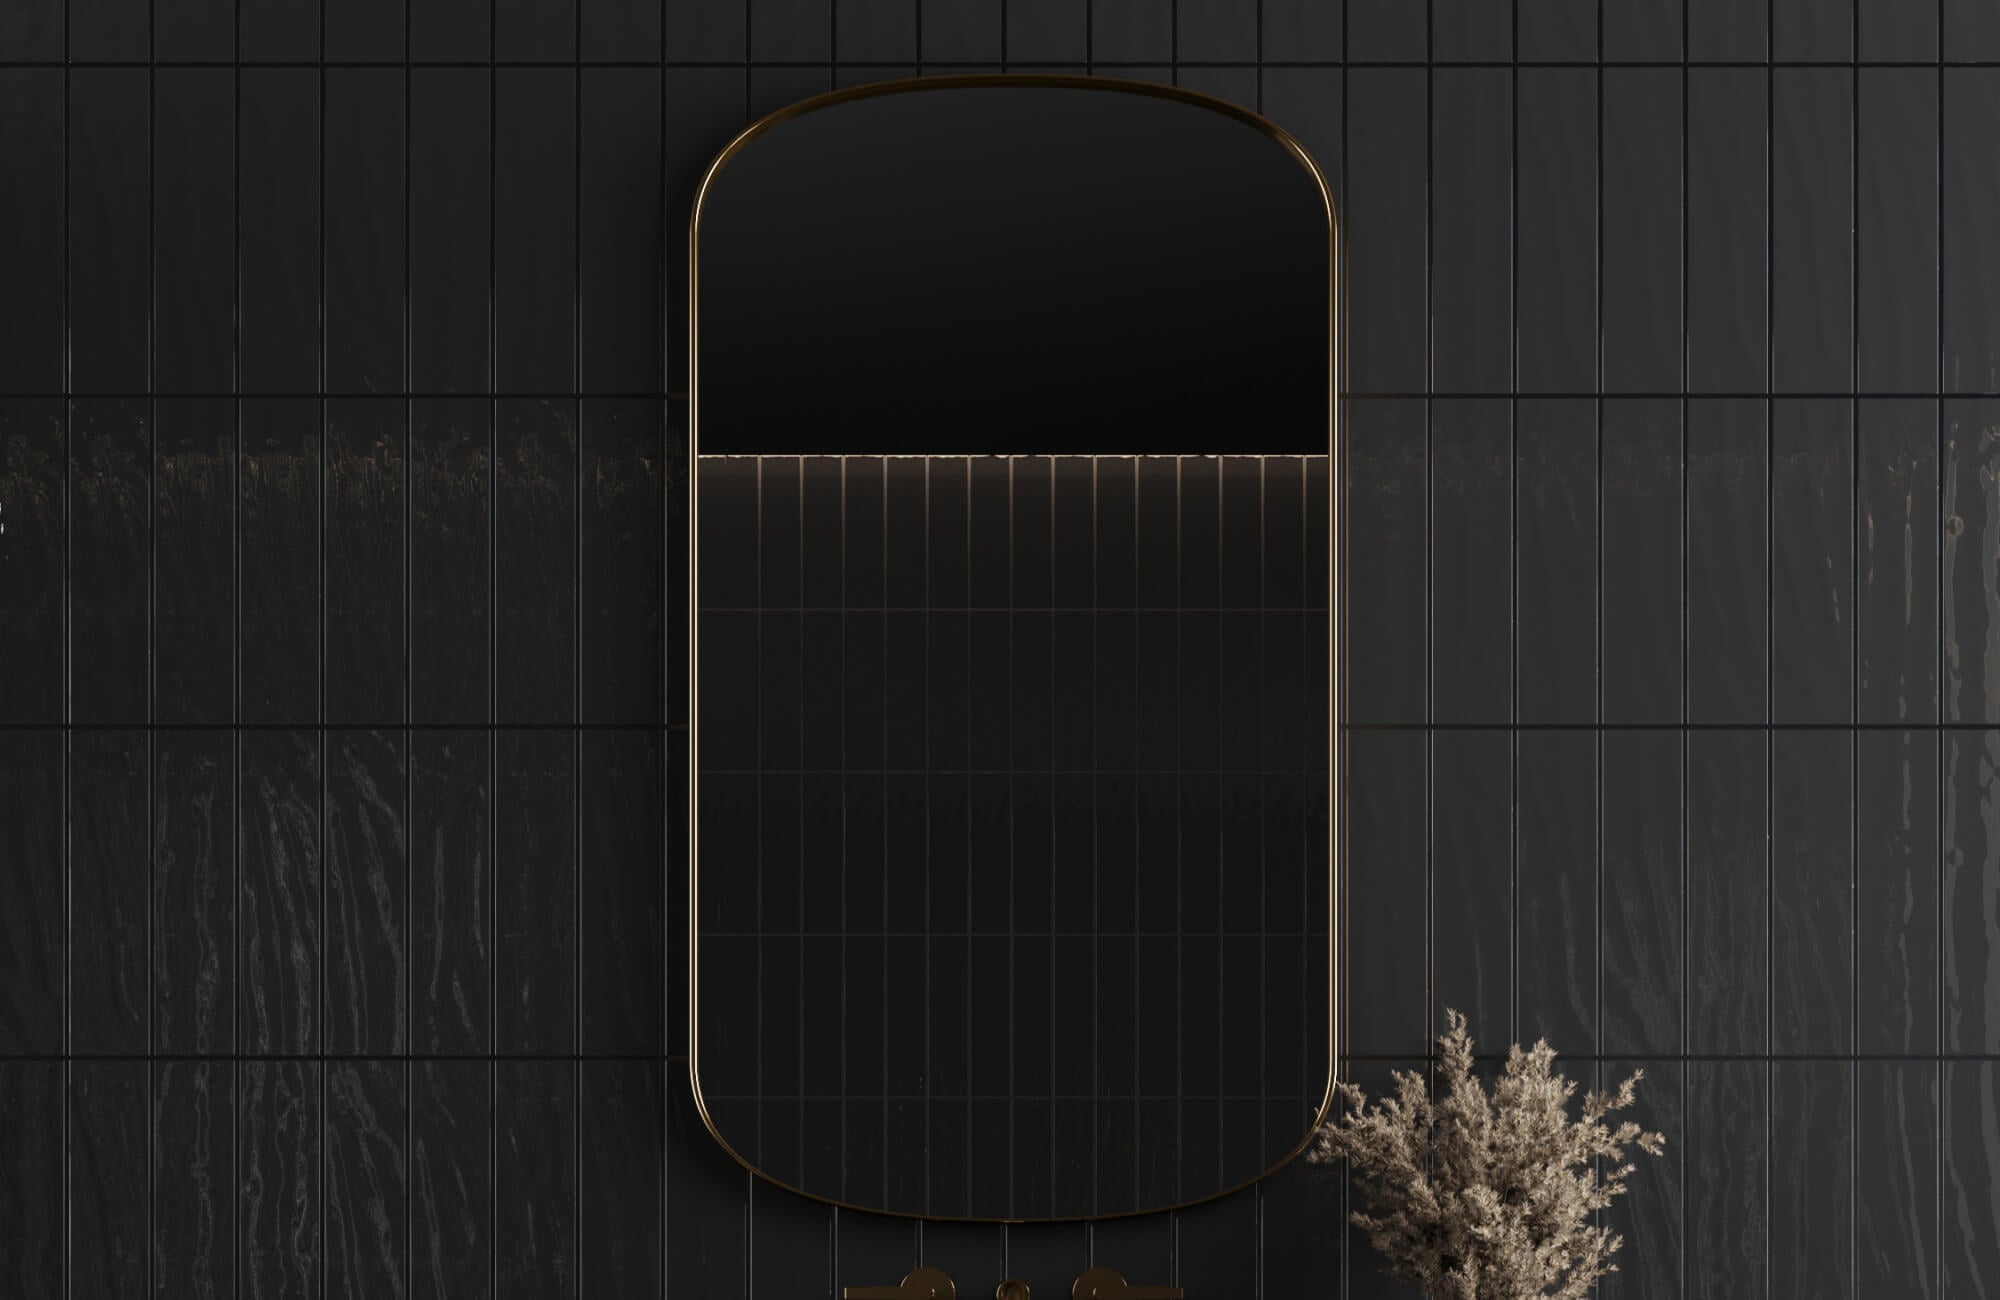
This protective step is especially critical in moisture-prone areas like bathrooms featuring Edward Martin’s Brody 24x24 Checkerboard Matte Porcelain Tile in Sand and Dune, as displayed in the picture above. While porcelain is non-porous, sealing the surrounding grout ensures a seamless look and supports long-term performance in humid environments.
Addressing Minor Chips and Scratches
Despite preventive care, minor damage can still occur over time. When it does, addressing issues promptly can prevent them from worsening. Light scratches on glazed porcelain or ceramic tiles are often treatable using a ceramic repair kit, complete with fine abrasives and color-matched glaze to restore uniform finish and sheen.
For more significant imperfections, such as chips or gouges in unglazed porcelain or natural stone, epoxy-based fillers offer a durable solution. These color-customizable compounds adhere well to tile surfaces and can be sanded and polished to blend seamlessly with the surrounding material. To enhance results, pair with a stone polishing compound when working with natural stone.
However, when damage is extensive or compromises the tile’s integrity, individual tile replacement may be the best option. Using oscillating cutters or similar tools, damaged tiles can be removed precisely without disrupting adjacent units, provided proper thin-set and grout practices are followed. To maintain visual consistency, keeping spare tiles from the original batch is highly recommended.
In more severe cases, when surface damage is widespread, professional refinishing may be necessary. Specialists use industrial-grade resurfacing materials and polishing equipment to restore clarity and uniformity to aged or heavily worn tile installations, particularly those involving natural stone.
To support this process and simplify both new layouts and replacement efforts, Edward Martin provides helpful tools like the Augmented Reality (AR) Visualization Tool. With the “View in Your Space” feature, you can overlay tile patterns directly onto your bathroom using a mobile device, helping you assess fit and finish before making decisions. Additionally, requesting tile samples makes it easier to match color, texture, and scale, whether you're selecting a new style or replacing a damaged piece. This hands-on approach ensures accuracy and confidence in every step of your project.

Avoiding Common Pitfalls and Misconceptions
When it comes to protecting checkered tile floors, good intentions can sometimes lead to costly mistakes. Misunderstanding how durable tiles are, or using the wrong products or habits, can quietly undo even the best installation work over time.
Misconceptions About Tile Durability
One frequent misconception is that porcelain and ceramic tiles are entirely maintenance-free. While porcelain does offer low water absorption and high surface durability, it isn’t immune to edge chipping or impact damage, especially when installed incorrectly. Likewise, glazed surfaces may withstand light abrasion but remain vulnerable to scratching or dulling under aggressive cleaning or constant foot movement.
Similarly, natural stone tiles such as marble, travertine, and limestone are often perceived as more durable than they truly are. Their calcium-based composition makes them highly susceptible to etching and staining, especially when exposed to acidic substances or neglected maintenance. Without consistent sealing, these stones deteriorate faster than well-maintained porcelain alternatives.
Additionally, grout performance is frequently misunderstood. When stains or cleaning issues arise, poor installation is often blamed. However, these problems more often stem from a lack of sealing or the use of harsh cleaning agents that degrade the grout’s surface and structure over time.
Practices That Can Cause Damage
Beyond misconceptions, certain everyday habits can also compromise checkered tile longevity. Dragging heavy furniture without using protective pads, for instance, can lead to deep scratches or dislodged tiles, particularly on uneven subfloors. Likewise, rubber-backed mats, commonly used in bathrooms and kitchens, can trap moisture underneath, accelerating grout deterioration if not properly ventilated.
In addition, neglecting regular sealing, especially for natural stone and cementitious grout, leaves surfaces vulnerable to water infiltration and staining. This is particularly problematic in high-moisture areas such as showers and entryways, where constant exposure can lead to premature breakdown.
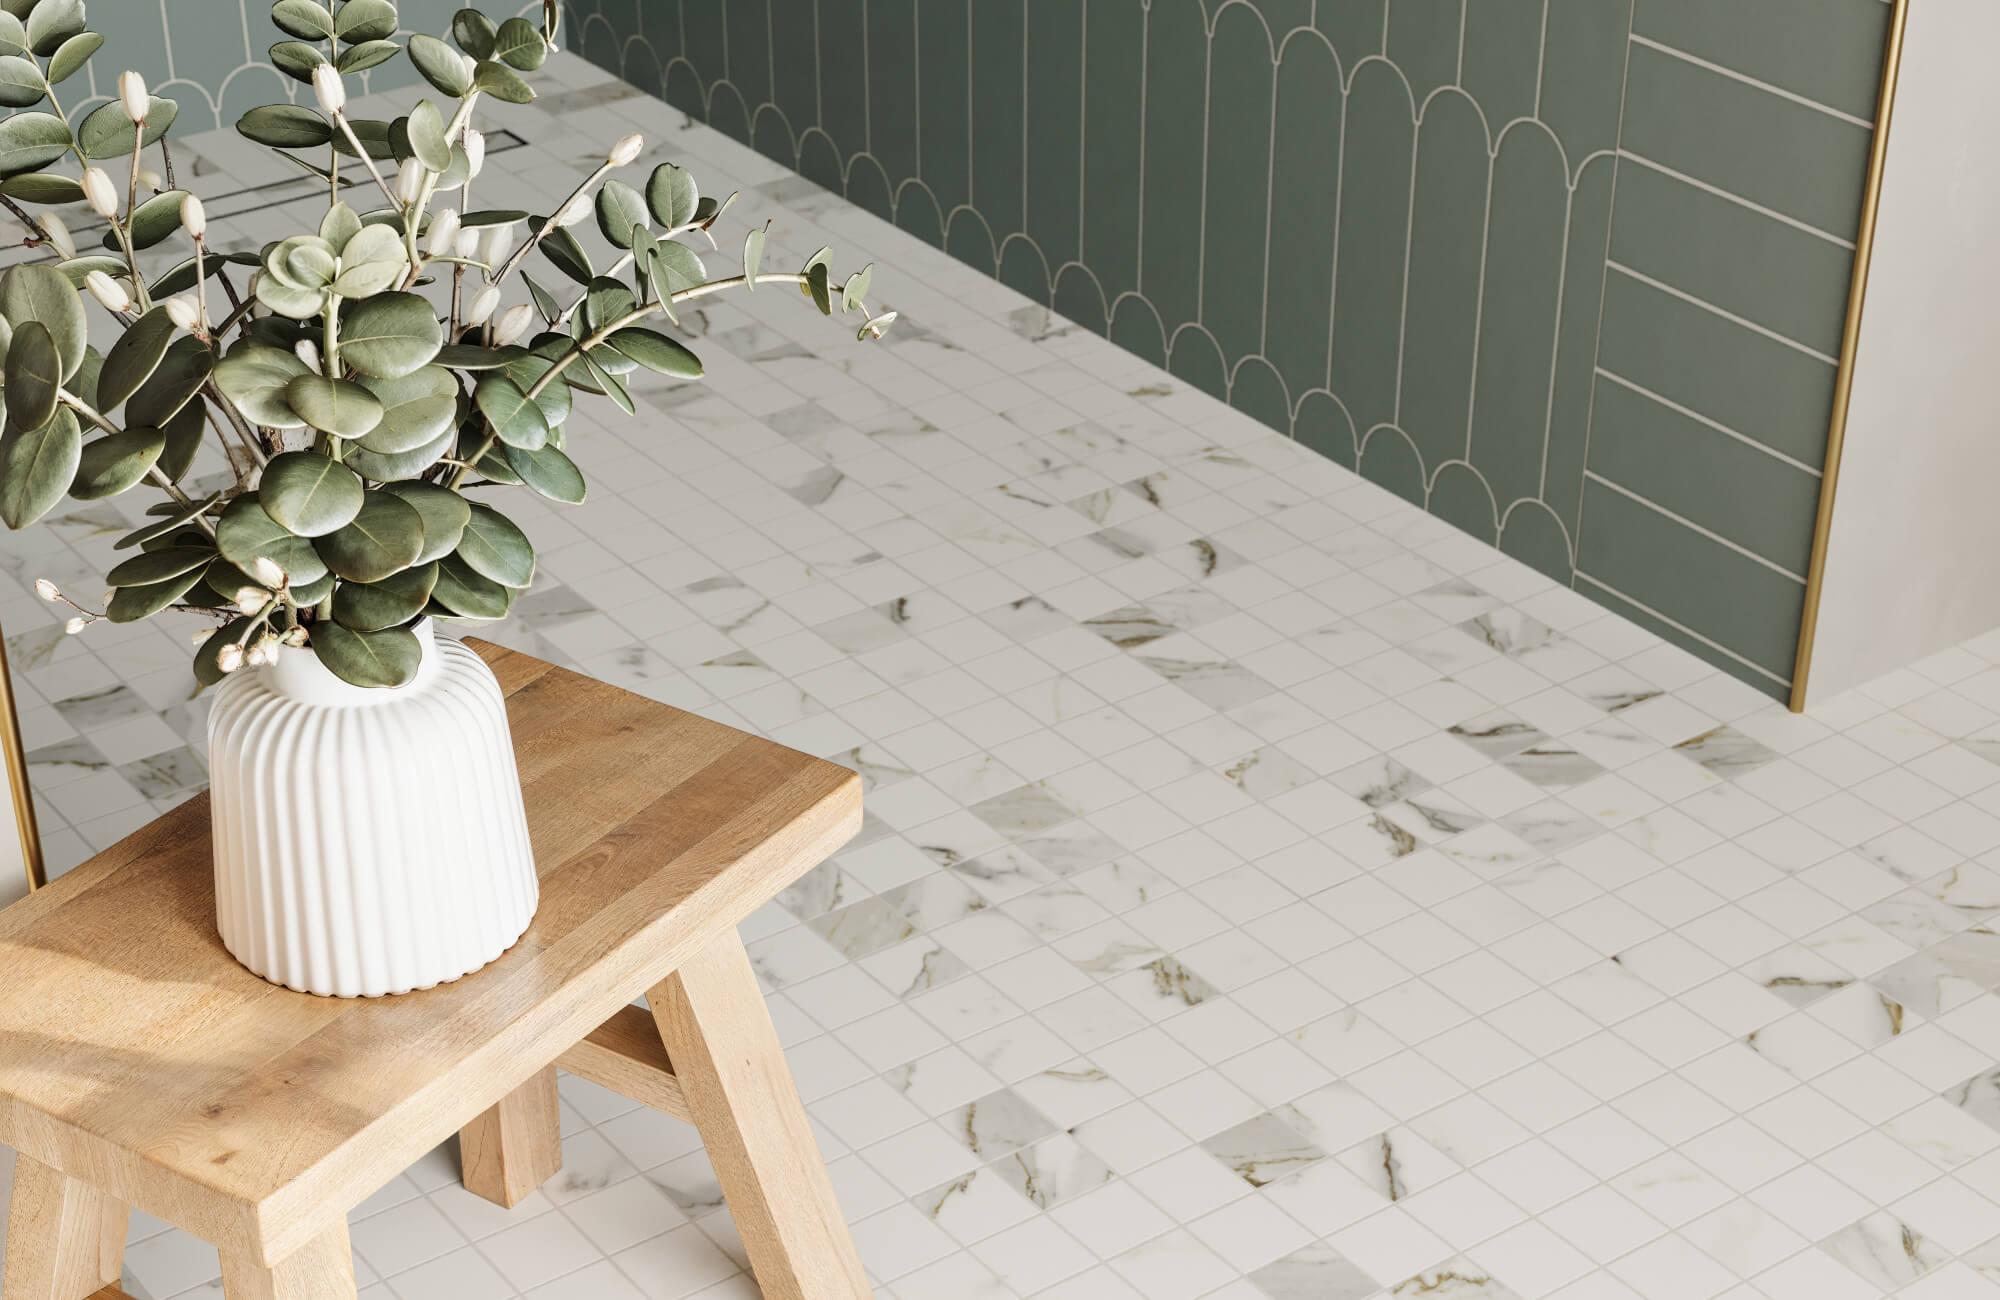
Equally important, the misuse of cleaning products remains a major issue. Abrasive pads, bleach, acidic solutions, and harsh tools like steel wool can irreversibly damage glazed finishes and compromise grout lines. Even matte porcelain surfaces, like Edward Martin’s Leona 12x12 Checkerboard Matte Porcelain Tile in Marfil and Amani Grey, as shown in the photo above, require gentle, pH-neutral cleaners to preserve their unique texture and tone. With the right care, these tiles retain their beauty and durability even in high-use environments.
Expert Strategies for Lasting Tile Performance
Ultimately, keeping checkered tiles free from chips and scratches isn’t just about damage control; it’s about setting every layer up for success, from a solid subfloor to smart daily care. Whether it’s selecting the right PEI-rated material, sealing porous surfaces, or preventing abrasion from furniture and footfall, each detail contributes to the long-term performance of your tile investment.
At Edward Martin, we believe that durability starts with knowledge. If you’re looking to protect your floors with confidence, our team is here to help you make choices that blend design, function, and peace of mind.