


Retiling a bathroom can instantly elevate the look of the space, but it is also one of the most detail-sensitive parts of a renovation. The final cost is shaped by more than tile alone. Bathroom size, layout complexity, demolition, waterproofing, labor, and material selection all affect the total investment.
In 2026, that investment deserves even closer planning. U.S. consumer prices were up 2.4% year over year in February 2026, which means labor, freight, adhesives, and building materials remain meaningfully more expensive than they were just a few years ago. At the same time, current national pricing sources show bathroom retiling projects commonly landing anywhere from about $450 to $8,000 total, with average projects around $2,000, depending on size, tile type, and the amount of prep work required. Broader tile installation costs also continue to vary widely by material and installation method, and actual project pricing may shift based on location, contractor availability, and site-specific conditions.
That wide range is exactly why budgeting for a bathroom retiling project should start with scope, not guesswork. Once you understand what you are tiling, what materials you want, and what conditions exist underneath the old surface, it becomes much easier to estimate the project realistically and avoid expensive surprises.

Understanding the Scope of Your Retiling Project
Before pricing materials or collecting installation quotes, it helps to define the scope of work as clearly as possible. Retiling a powder room floor is very different from redoing a full bathroom with a tiled shower, feature wall, niche, and specialty layout. The more precise the scope, the more accurate the budget.
Bathroom Size and Layout Considerations
Size is the first cost driver, but it is not the only one. A small bathroom usually requires fewer materials, which can help control overall cost. However, compact spaces often include more tight corners, toilet cutouts, vanity edges, or awkward transitions, all of which can increase labor time. In other words, a smaller room is not always the cheaper install on a per-square-foot basis.
Larger bathrooms naturally require more tile, mortar, grout, underlayment, and finishing materials. They also take longer to complete. If the project includes both floors and walls, or extends into a shower surround, labor and waterproofing costs rise accordingly. A simple rectangular floor is usually the most efficient scenario, while rooms with alcoves, curved walls, benches, niches, or built-ins demand more cuts and more installation precision.
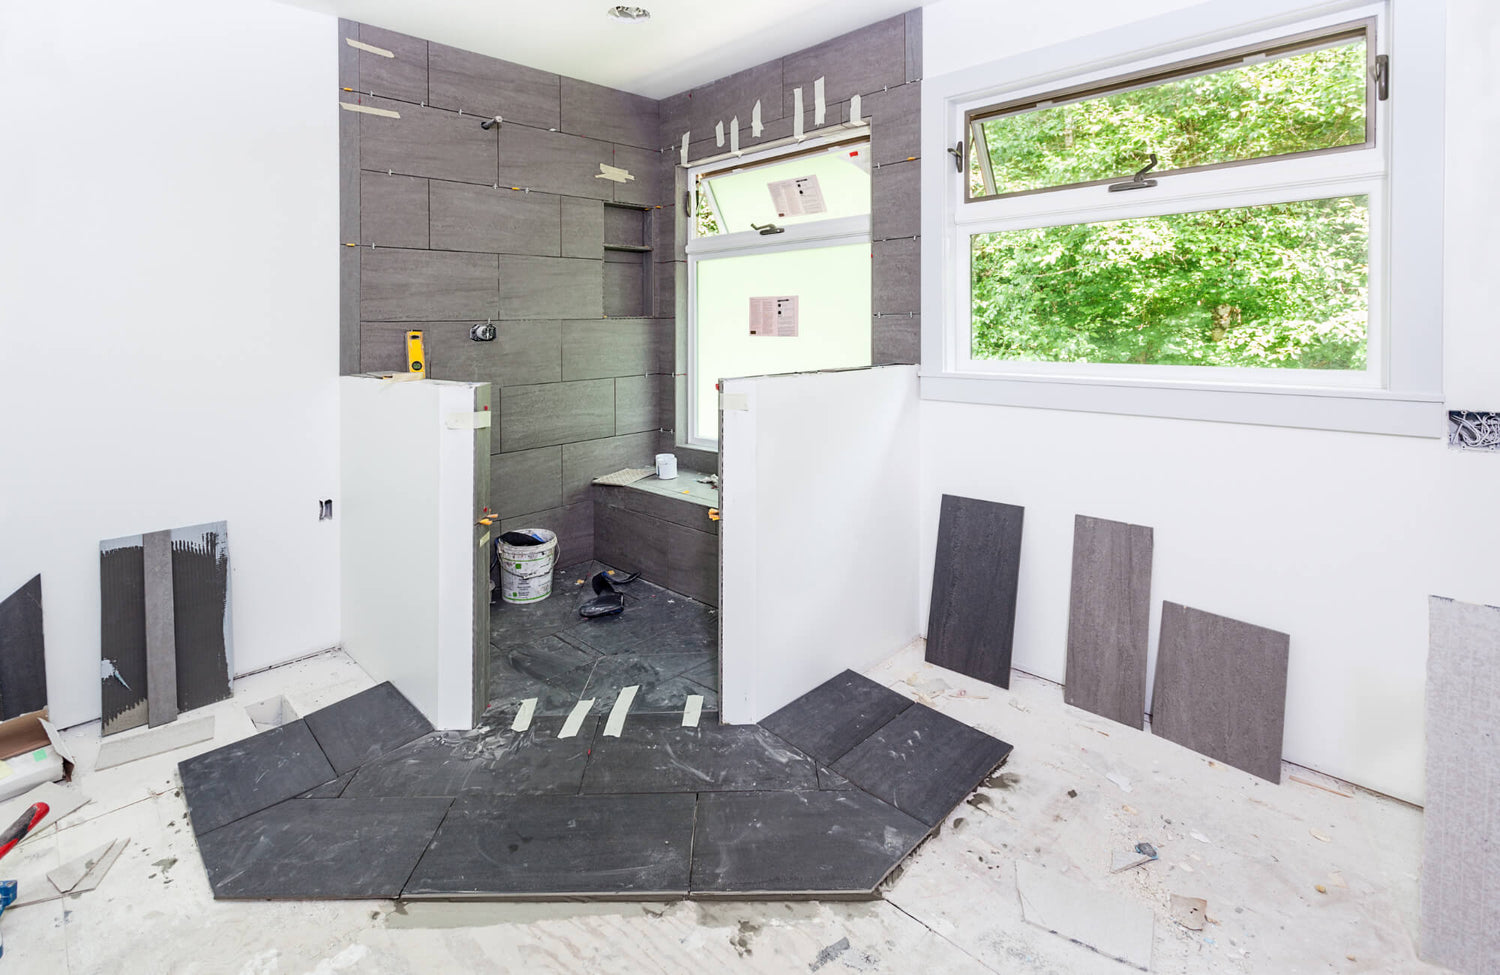
The condition of the existing surface matters, too. If the subfloor is uneven or the walls are out of plumb, your installer may need additional prep work before any tile goes down. That adds cost upfront, but it also helps prevent cracking, lippage, and moisture issues later.
Complexity of Tile Pattern and Design
Tile design has a direct effect on cost, and not just because of the tile itself. Straight-set and stacked layouts are generally the most budget-friendly because they are faster to install and create less waste. Once you move into herringbone, chevron, basketweave, or Versailles-inspired patterns, labor becomes more intensive and material overage tends to increase.
Tile size also plays a role. Large-format tile can create a refined, seamless look, but it demands a flatter substrate and more careful installation. In many cases, it also calls for advanced leveling systems to reduce lippage. Mosaic tile, on the other hand, may seem smaller and simpler, yet it often requires more time to align, more grout to apply, and more detailed finishing work, especially in showers and on feature walls.
Decorative details can also push the budget upward. Borders, inlays, medallions, hand-painted tile, embossed surfaces, or highly directional patterns all require greater precision. Even grout selection can influence cost and appearance. Contrasting grout tends to highlight the layout more dramatically, which means spacing and alignment must be especially clean. Epoxy grout offers stronger stain and moisture resistance in wet areas, but it is also more expensive and more demanding to install than standard cementitious grout.
Once the design direction is set, the next step is evaluating the materials themselves, because tile is only one part of the full product cost.

Breaking Down Material Costs for Bathroom Retiling
Material cost is where most homeowners begin, but the tile you choose is only one part of the equation. Adhesives, grout, waterproofing products, underlayment, and finishing supplies all contribute to the final number.
Tile Selection and Price Ranges
In 2026, ceramic tile remains one of the most budget-conscious options, with national pricing sources commonly placing it around $4 to $15 per square foot. It is a practical choice for bathroom walls, backsplashes, and light-to-moderate use areas, especially when you want style flexibility without moving into premium pricing.
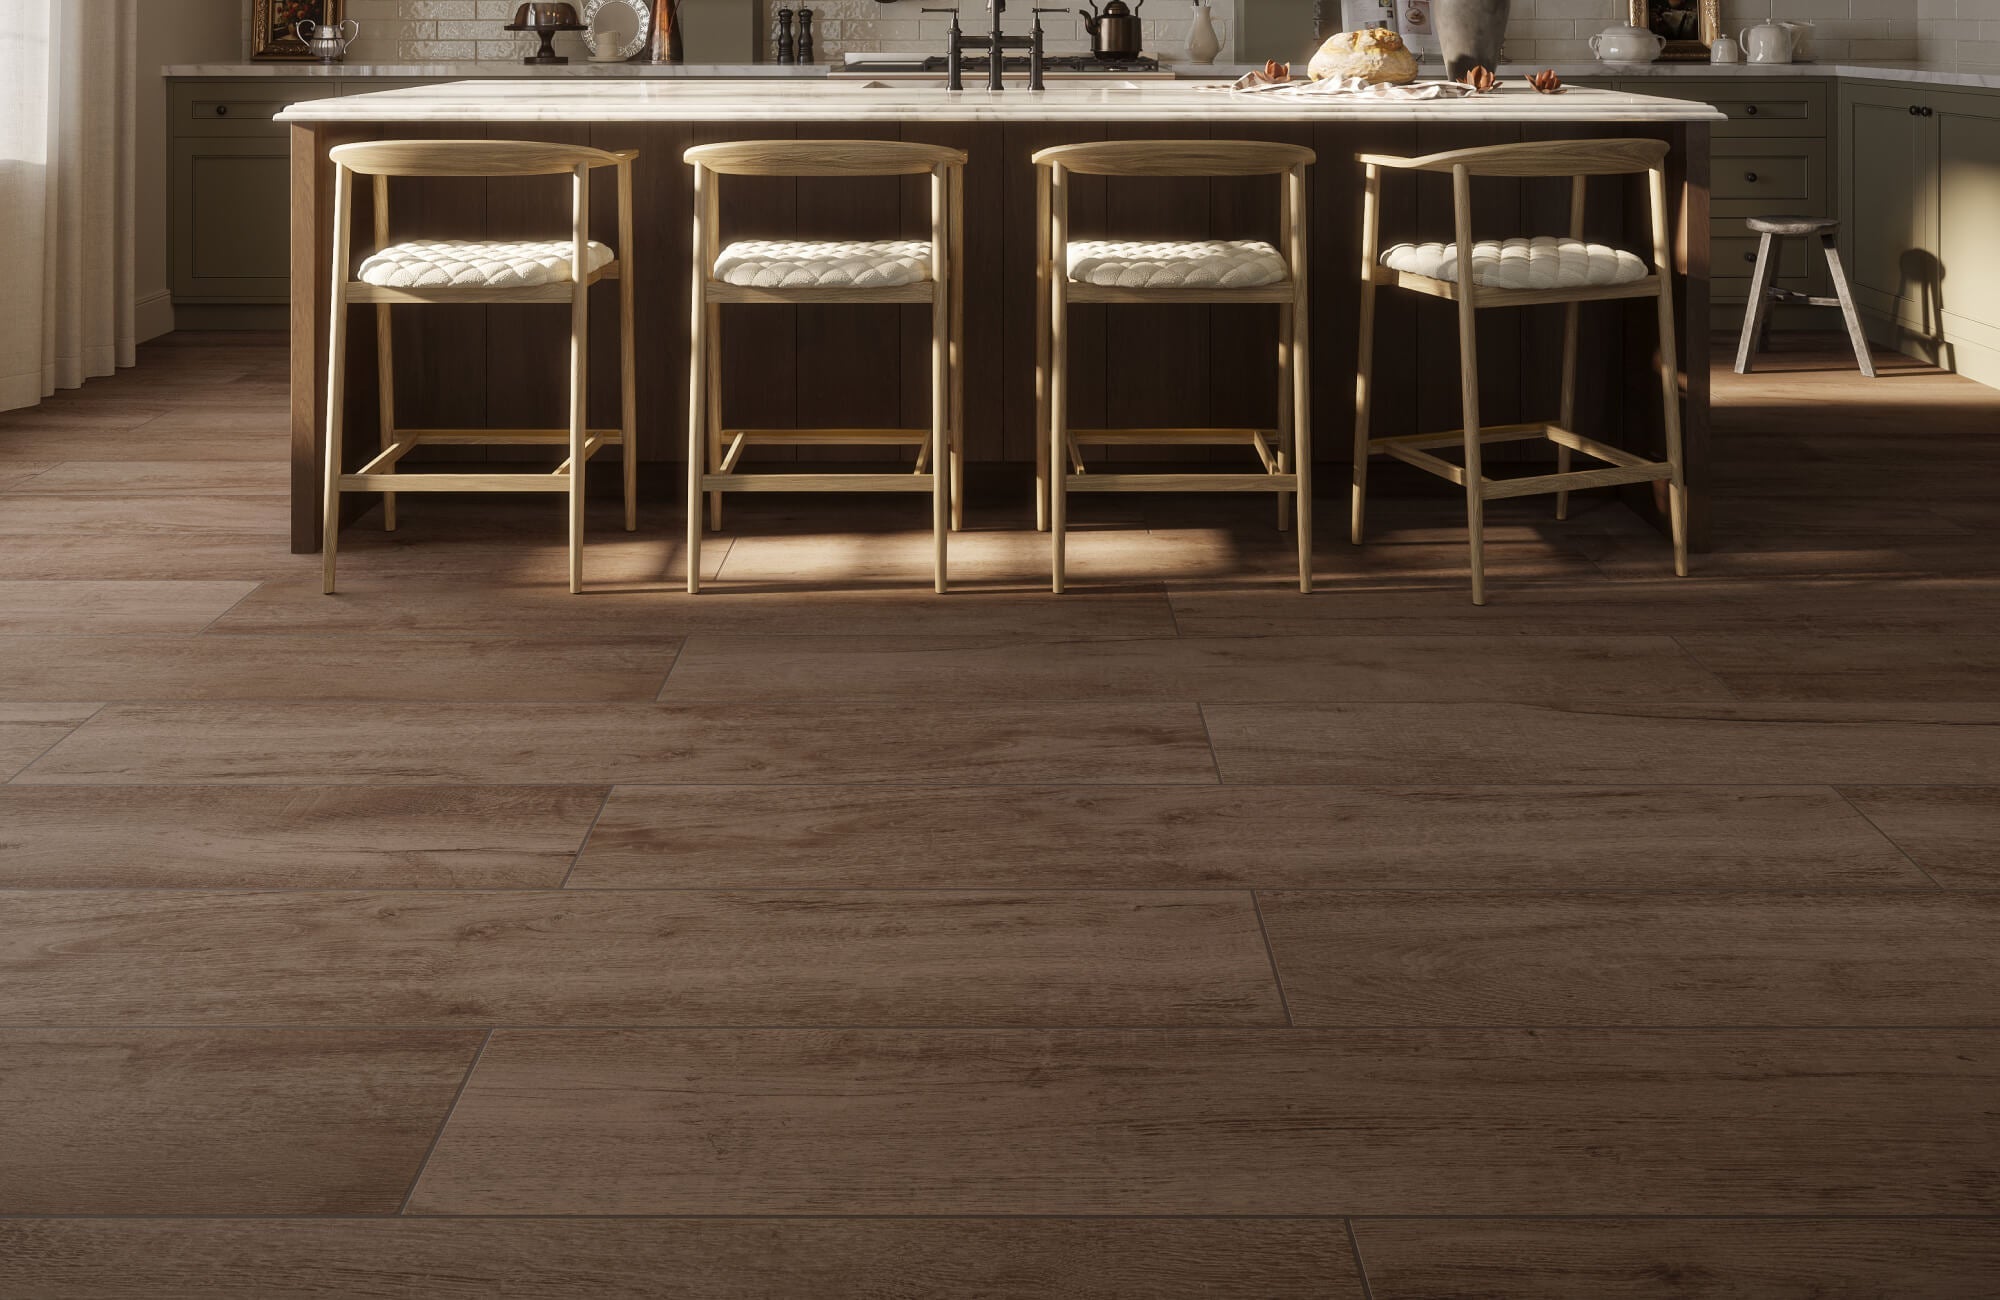
Porcelain tile typically starts a bit higher, often around $5 to $25 or more per square foot depending on finish, size, and visual detail. Its density, durability, and low porosity make it especially well suited to bathroom floors, shower walls, and other moisture-prone applications. In many cases, porcelain delivers the best balance of performance and design longevity, which is why it remains a preferred choice for higher-use bathrooms.
Natural stone, including marble, limestone, travertine, and slate, typically lands at a higher price point. Current estimates often place stone around $5 to $45 per square foot or more, depending on rarity and finish. While visually luxurious, natural stone usually brings additional maintenance requirements, including sealing and more specialized installation.
Glass tile can vary even more widely. Specialty glass installations may run from the premium end of standard tile pricing to dramatically higher custom ranges, especially for accent applications, intricate mosaics, and designer collections. Because of its cost and installation sensitivity, glass is most often used selectively rather than across an entire bathroom.
For a refined wall application, Edward Martin’s Natasha 2x6 Matte Porcelain Tile in Ice fits beautifully into this conversation. Its elongated format and soft matte finish give it a calm, architectural feel, while porcelain construction keeps it practical for bathrooms and showers. It works especially well when the goal is a clean, elevated look that still feels approachable, though long-term performance and maintenance will ultimately depend on proper installation, environmental conditions, and regular care.
Grout, Mortar, and Installation Supplies
Tile may set the aesthetic direction, but installation products determine how well the finished surface performs over time. Thin-set mortar generally ranges from about $10 to $50 per bag, with higher-performance formulas priced at the upper end. Polymer-modified mortars are often worth the upgrade for large-format tile or moisture-prone areas because they provide stronger adhesion and a bit more flexibility.
Grout is another cost tier to account for. Standard grout products often range from about $10 to $80 per bag or bucket depending on formulation. Sanded grout is typically used for wider joints, unsanded for tighter joints and more delicate tile, while epoxy grout comes at a premium because of its durability, stain resistance, and water performance.
You should also budget for tile spacers, leveling clips, movement-joint sealants, and caulk. These are not the most glamorous line items, but they matter. Together, they support alignment, help manage expansion and contraction, and improve the longevity of the installation in corners, transitions, and wet areas.
Waterproofing and Substrate Preparation Materials
In a bathroom, some of the most important products are the ones you do not see when the job is done. Cement backer board generally costs around $10 to $20 per sheet, while waterproofing membranes often range from about $50 to $150 per roll or bucket depending on the system. Self-leveling underlayment usually falls around $30 to $50 per bag. These products are essential when the goal is a bathroom that looks good and performs well long term.
If you are retiling a shower, waterproofing should never be treated as optional. Proper moisture management is one of the most important differences between a professional-grade installation and one that may fail early. The same is true for floor leveling. A tile surface is only as good as the substrate beneath it, and skipping prep often leads to visible imperfections or structural problems down the line.

Labor Costs and Professional Installation
Labor is often the second-largest portion of a retiling budget after material selection, and in some cases it becomes the largest. That is especially true when demolition, waterproofing, or specialty layouts are involved.
Hiring a Professional Tiler vs. DIY Installation
National pricing in 2026 places tile installation labor at roughly $3 to $15 per square foot in many scenarios, while full tile installation totals often reach about $15 to $20 per square foot once materials and standard installation are combined. For bathroom-specific retiling, labor costs frequently rise when the project involves walls, shower surrounds, niches, or demolition.
For those weighing professional installation against DIY, the real question is not just cost, but risk. A straightforward bathroom floor with standard ceramic tile may be manageable for an experienced DIYer. But once the project includes waterproofing, shower walls, large-format tile, specialty cuts, or uneven surfaces, the margin for error narrows considerably.
Professional installation offers clear advantages: tighter layout execution, better substrate prep, cleaner finishing, and reduced likelihood of problems such as hollow tiles, uneven spacing, lippage, grout haze, or water intrusion. It also spares you the cost of tool rental and the learning curve that comes with first-time tile work. Wet saw rentals alone can add another $30 to $100 per day, and that does not include the value of your own time, which is why projects involving wet areas or complex installations are typically best handled by qualified professionals to ensure proper waterproofing and long-term durability.
DIY can reduce labor spend, but it rarely eliminates cost altogether. Material waste, tool purchases, extra overage, and the potential need to redo part of the work can narrow the apparent savings quickly.
Regional Variations in Labor Rates
Labor rates can vary sharply depending on where the project is located. In high-cost metro areas, skilled tile setters often charge premium rates due to higher overhead, stronger renovation demand, and greater specialization. In smaller cities or less competitive markets, installation rates may be more moderate.
That gap becomes even more noticeable with projects that involve premium materials or advanced layouts. Luxury renovations tend to command higher labor pricing because they require more exacting craftsmanship, more protection of surrounding finishes, and a greater emphasis on visual precision. In practical terms, two bathrooms of the same size can produce very different quotes depending on local labor conditions and installer expertise.
Additional Labor for Demolition and Preparation
Demolition is one of the easiest costs to underestimate. Current pricing sources suggest old tile removal can add roughly $2 to $5 per square foot, while tile floor removal alone may add another $5 per square foot in some projects. If the original installation is especially stubborn, or if disposal, wall repair, or subfloor repair is required, costs can rise from there.
Preparation is equally important. Damaged drywall, rotted subflooring, improperly sloped shower pans, or outdated backing materials can all add labor before the new tile phase even begins. These are not glamorous expenses, but they are often the difference between a bathroom that lasts and one that develops issues prematurely.

Estimating Total Project Costs and Budgeting
Once materials, labor, and prep work are accounted for, the overall budget becomes much easier to define. At this stage, it helps to think in project ranges rather than one fixed number.
What a Bathroom Retiling Project May Cost in 2026
In 2026, a smaller, more straightforward bathroom retiling project may fall near the lower end of the current national range, especially if you are using standard ceramic or porcelain tile and limiting the work to the floor or a compact wall area. A mid-range project with good-quality porcelain, professional installation, and some waterproofing or prep work may land closer to the middle of the range. A more involved bathroom with tiled shower walls, premium materials, decorative layouts, extensive demolition, or substrate repairs can move quickly toward the higher end.
For homeowners who want a practical benchmark, today’s market suggests that average bathroom retiling projects often cluster around a few thousand dollars, but highly customized bathrooms can exceed that comfortably once labor, specialty tile, and moisture-management systems are included. This is why quote comparisons matter so much. A low estimate may not include the same level of prep, waterproofing, or finishing detail as a higher one.
Creating a Detailed Budget and Contingency Plan
A strong budget should include more than tile and labor. It should also account for demolition, surface prep, adhesives, grout, underlayment, trim pieces, sealants, and waste overage. For most projects, it is smart to order enough tile to cover the installation plus roughly 10% extra for cuts, breakage, and future repairs. More intricate layouts may call for even more overage.
It is also wise to reserve a contingency fund of about 10% to 20% of the project total. That cushion becomes especially valuable if hidden moisture damage, wall repairs, leveling issues, or plumbing-related adjustments appear once demolition begins. In a bathroom, surprises behind the finished surface are common enough that a contingency is not overly cautious; it is simply realistic.
Financing Options and Payment Expectations
If the project is part of a larger renovation, financing may help spread the cost more comfortably. Home improvement loans, home equity products, and promotional credit options are common choices, though each comes with different risks and repayment structures. For smaller bathroom tile projects, some homeowners simply phase the work or prioritize the highest-impact areas first.
When working with a contractor, payment schedules typically include an upfront deposit followed by progress payments and a final balance upon completion. A clear written scope is essential here. It should state exactly what is included, from demolition and disposal to waterproofing, grout type, and final cleanup.

Tips for Saving Money on Bathroom Retiling
Retiling a bathroom does not have to mean overspending. The smartest savings usually come from thoughtful choices rather than cutting critical corners.
Choose Cost-Effective Materials Without Compromising Style
One of the best ways to manage cost is to choose materials that offer the look you want without the maintenance or price of a more demanding surface. Ceramic is often the most budget-friendly route, while porcelain tends to deliver the best mix of visual sophistication, durability, and moisture resistance.
For a design-forward ceramic option, Edward Martin’s Lilah 6x6 Glossy Ceramic Tile in Marine is a strong example of how a bathroom can feel layered and expressive without moving into a fully custom price tier. Its rich color and handcrafted sensibility create impact, especially on walls or as a focal detail.
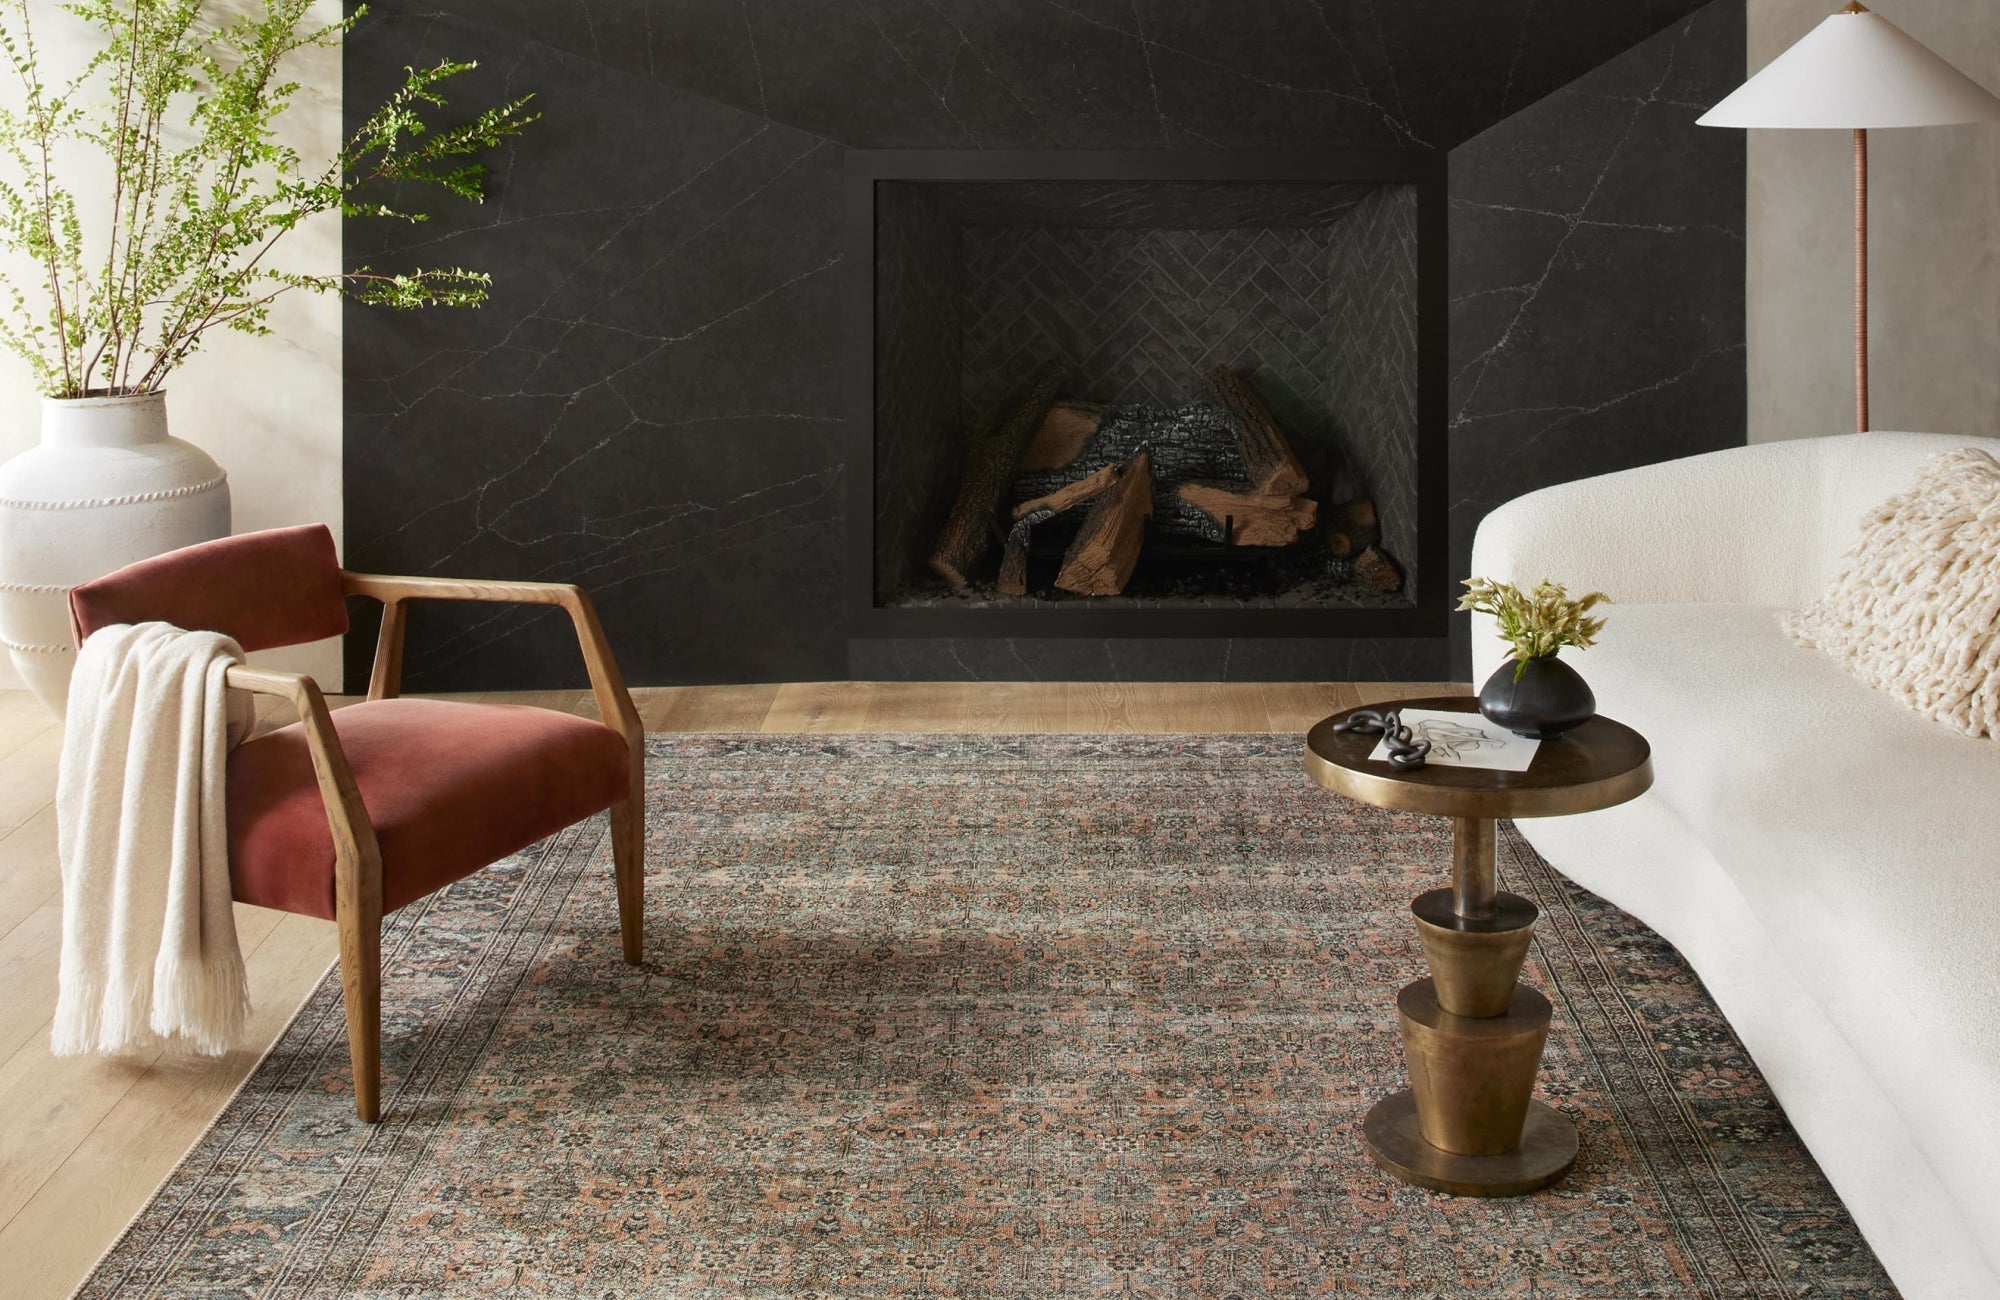
If you love the look of natural stone but want something more practical, marble-look porcelain is often a smarter value. Edward Martin’s Aniston 24x48 Matte Porcelain Tile in Calacatta Viola offers the drama of bold veining with the performance advantages of porcelain, as illustrated in the softly illuminated alcove installation shown above. It is a compelling option for those who want a high-end look with less maintenance and a more predictable long-term cost profile.
Simplify the Layout to Reduce Waste and Labor
Pattern choice has a direct budget impact. If saving money is a priority, a simple stacked or offset layout will usually be more economical than herringbone, chevron, or other cut-heavy patterns. Standard tile sizes also tend to be easier and faster to install than highly specialized dimensions.
Careful layout planning can also reduce waste. Dry-laying the pattern before installation helps identify awkward cuts and allows the tile field to be balanced more cleanly across the room. The result is not only more efficient, but usually more visually polished as well.
Time the Project Strategically
Seasonality can influence both labor rates and product pricing. During busier renovation seasons, especially spring and summer, contractors may have less scheduling flexibility and higher pricing. Slower periods, often in late fall and winter, can create better opportunities for booking experienced installers at more competitive rates.
Material pricing can also shift around seasonal promotions, inventory clearances, and product transitions. Planning ahead gives you the advantage of shopping more selectively rather than buying in a rush. Tools like Edward Martin’s Augmented Reality (AR) Visualization Tool can further support this process, allowing you to preview tile selections in your space ahead of time so decisions feel more considered rather than reactive when it comes time to purchase.
Final Cost Considerations for a Successful Retiling Project
Retiling a bathroom is one of those upgrades where the finished result depends just as much on the hidden work as on the visible surface. Tile choice matters, but so do layout planning, substrate preparation, waterproofing, and installation quality. When all of those elements are considered together, the budget becomes easier to manage and the end result becomes far more enduring.
In 2026, with inflation still influencing renovation costs and labor rates remaining sensitive to region and demand, a well-planned budget is more important than ever. U.S. consumer prices were up 2.4% year over year in February 2026, reinforcing the value of pricing carefully, building in a contingency, and choosing materials that balance beauty with performance.
For those who want to make confident decisions, Edward Martin’s tile samples service offers a practical advantage. Seeing a tile in person makes it easier to evaluate tone, finish, texture, and scale under real lighting conditions before committing to the full project. Whether you are refreshing a compact bathroom or planning a more extensive renovation, thoughtful material selection and realistic budgeting are what turn a tile upgrade into a lasting investment, though final costs and installation approaches should always be confirmed with a qualified contractor or design professional based on the specific conditions of your space.