


Porcelain pavers have become a go-to choice for outdoor projects thanks to their durability, sleek design, and resistance to weather and wear. But while they offer plenty of practical benefits, the installation process isn’t always as straightforward as it looks. For homeowners thinking of going the DIY route, it’s important to understand what makes porcelain different and where things can get tricky. In this article, we’ll explore how DIY-friendly porcelain paver installation really is, including what tools you’ll need, which methods are most approachable, and when it might be best to bring in a professional.

What Makes Porcelain Pavers Unique?
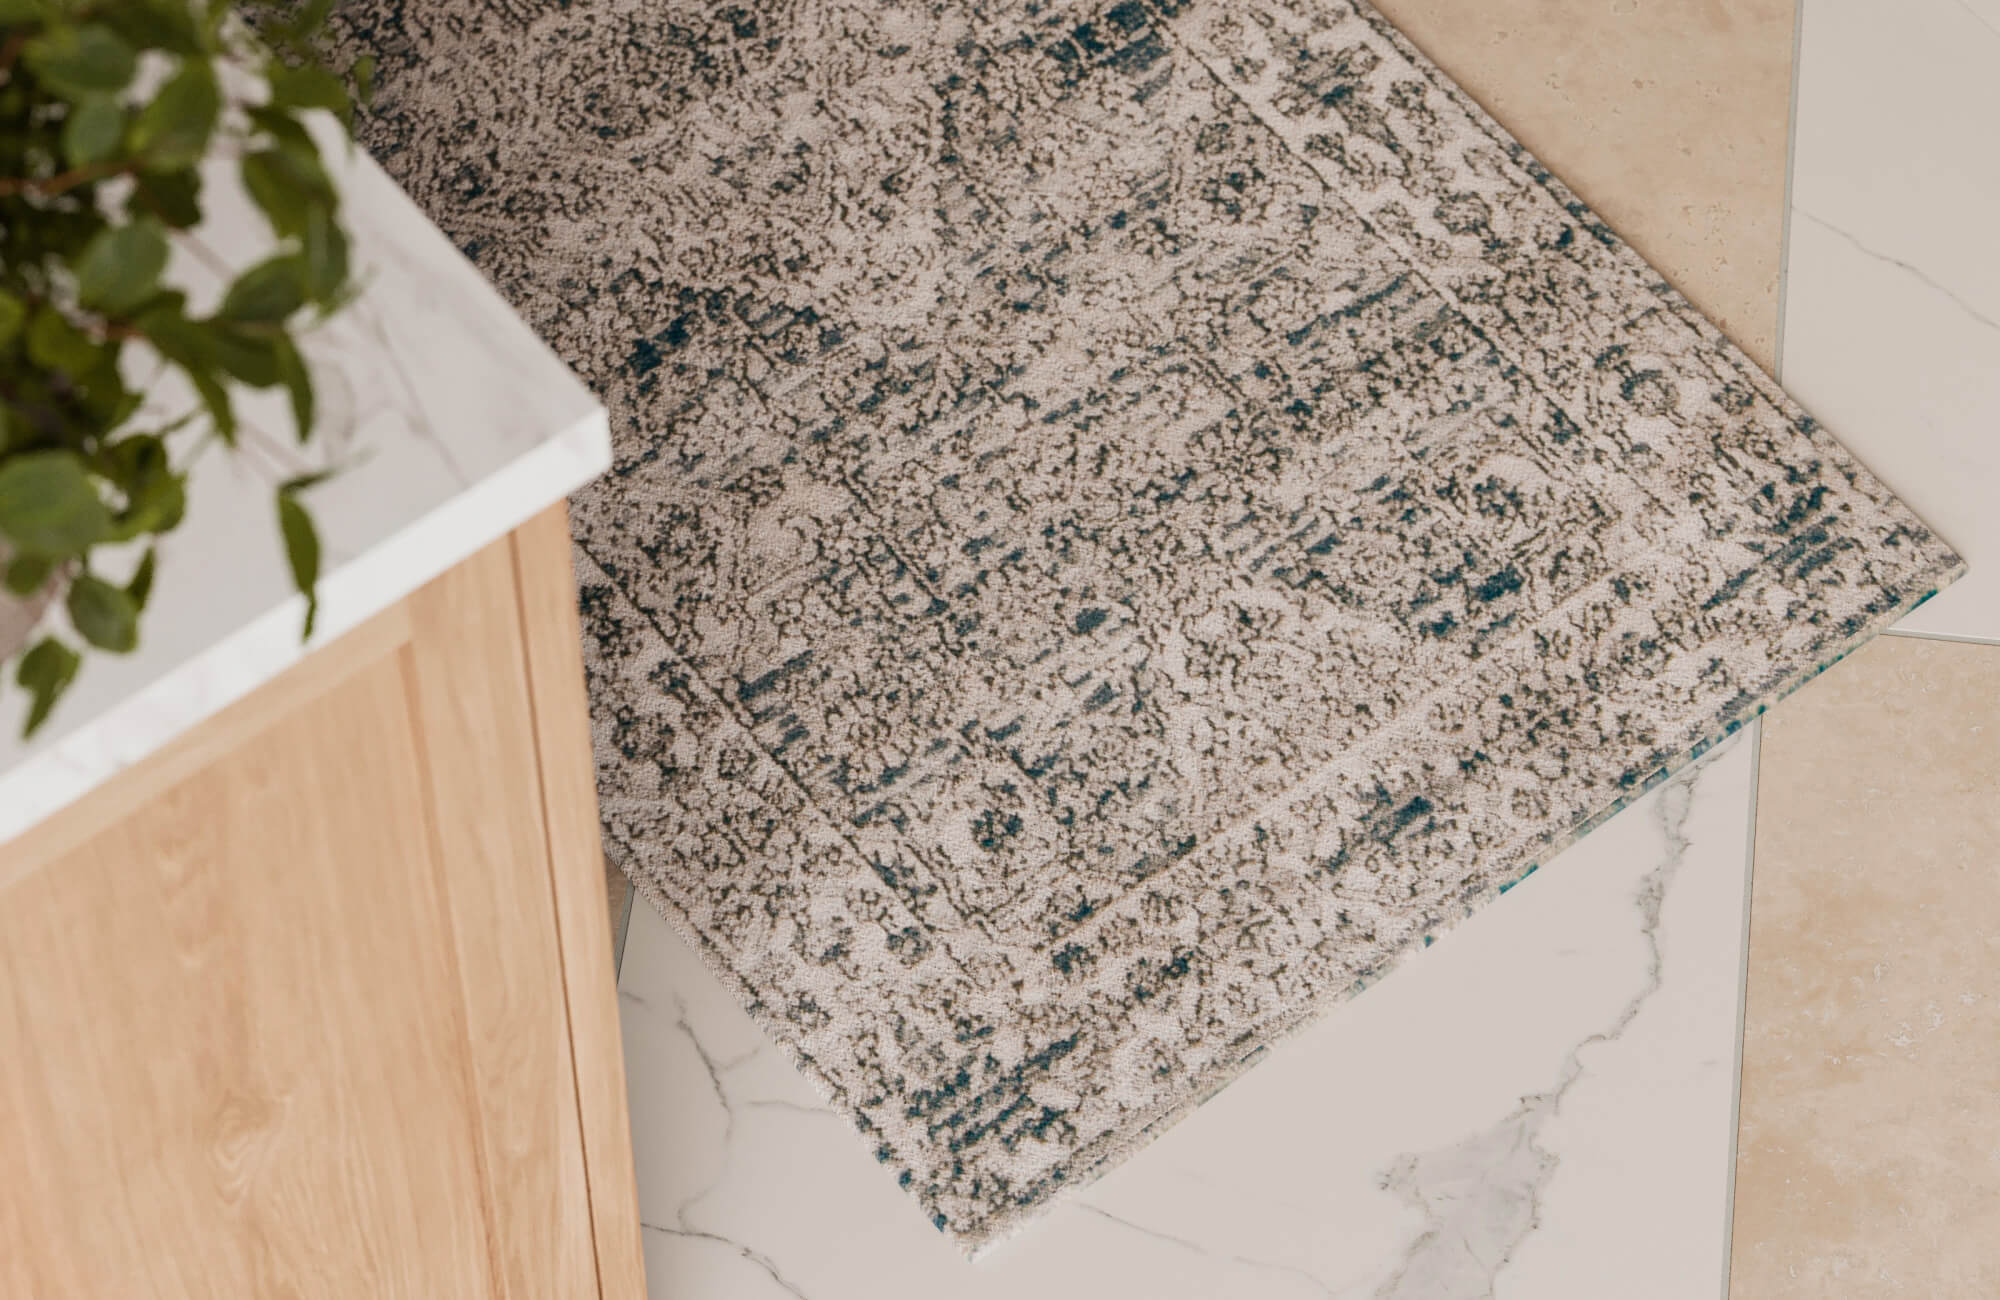
Porcelain pavers, such as our Dawson 24x48 Grip Porcelain 2cm Paver Tile in Dune above, bring a different set of expectations to outdoor installations. While they resemble natural stone or concrete in style, their performance and handling on-site are shaped by factors like precision cuts, low water absorption, and denser composition.
High Density and Low Porosity
Porcelain pavers are fired at extremely high temperatures, which makes them significantly denser and less porous than natural stone or concrete. This means they don’t absorb water easily, which helps prevent freeze-thaw damage and staining, two common issues in outdoor spaces. However, that same density also makes them heavier and harder to cut, especially for those using basic DIY tools. Unlike softer stone, porcelain can chip if not handled or scored properly during installation.
This matters most when the project involves a lot of trimming or fitting around curves and tight edges. Standard tile cutters often aren’t strong enough, and wet saws with diamond blades are usually required for clean cuts. While this isn’t a dealbreaker for experienced DIYers, it’s something first-timers should prepare for. It also means more setup time and a higher need for safety gear when cutting. So while the finished product is low-maintenance, the upfront labor is less forgiving.
Factory-Calibrated Dimensions
One of the key benefits of porcelain pavers is their uniform sizing. Because they’re factory-made, each piece comes with nearly identical dimensions, which can make planning layouts faster and cleaner compared to irregular stone. For modular patterns or tight grout lines, this consistency is a big plus; it helps keep spacing accurate and lines sharp, especially when dry-laying on gravel or pedestal systems.
But this precision can also highlight small mistakes. If the base isn’t level or if a corner sinks slightly, the flaw will be more noticeable than it might be with rough-cut stone. There’s little margin for visual error with such clean edges. DIY installers need to spend more time ensuring the sub-base is well-compacted and level throughout. It’s not just about placing the tiles; it’s about getting the groundwork nearly perfect beforehand.
Slip Resistance and Surface Texture
Porcelain pavers come in a range of surface finishes, some designed specifically to improve traction in wet or poolside areas. Textured or grip-rated finishes help reduce the chance of slipping, especially when the tile gets wet. This makes them a strong candidate for patios, walkways, or pool decks where safety is just as important as style. It also gives DIYers more flexibility to choose a product based on performance, not just looks.
That said, texture can impact how the tile handles during installation. Rougher surfaces may be harder to clean during grouting or more abrasive on your hands while positioning each paver. It's also something to consider if you plan on using a pedestal system; some ultra-grip finishes don’t sit flat as easily without adjustments. So while texture helps in long-term use, it may add extra care in the installation stage.

Can Beginners Handle Cutting and Layout On Their Own?
Installing porcelain pavers as a DIYer isn’t impossible, but it does demand a few extra considerations, especially when it comes to cutting and laying out the design. Because the material is dense and unforgiving, mistakes often come down to tools or prep, not just skill.
Required Tools for DIY Cutting
Porcelain’s density means basic snap cutters or scoring tools typically won’t cut it—literally. Most home DIYers will need to rent or purchase a wet saw with a diamond blade for clean, consistent cuts. For small adjustments or curved edges, an angle grinder with a porcelain-rated blade can help fill the gap. These tools aren’t overly complex to use, but they do require patience, safety gear, and practice to avoid cracks or chips.
That said, access and confidence are major factors. Renting equipment from a hardware store can be cost-effective, but it adds pressure to get the job done quickly. And while many homeowners can handle straight cuts with guidance, intricate trimming around posts, drains, or steps often proves more difficult. If your layout involves a lot of precision cuts, it might be worth handling the main installation yourself and outsourcing the trickier cuts to a pro.
Planning Layouts for Grading and Drainage
Laying porcelain pavers on a patio or walkway isn’t just about putting pieces together like a puzzle; it also requires thoughtful planning for water flow. Porcelain doesn’t absorb moisture like concrete or stone, so proper grading is key to avoid puddling. Sloping the surface slightly away from structures and allowing for water runoff is a critical step that even seasoned DIYers sometimes overlook.
Ignoring drainage needs can lead to surface pooling or even structural damage over time. That’s why layout planning should include more than just a tape measure and pattern idea—it needs a plan for slope, edge restraints, and the right sub-base. Fortunately, with guides or layout strings, even first-timers can sketch a basic grading plan. The trick is to spend more time on prep than on the actual laying. If water moves the way it should, everything else becomes easier.
Making Precision Cuts for Edges and Corners
Edges and corners are often where DIY confidence starts to wobble. Making clean cuts that fit tightly around posts, steps, or curves takes patience and careful measuring. Porcelain’s toughness adds to the challenge, as rushed cuts are more likely to chip or go off line. It’s not that beginners can’t do it, but it’s where errors tend to show the most, especially with pavers that have crisp, rectified edges.
This is where it helps to know your limits. If your project has just a few simple border cuts, it’s realistic to handle those with a rented wet saw and some prep. But if your patio wraps around columns or includes custom shapes, calling in help for those sections may save you time and waste. A mix of DIY and pro support isn’t a failure, it’s often what makes the final result feel clean and polished.

What Are the Most DIY-Friendly Installation Methods?
Porcelain pavers can be installed in a few different ways, and some are definitely more beginner-friendly than others. The best method often depends on where you're installing a backyard, rooftop, or garden and how confident you are in your prep and leveling skills. Here, we’ll walk through the three most common options and how approachable each one feels for a DIY setup.
Dry-Laid Over Gravel or Sand
This is one of the most forgiving installation styles for homeowners, especially in garden paths, patios, or pool decks. With a compacted gravel base and a layer of leveling sand, porcelain pavers can be dry-set in place without adhesive or mortar. The method allows for easy realignment, and if you make a mistake, it’s relatively simple to lift a paver and adjust. It also drains well and doesn’t require curing time, which means you can finish and enjoy your space faster.
However, success with this method depends heavily on prep. You’ll need to excavate to the correct depth, create a compacted base, and keep the sand layer consistently level. If skipped or rushed, uneven settling or shifting can occur over time. But with patience and a few key tools (like a plate compactor and level), dry-lay installation is well within reach for most DIYers and often the most cost-effective option.
Raised Pedestal Systems
Pedestal systems are ideal for rooftops, balconies, or sloped surfaces where drainage and accessibility are top priorities. These adjustable plastic pedestals support each corner of the paver and allow you to create a flat surface even if the subfloor isn’t. It’s a clean, non-permanent system that doesn’t require mortar or adhesives, just accurate leveling, and spacing. For design flexibility and drainage, it’s a solid win.
That said, pedestal systems are slightly more advanced and best suited for confident DIYers with some experience in leveling and measuring. The grid layout must be carefully planned, and pedestals need to be adjusted individually to maintain an even surface. Mistakes in height or spacing can throw off the whole pattern. While not impossible for beginners, this method benefits from careful prep or even a test layout before full installation.
Mortar-Set Installations
Using mortar is one of the most durable and long-lasting methods, especially for driveways, walkways, or permanent outdoor spaces. The pavers are bonded to a concrete slab or mortar bed, creating a firm surface that resists shifting and settling. It also helps in areas where frost heave or heavy use might be a concern. This approach is common in professional installations and yields a polished, built-to-last look.
However, it’s not the most DIY-friendly route. Mixing mortar, spreading it evenly, and setting each tile precisely requires more skill, and once it cures, there’s no undo button. Sloped surfaces, uneven application, or gaps in coverage can lead to cracking or instability. For first-timers, this method is best reserved for small accent areas or left to the pros unless you’re ready to commit to the learning curve.

What Accessories and Extras Might You Overlook?
Even with the pavers picked out and a layout plan in place, there are smaller installation accessories that can make or break your project. These extras often get missed in early planning, but play a big role in how polished, durable, and safe the finished surface feels.
Edge Restraints and Spacer Tools
Without edge restraints, dry-laid pavers are more likely to shift or drift over time, especially with human use or weather changes. These barriers keep the outer perimeter locked in place and help maintain clean lines. Spacer tools, on the other hand, ensure uniform joints and consistent alignment as you lay each tile. Skipping them may seem minor, but it can lead to crooked rows or uneven spacing. A little precision here goes a long way in making the whole surface feel intentional and stable.
Grout or Joint Sand Options
Depending on your installation method, you’ll either need polymeric sand, regular jointing sand, or grout. Polymeric sand hardens after activation, which reduces weed growth and washout, making it ideal for outdoor spaces. For pedestal or mortar installs, the right grout mix ensures long-term performance and seals gaps cleanly. It’s easy to overlook these finishing details, but choosing the right filler material affects durability, drainage, and visual consistency.
Leveling Clips and Spacers for Large Formats
If you're working with large-format porcelain pavers, tile leveling systems can help avoid lippage and keep everything flush. These clips and wedges maintain even height between adjacent pavers while the adhesive or mortar cures. Even with dry-lay setups, they can be useful to check plane alignment across a wide surface. While they may seem like a pro-only tool, many DIYers find them easy to use and worth the extra step. For smooth transitions and a professional finish, they’re hard to beat.
Surface Sealers for Added Protection
While porcelain is naturally resistant to moisture and staining, some people choose to apply sealers for added protection, especially on textured or unglazed surfaces. A penetrating sealer can help repel grime, prevent mildew buildup in joints, or enhance color depth. It’s especially useful in shaded or damp areas where algae or dirt can collect. Sealers are optional, but they offer peace of mind if you want less maintenance down the line. Just be sure to choose one designed for porcelain, not natural stone.
Drainage Mats or Underlayment Layers
In certain installations, especially rooftops or poolside areas, drainage mats or waterproof membranes help direct water away from the sub-base. These layers prevent pooling beneath the pavers and protect the materials underneath from moisture damage. They’re not required in every case, but when needed, they improve both safety and longevity. If your space is exposed to rain or heavy watering, factoring in drainage solutions early can save you a headache later. It’s a simple upgrade that often gets skipped in DIY plans.
Using Our AR Tool for Smarter Planning
Before you even start your install, our AR Tool can help you visualize exactly how your porcelain pavers will look in your space. By projecting tiles at scale in real environments, it helps you test colors, layouts, and orientations, saving time and reducing mistakes. This is especially helpful if you're torn between patterns or unsure how your chosen surface will interact with existing elements. It’s a digital step that adds confidence to your decisions before you commit to cutting or placing anything on-site. A small preview can prevent big regrets later.

Common Mistakes DIYers Make With Porcelain Pavers
Porcelain pavers may look simple to install, but small missteps during setup can lead to bigger problems down the line. Many DIYers run into issues not because of the tile itself, but due to prep or product mismatches that affect durability and function. Here are some of the most common and avoidable errors people make when working with these materials.
Skipping Subbase Preparation
Even if your tiles are perfectly cut, they won’t sit right without a stable, level subbase underneath. Skimping on compacting or grading the foundation leads to uneven settling, shifting tiles, or trip hazards over time. For dry-lay installations, especially, a well-compacted gravel and sand base is essential to long-term stability. The smoother and more even the base, the less likely you’ll deal with rocking or edge lift later. It’s the invisible part of the job that makes the biggest difference.
Misjudging Slope or Drainage
Porcelain pavers need a slight slope, usually 1–2% to shed water away from structures and walkways. If you install them dead flat or let low spots develop, water can pool and create safety issues or long-term damage underneath. This is especially risky near foundations or in high-use outdoor areas like patios and paths. Planning for water flow at the layout stage saves you from rework or water damage down the line. A level doesn’t always mean “flat”—it should guide runoff too.
Using the Wrong Adhesives or Grouts
Not all thinsets, adhesives, or grouts bond well with porcelain, which is denser and less porous than natural stone. Using general-purpose products can lead to poor adhesion, premature cracking, or staining. Always choose materials labeled as porcelain-compatible or approved for outdoor use to avoid performance issues. For example, modified thinset mortar with strong bonding agents is ideal for porcelain installations. It’s a small detail, but choosing the wrong formula can undo all your hard work.

When Should You Call in a Pro?
Tackling porcelain pavers on your own can be rewarding, but certain conditions make professional help the smarter option. Whether it’s about long-term durability or simply avoiding expensive mistakes, knowing when to bring in an expert can save time, stress, and future repair costs. Below are a few scenarios where calling in backup might be the better move.
Large or Sloped Outdoor Spaces
Big installations may seem manageable at first, but surface grading across a wide area is harder than it looks. If the slope isn’t consistent, you risk pooling water, uneven joints, and a surface that doesn’t feel secure underfoot. Proper grading requires more than a level; it needs real strategy and sometimes special tools to get it right.
For sloped yards or multi-tiered patios, a pro can help calculate runoff angles, compact layers evenly, and avoid long-term shifting. These aren’t the kinds of problems you want to discover after the tiles are down. If the project starts to feel more like landscaping than tiling, it might be time to bring someone in.
High-Load or High-Wear Areas
Driveways, outdoor kitchens, or pool decks face far more pressure than a standard patio. Even with a solid subbase, porcelain pavers in these zones need careful material pairing, proper joint spacing, and in some cases, reinforced support. DIY shortcuts here can lead to cracking, shifting, or worse.
A professional installer knows how to build for heavy use without compromising the look. They’ll also be familiar with code requirements or product specs that apply to weight loads and exposure to water or chemicals. If the area takes a beating, it’s worth getting it right the first time.
Intricate Layouts or Mixed Materials
If your design involves curves, borders, or mixing porcelain with other hardscaping materials, the complexity increases quickly. Laying tiles in a simple grid is one thing, but creating crisp transitions or integrating features like lighting or turf strips adds more layers to consider. Precision cuts and pattern alignment become a much bigger deal.
A professional can help execute that vision without compromising structure or aesthetics. They’ll also know which materials pair well with porcelain and how to handle expansion joints or edge treatments. When you’re juggling multiple elements, experience can make all the difference.
Still Unsure? When Guidance Can Make All the Difference
Installing porcelain pavers on your own can be a satisfying project, especially with the right prep, tools, and expectations. While the material’s durability and clean look make it a favorite for outdoor spaces, that same precision and density can create hurdles for first-timers. From cutting and leveling to managing slope and drainage, each step carries weight in how the finished surface performs over time. Some mistakes are easy to fix, but others are costly to undo.
If you're unsure where to start or want a second opinion on layout, prep, or product pairings, our design consultation team is here to help. Whether you plan to DIY most of the work or just need guidance on specific challenges, we’ll help make your outdoor space both beautiful and built to last. Sometimes, a little expert insight upfront is all it takes to make the rest of the process go smoothly.
