If you're thinking about refreshing your bathroom but aren’t ready to replace the entire vanity, you're not alone. Many people opt for simple, budget-friendly ways to update their space without the hassle of a full remodel. The good news is, in many cases, swapping out just the countertop can make a noticeable difference. In this article, we’ll explore when this option makes sense, what to keep in mind, and how to ensure your upgrade goes smoothly.

When Replacing Just the Countertop Is the Right Choice
Swapping out only the countertop can be a smart, cost-effective way to refresh your bathroom, but it doesn’t work in every situation. Let’s take a closer look at how to know if your existing vanity is a good fit for this kind of upgrade.
Check the Base Cabinet Condition
Before you start shopping for a new countertop, it’s equally important to ensure the vanity base is in solid shape. Look for signs that it’s still holding up well; no sagging panels, spongy areas, or water damage around the edges. If the cabinet feels sturdy, sits level, and has tight, secure joints, you're likely in a good position to move forward. On the other hand, if the wood is warped, cracked, or shows signs of long-term moisture exposure, replacing just the countertop won’t solve the underlying problem. A weak base can lead to issues down the line, so it’s always best to start with a foundation you can count on.
Consider the Style and Size Compatibility
This is where design and dimensions come together. Your new countertop shouldn’t just fit properly; it should also look like it belongs. If your vanity is a standard size, you’ll find plenty of prefabricated tops that can slide right into place with minimal fuss. However, if the base has custom dimensions or decorative detailing that clash with modern styles, finding a good visual match may take a bit more effort. That’s why it’s important to choose a countertop that aligns with both the scale and character of your vanity. With the right balance of proportion, color, and edge style, the entire piece will feel thoughtfully put together rather than pieced together.
Edward Martin’s Gemma 55" Single Vanity in Washed Blonde Oak Veneer with a Carrara Marble Top, as shown in the photo above, beautifully illustrates how style and size can come together seamlessly. A curved backsplash, subtle veining in the marble, and refined drawer detailing all complement the vanity’s proportions and natural wood tone. Together, these elements create a look that feels intentional and well-balanced. It’s a great reminder that when your countertop aligns with the character and scale of your vanity, the entire space feels effortlessly pulled together.
Plumbing Layout Matters
Your current sink and faucet setup has a big impact on how easily a new countertop can be installed. If you’re working with a standard center drain and typical faucet hole spacing, the process tends to be fairly straightforward. However, things can be more complicated if your plumbing was customized for a unique design, like a vessel sink, wall-mounted fixtures, or an off-center drain. In those cases, simply dropping in a new top might not be enough. That’s why it’s a good idea to double-check how everything lines up before making a purchase. A little planning upfront can save you time, money, and unnecessary frustration later on.

Choosing the Right Countertop Material for Your Needs
Once you know your vanity is ready for a new top, the next step is picking the right material. This choice determines how well your countertop will perform over time and how easy it will be to care for. Since every space and routine is different, it’s equally important to find a surface that fits both your style and the way you use your bathroom every day.
Quartz for Low Maintenance
Quartz is a popular choice, and it’s easy to see why. Since it’s engineered to be non-porous, it easily handles everyday bathroom messes, whether it’s toothpaste, makeup, or the occasional splash from a busy morning routine. Aside from that, it’s naturally scratch-resistant and doesn’t require sealing, which makes it especially appealing if you’re looking for a surface that’s both tough and easy to maintain. If your bathroom gets a lot of use, whether from kids, guests, or your daily routine, quartz delivers a polished, durable look without the hassle of constant upkeep. It also comes in a wide range of styles, from soft, stone-like shades to bold, modern designs, making it easy to find a look that fits your space.
Natural Stone for Classic Elegance
If you’re after a high-end, timeless look, granite or marble is hard to beat. Each slab is naturally unique, giving your vanity its distinct character and depth. While these materials do require some maintenance, such as regular sealing to guard against moisture and prevent surface etching from common products, the payoff is significant. For those who prioritize design and are comfortable with a little extra care, natural stone brings a level of warmth and sophistication that’s tough to match.
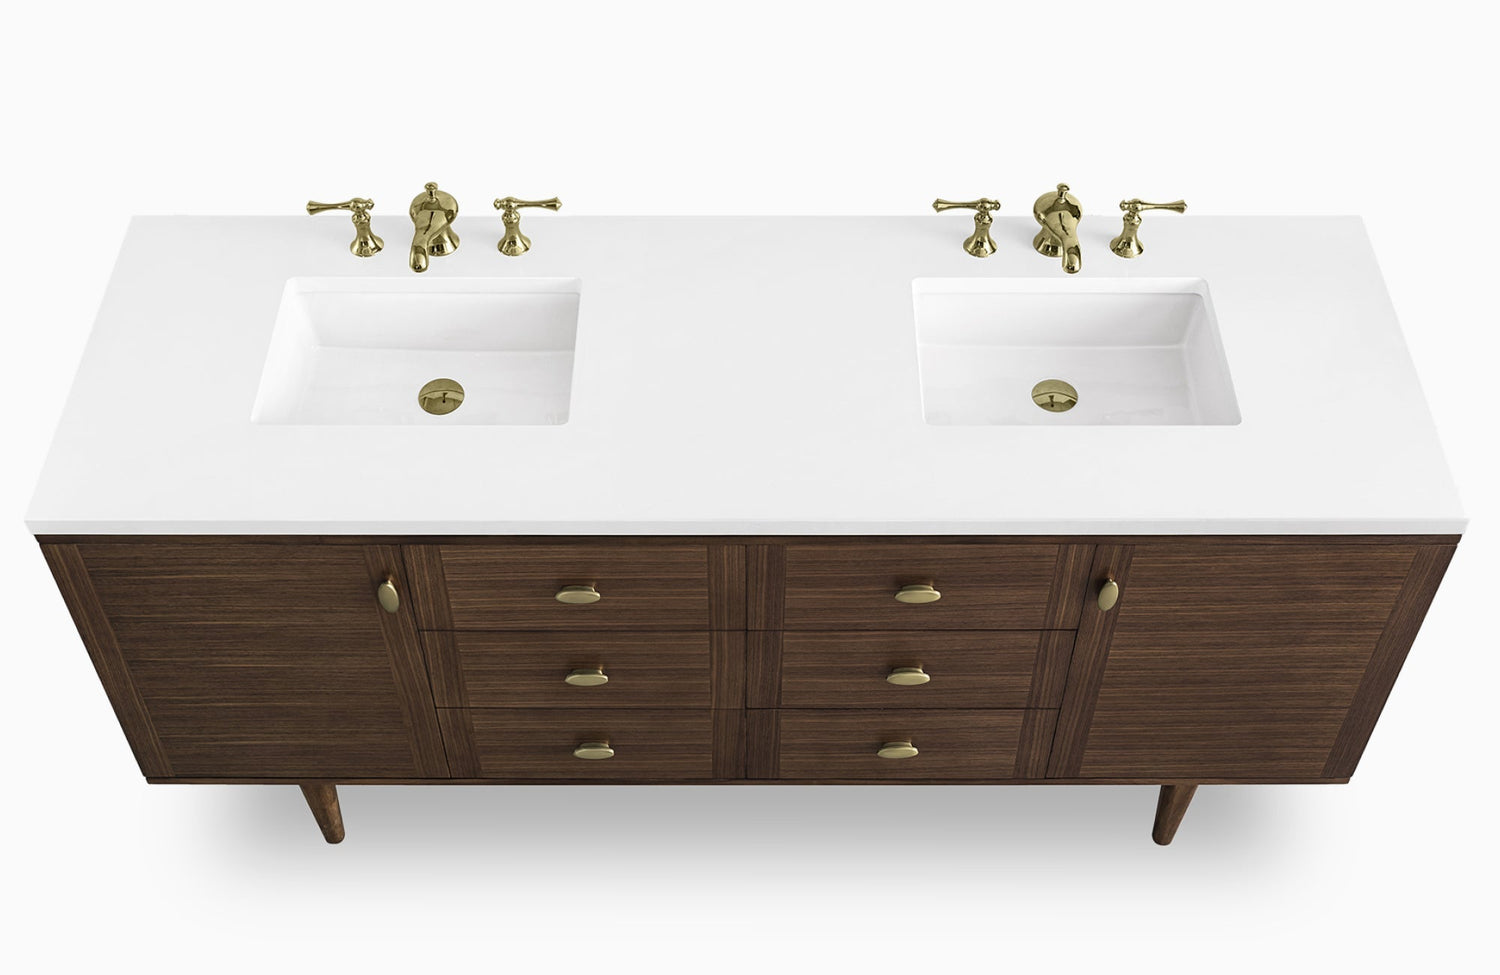
Take the Edward Martin Maxine 55" Single Vanity in Washed Natural Veneer with a Carrara Marble Top, for example. As displayed in the photo above, you can see how the soft veining of the marble complements the natural wood grain and warm brass fixtures, creating a cohesive, upscale look. It’s also a great example of how natural materials, when thoughtfully paired, can elevate a bathroom from functional to truly refined.
Laminate for Budget-Friendly Updates
Laminate might not steal the spotlight, but when budget is a priority, it’s a practical and appealing choice. Especially if you’re updating a guest bath, powder room, or rental property, it offers a cost-effective way to refresh the space without sacrificing style. Today’s laminate has come a long way; due to advances in design, it now mimics the look of stone, wood, and other premium materials with surprising realism. However, it’s also worth noting that laminate is more vulnerable to damage from heat or standing water, so it’s best suited for lower-moisture areas or spaces where appearance matters more than heavy-duty performance.
Solid Surface for Seamless Integration
If you’re drawn to clean lines and a modern, minimalist feel, solid surface countertops like Corian are worth a look. One of their biggest advantages is the ability to create integrated sinks and backsplashes, which means fewer seams and fewer places for dirt and grime to collect. This not only makes cleaning easier but also gives your vanity a sleek, continuous appearance. While they’re moderately durable and can handle everyday use, their true strength lies in the smooth, unified aesthetic they bring to the space. For those who value simplicity and function working hand in hand, solid surface offers a well-balanced solution.

How to Measure and Prep for a Countertop Replacement
Even the most stunning countertop won’t work if it doesn’t fit just right. That’s why taking accurate measurements and preparing your vanity properly is so important. Let’s walk through the steps to make sure everything is set before you place your order.
Measure the Vanity Top Exactly
When it comes to replacing a countertop, accuracy is everything. Start by measuring the full width and depth of the vanity top, including the backsplash if you plan to replace that too. Use a steel tape measure and note everything down to the nearest 1/8 inch, close enough won’t cut it here. If your current setup includes an integrated sink, be sure to measure the sink cutout as well. And if you're planning to reuse your existing sink, don't forget to check the rim dimensions and drain location. Getting these details right from the start also helps ensure your new countertop fits like it was made just for your space.
Remove the Old Countertop Carefully
It’s tempting to rush this part, but taking it slow can save you from costly mistakes. Begin by turning off the water supply and disconnecting the plumbing; this keeps things clean and manageable. Next, carefully score the caulk along the edges with a utility knife to loosen the seal. Most countertops are secured with screws from underneath, so you’ll need to locate and remove those before attempting to lift the top. If the countertop is large or heavy, it’s a good idea to ask for help. To protect nearby tiles, fixtures, or walls, lay down towels or blankets around the area. A little extra care here goes a long way toward a smooth installation later.
Check Wall and Cabinet Alignment
One detail that’s easy to miss, but also makes a big difference, is whether your walls and vanity base are truly level. Over time, cabinets can shift slightly, and walls may not be perfectly straight, especially in older homes. Before securing your new countertop, it’s a good idea to do a dry fit. You can do this by gently placing the top on the vanity without adhesive and checking for any uneven gaps along the wall or edges. If you spot irregularities, you might need to add shims or adjust with caulk to get a snug, polished finish. Taking care of these small fixes now will help your new countertop sit properly and look like it was made for the space.

DIY vs Professional Installation
Now that you’ve chosen your new countertop, the next big decision is how to get it installed. Should you tackle it yourself or call in a professional? Let’s take a closer look at how to decide, based on your experience, the time you have, and how comfortable you are handling tools and plumbing connections.
When a DIY Approach Makes Sense
If you’re comfortable with basic tools and enjoy tackling home projects, replacing a countertop can be a doable DIY task. It’s especially manageable if your vanity is a standard size and the plumbing setup is simple and familiar. With a few essentials on hand, like silicone caulk, a level, a pipe wrench, and a steady hand, you’ll be in good shape. Additionally, if you like learning as you go and don’t mind taking your time, this kind of project can also be both satisfying and cost-effective, giving you a fresh new look without the added expense of professional installation.
When to Hire a Pro
In more complicated situations, bringing in a professional is often the smarter choice. If you're working with a custom-sized countertop, a wall-to-wall vanity, or plumbing that doesn't follow standard configurations, an experienced installer can save you a lot of stress. The same goes for heavier materials like granite, which require careful handling and precise placement. A pro will also make sure everything fits properly, reconnects your plumbing safely, and helps maintain any warranties that come with the materials. When time is tight or precision matters, the added cost is often well worth the peace of mind.
Cost and Time Comparison
Going the DIY route can save you money, but it usually requires more of your time. From carefully removing the old countertop to making adjustments and completing the installation, the process can easily stretch across a full weekend or more. On the other side, hiring a professional crew often means the job gets done in just a few hours. While you’ll pay more for their time and expertise, you’re also gaining speed, precision, and peace of mind. In the end, it comes down to finding the right balance between your budget, confidence with tools, and how much time you’re willing to invest.

Making Sure Your New Countertop Works with the Rest of Your Bathroom
Upgrading your countertop can make a big impact, but it needs to work in harmony with the rest of your bathroom to truly shine. From fixtures to finishes, let’s look at how to create a space where everything feels thoughtfully connected, both in style and function.
Match the Faucet and Sink Finish
You’d be surprised just how much the finish on your faucet and sink can influence the overall feel of your vanity. If you’re keeping your existing fixtures, it’s important to choose a countertop material that complements their tone and texture. For example, brushed nickel tends to pair beautifully with cool-toned quartz, while oil-rubbed bronze brings out the richness in natural stone surfaces. Mixing metals can work too, but it needs to be done with intention to keep the space feeling cohesive rather than cluttered.
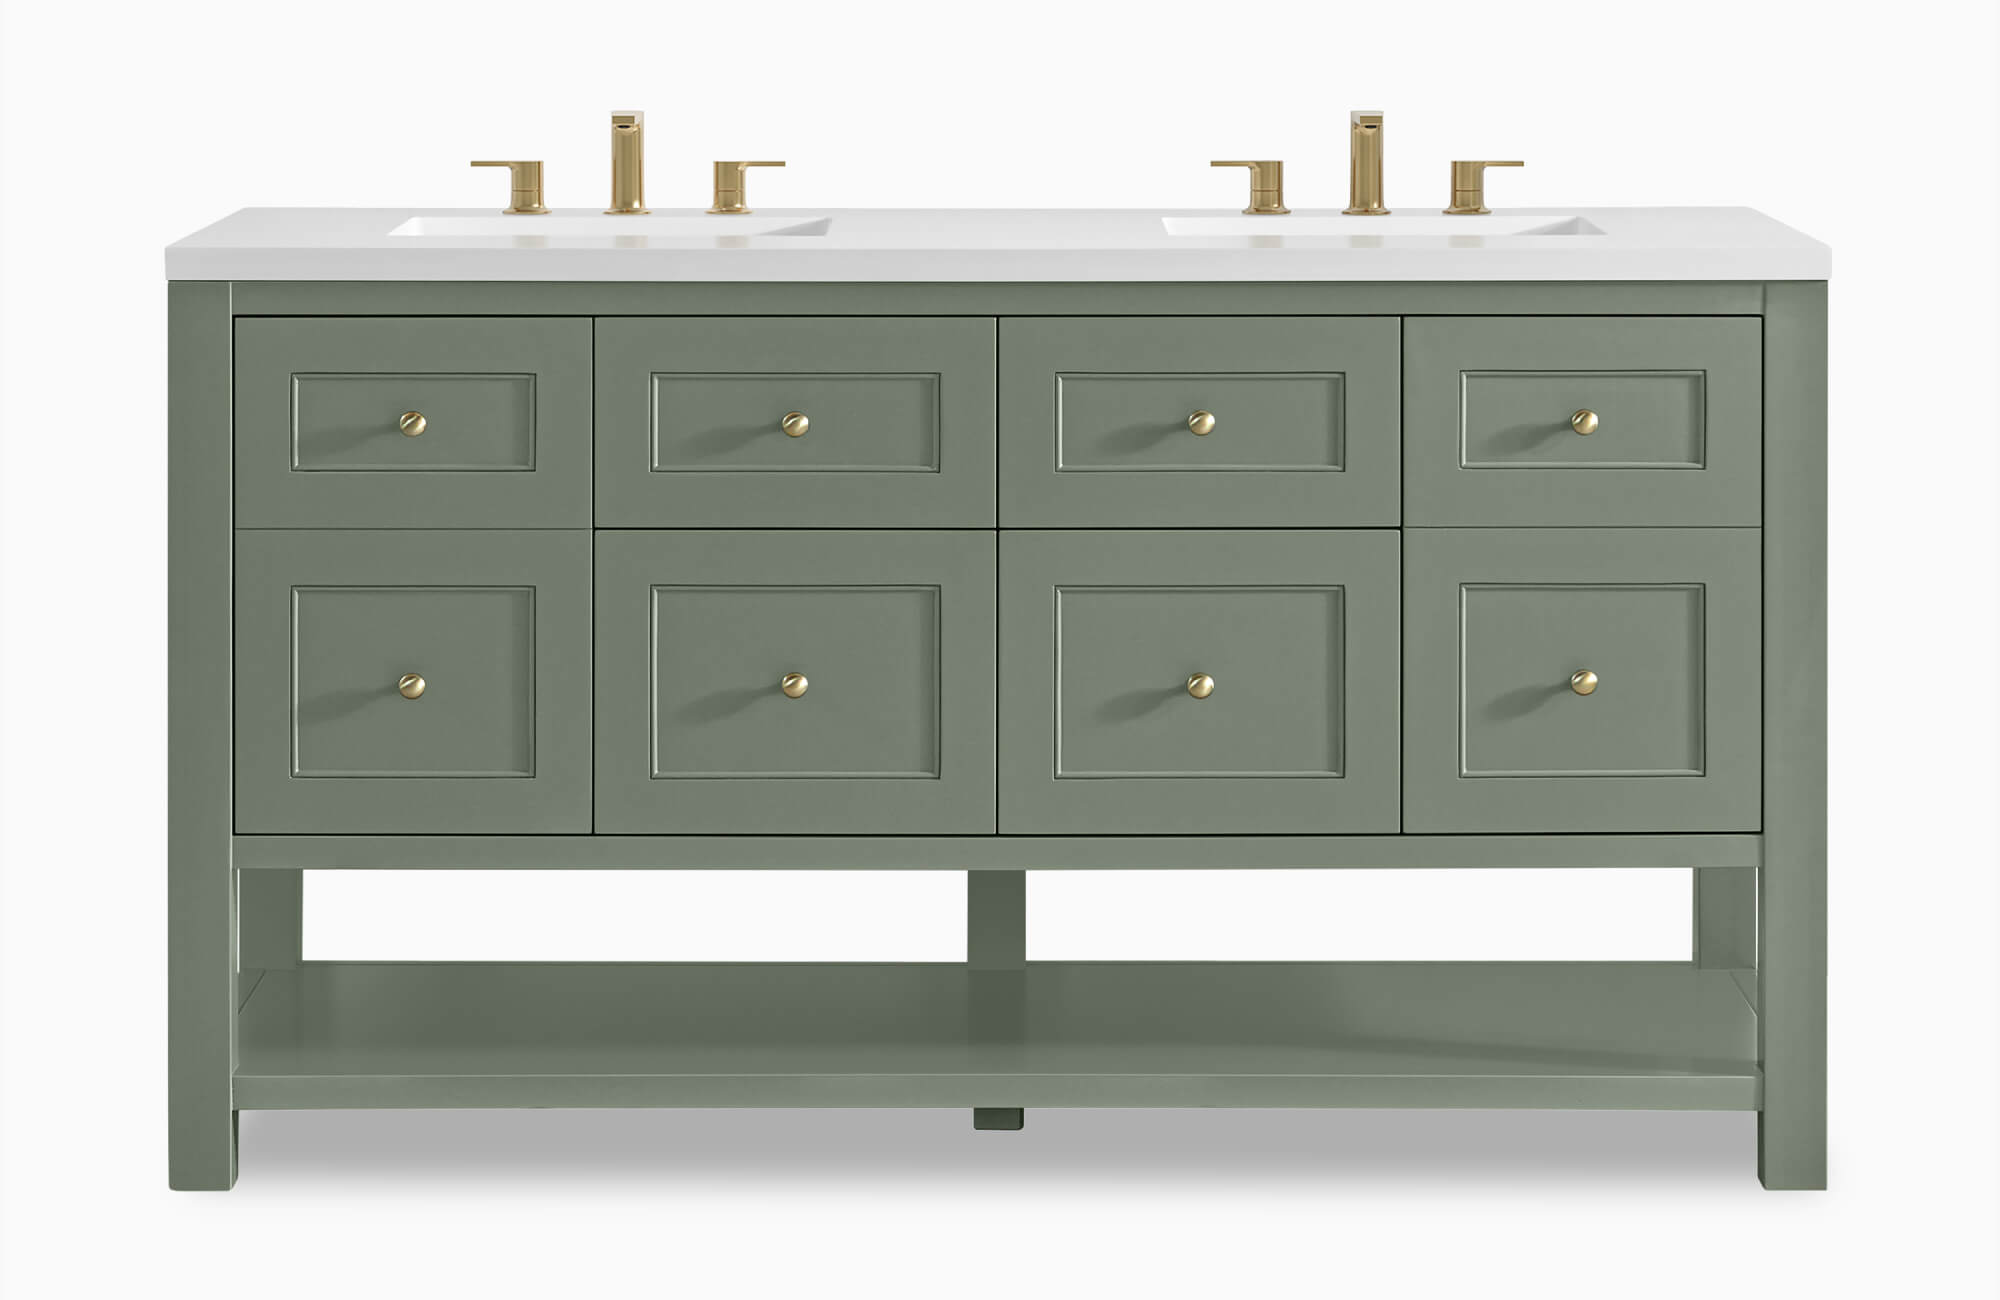
Edward Martin’s Abigail 30" Single Vanity in Light Natural Oak with a 3 cm White Zeus Quartz Top is a great example of how finish coordination brings a space to life. As displayed in the photo above, the warm brushed brass fixtures subtly reflect the natural wood tones while providing a crisp contrast against the bright white quartz. The result is a vanity that feels modern yet inviting, beautifully balanced, and intentionally styled. It’s a reminder that when materials and finishes are chosen with care, the entire space also feels cohesive without trying too hard.
Consider the Backsplash
The backsplash may seem like a small detail, but it plays a big role in connecting your countertop to the rest of the bathroom. Depending on the material you choose, some countertops come with a matching slab for a seamless look, while others give you the flexibility to add a tiled backsplash for more visual interest. It’s worth thinking about whether you prefer a clean, continuous surface or something that acts as a decorative accent. Also, keep in mind that if you're removing an old backsplash that was glued to the wall or cabinet, it could damage the paint or drywall, so it’s smart to factor that into your planning when selecting your new materials.
Tie in Flooring and Wall Colors
To create a bathroom that feels cohesive and well-designed, it’s important to make sure your countertop works with both the flooring and the walls. For example, a bright white surface might look too harsh next to warm-toned tiles, while a heavily patterned granite could compete with a bold wallpaper. Pay close attention to undertones, not just the overall color, since small differences can become much more noticeable once everything is installed. Taking the time to evaluate how these surfaces relate to each other will help you achieve a balanced, polished look.

Common Mistakes to Avoid When Replacing Only the Countertop
Even a straightforward upgrade like replacing the countertop can run into issues without the right preparation. To help your project stay on track, let’s take a look at some of the most common missteps and how you can steer clear of them. That’s why it’s always wise to consult with a professional designer or installer, as their expertise can help you avoid costly oversights and ensure a seamless finish.
Ignoring Cabinet Stability
One of the most common oversights is focusing on the countertop without checking the condition of the cabinet underneath. It’s easy to get excited about a new surface, but if the base isn’t solid, if it sags, wobbles, or has loose joints, it can cause problems down the line. Before moving forward with installation, take the time to make sure the cabinet is level, securely anchored, and in good shape. Reinforcing or repairing weak spots now can save you from much bigger headaches later on.
Forgetting to Check Sink Compatibility
It’s easy to assume any sink will fit your new countertop, but that’s not always the case. Whether you’re planning to reuse your current sink or pick out a new one, it’s also important to double-check that the bowl dimensions and mounting style align with the countertop’s cutout. For example, an undermount sink typically isn’t suitable for laminate unless extra reinforcement is added. Taking a few minutes to confirm the specs ahead of time can prevent delays and frustration during installation.
Skipping Sealants and Caulk
It’s easy to overlook the finishing touches, but sealing is one step you don’t want to miss. Even if your countertop material is water-resistant, the edges around the sink and backsplash are still vulnerable to moisture. Just a small gap can let water in, eventually leading to mold, swelling, or other hidden damage. To avoid issues down the line, make sure to use the appropriate sealant for your materials and apply it carefully. It’s also a good idea to check these areas periodically; cracks or peeling caulk are simple to fix if caught early.
Replacing the Countertop Can Be a Smart Vanity Upgrade
If your vanity base is still in great shape, replacing just the countertop is not only possible; it’s often a smart, affordable way to refresh your bathroom. With the right material and a bit of planning, this simple change can bring new life to your space without the expense or disruption of a full remodel. From picking a countertop that suits your style to ensuring everything lines up just right, the difference is in the details—and a professional installer can help make sure it’s done flawlessly.
If you need help choosing the perfect top or making sure it fits your current vanity, contact us today! Our team is here to answer your questions, walk you through your options, and make sure your upgrade goes smoothly. And if you’d like a little extra guidance, ask about our complimentary design services. We’ll help you pull everything together so your vanity looks as good as it functions!


