


Ceramic tile delivers on aesthetics and durability, but its role in wet environments is often misunderstood. While the glazed surface resists moisture, the tile itself, along with porous grout lines and exposed edges, does not create a fully waterproof barrier. Left unprotected, water can seep into the substrate, leading to mold, rot, and costly structural damage.
To address this, waterproofing a shower goes far beyond tile choice. It requires a layered approach, anchored by industry-backed methods and guidelines. Throughout this article, we’ll clarify the limitations of ceramic tile, unpack the science of water management, and outline the techniques professionals rely on to create truly moisture-proof installations.

Understanding Ceramic Tile Permeability
To understand why ceramic tile alone isn’t enough to waterproof a shower, it’s important to look beneath the surface, literally. From the tile’s internal porosity to the often-overlooked grout lines, several factors quietly influence how water moves through a tiled assembly.
The Porosity of Ceramic Tiles
Let’s begin with tile porosity, a fundamental yet frequently underestimated characteristic. Porosity, defined as the volume of microscopic voids in a tile’s body, is established during the high-temperature firing process. This property directly impacts water absorption, which the American National Standards Institute (ANSI) and ASTM C373 categorize as follows:
| Non-vitreous (high porosity) | Semi-vitreous | Vitreous | Impervious |
| >7% water absorption | 3–7% water absorption | 0.5–3% water absorption | <0.5% water absorption |
Given these classifications, most wall-grade ceramic tiles fall into the semi-vitreous range and therefore require an added waterproofing layer when used in continuously wet areas. In contrast, floor-grade ceramic and porcelain tiles, particularly those in the impervious category, are more suitable for high-moisture environments like showers. Even so, glazed tiles, while water-resistant on the surface, can still absorb moisture through unsealed edges or backs if not properly installed.
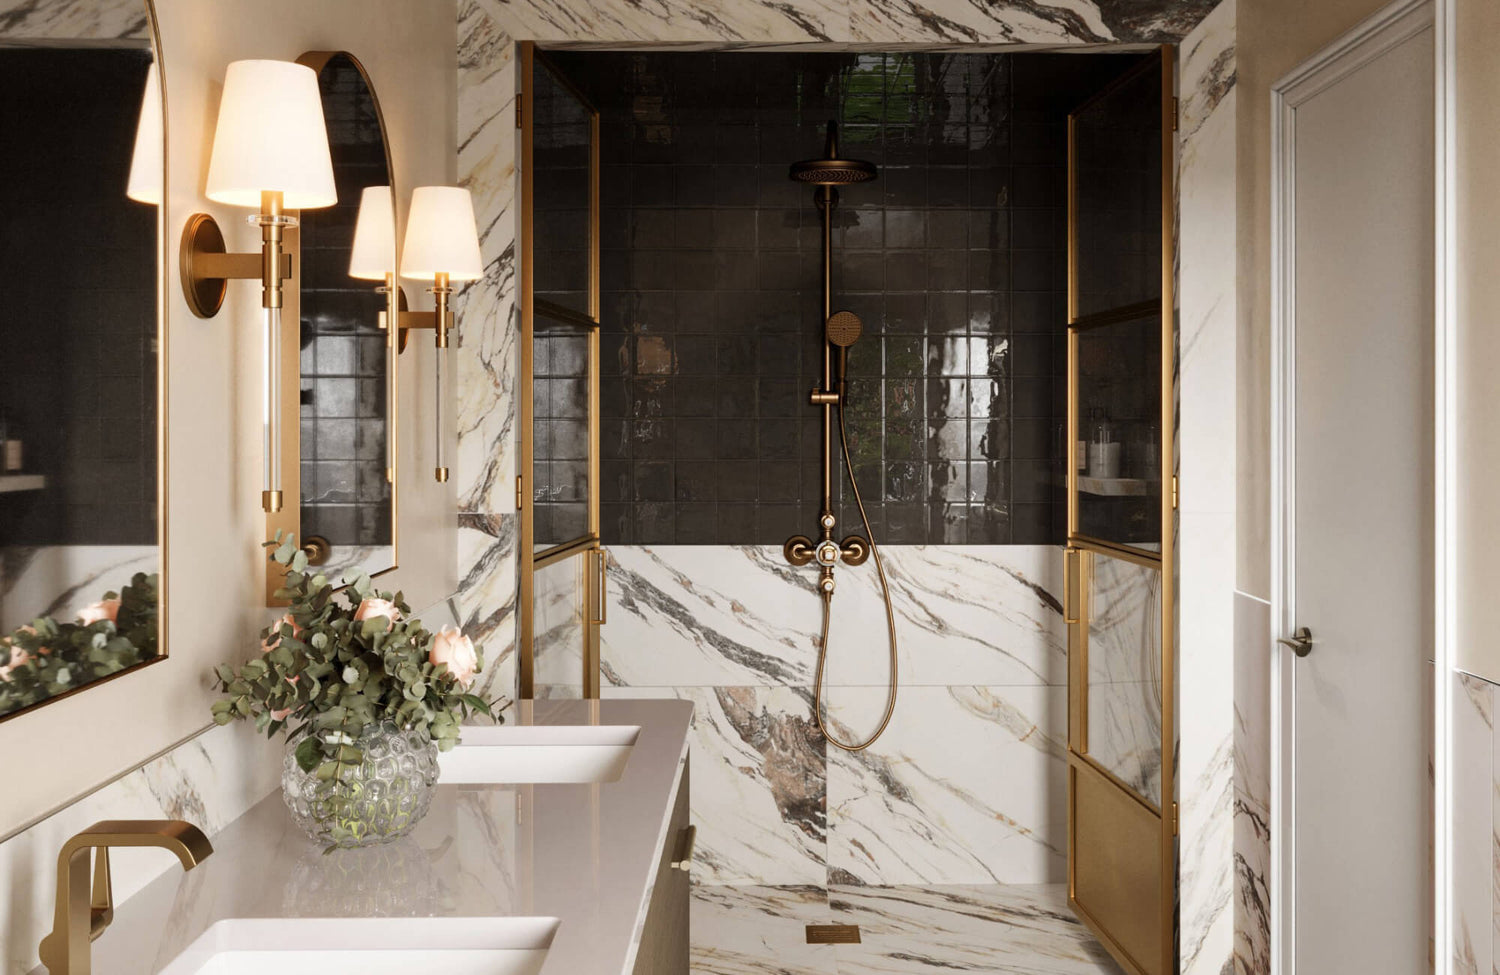
To illustrate, consider Edward Martin’s Sarina 3x12 Glossy Ceramic Fishscale Tile in Cloud, as featured in the photo above. This tile’s radiant glaze and semi-vitreous rating offer beauty and surface resistance, yet it still depends on a properly installed membrane beneath to perform reliably in wet applications.
In addition to glaze and absorption rate, tile performance is influenced by manufacturing quality. Inconsistent firing or insufficient density can lead to higher porosity and reduced moisture resistance. For this reason, it’s crucial that specifiers evaluate absorption ratings to match the tile to its intended environment.
Grout Lines and Water Intrusion
Beyond the tiles themselves, grout lines present another major point of vulnerability. Regardless of tile quality, grout is inherently porous, especially traditional cementitious formulations, and can allow moisture to migrate toward the substrate unless sealed correctly.
Moreover, several factors can compromise grout integrity over time. Improper mixing, lack of sealing, or neglecting to include flexible joints at movement-prone areas can all lead to cracking and water intrusion. While epoxy grout offers improved water resistance due to its resin-based formula, it still requires careful application and ongoing inspection.
Additionally, areas like wall-to-floor transitions and around plumbing fixtures demand extra attention. These are best sealed with mildew-resistant silicone caulk rather than grout, as flexible sealants accommodate movement and prevent gaps from forming.
In the end, grout should never be relied upon as the primary waterproofing layer. Instead, it functions as part of a broader system. When paired with a properly installed sheet or liquid-applied membrane beneath the tile, it reinforces the system by helping prevent water from reaching structural layers.

The Critical Role of Shower System Waterproofing
Even the most beautiful tile job is only as reliable as the system beneath it. That’s why, beyond surface materials, the real defense against water begins with what’s hidden behind the walls and underfoot.
Waterproof Membranes are Essential
One of the most critical layers in any shower assembly is the waterproof membrane. Without it, water can easily seep past tile and grout, compromising the structure beneath and causing issues such as mold, efflorescence, or even rot.
To address this, there are two widely used membrane types:
| Sheet Membranes | Liquid-Applied Membranes |
| Pre-formed polymer or rubber sheets (e.g., Schluter®-KERDI, NobleSeal®) that offer consistent thickness and quick installation. Proper seam overlap and sealing are vital for continuity. | Elastomeric coatings (e.g., RedGard®, Hydro Ban®) are applied by brush, roller, or sprayer and cure into a seamless barrier. These are ideal for uneven or complex surfaces but must meet thickness requirements, typically 30–40 mils wet. |
Importantly, both systems must integrate with fixtures such as drains, niches, and corners. Using preformed seals or embedded fabric at these junctions is vital, as transition failures are among the most common causes of shower leaks. Adherence to standards like ANSI A118.10 and TCNA-recommended methods (e.g., B422 for walls, B415 for floors) ensures proper installation.
Proper Substrate Preparation
Before any membrane is applied, the underlying substrate must be structurally sound and appropriately prepared. This typically includes cement backer board, foam board, or a mortar bed. According to ANSI A108 standards, flatness should not deviate more than 1/8 inch over 10 feet to avoid bridging, weak spots, or membrane failure.
In addition, seams must be reinforced with alkali-resistant mesh and thin-set mortar to prevent cracks that could compromise the waterproofing layer. Moisture-sensitive materials such as greenboard or standard drywall should also be avoided unless part of a certified waterproofing system. Cementitious or foam-based boards like Durock® or KERDI-Board are preferred for their stability and water resistance.
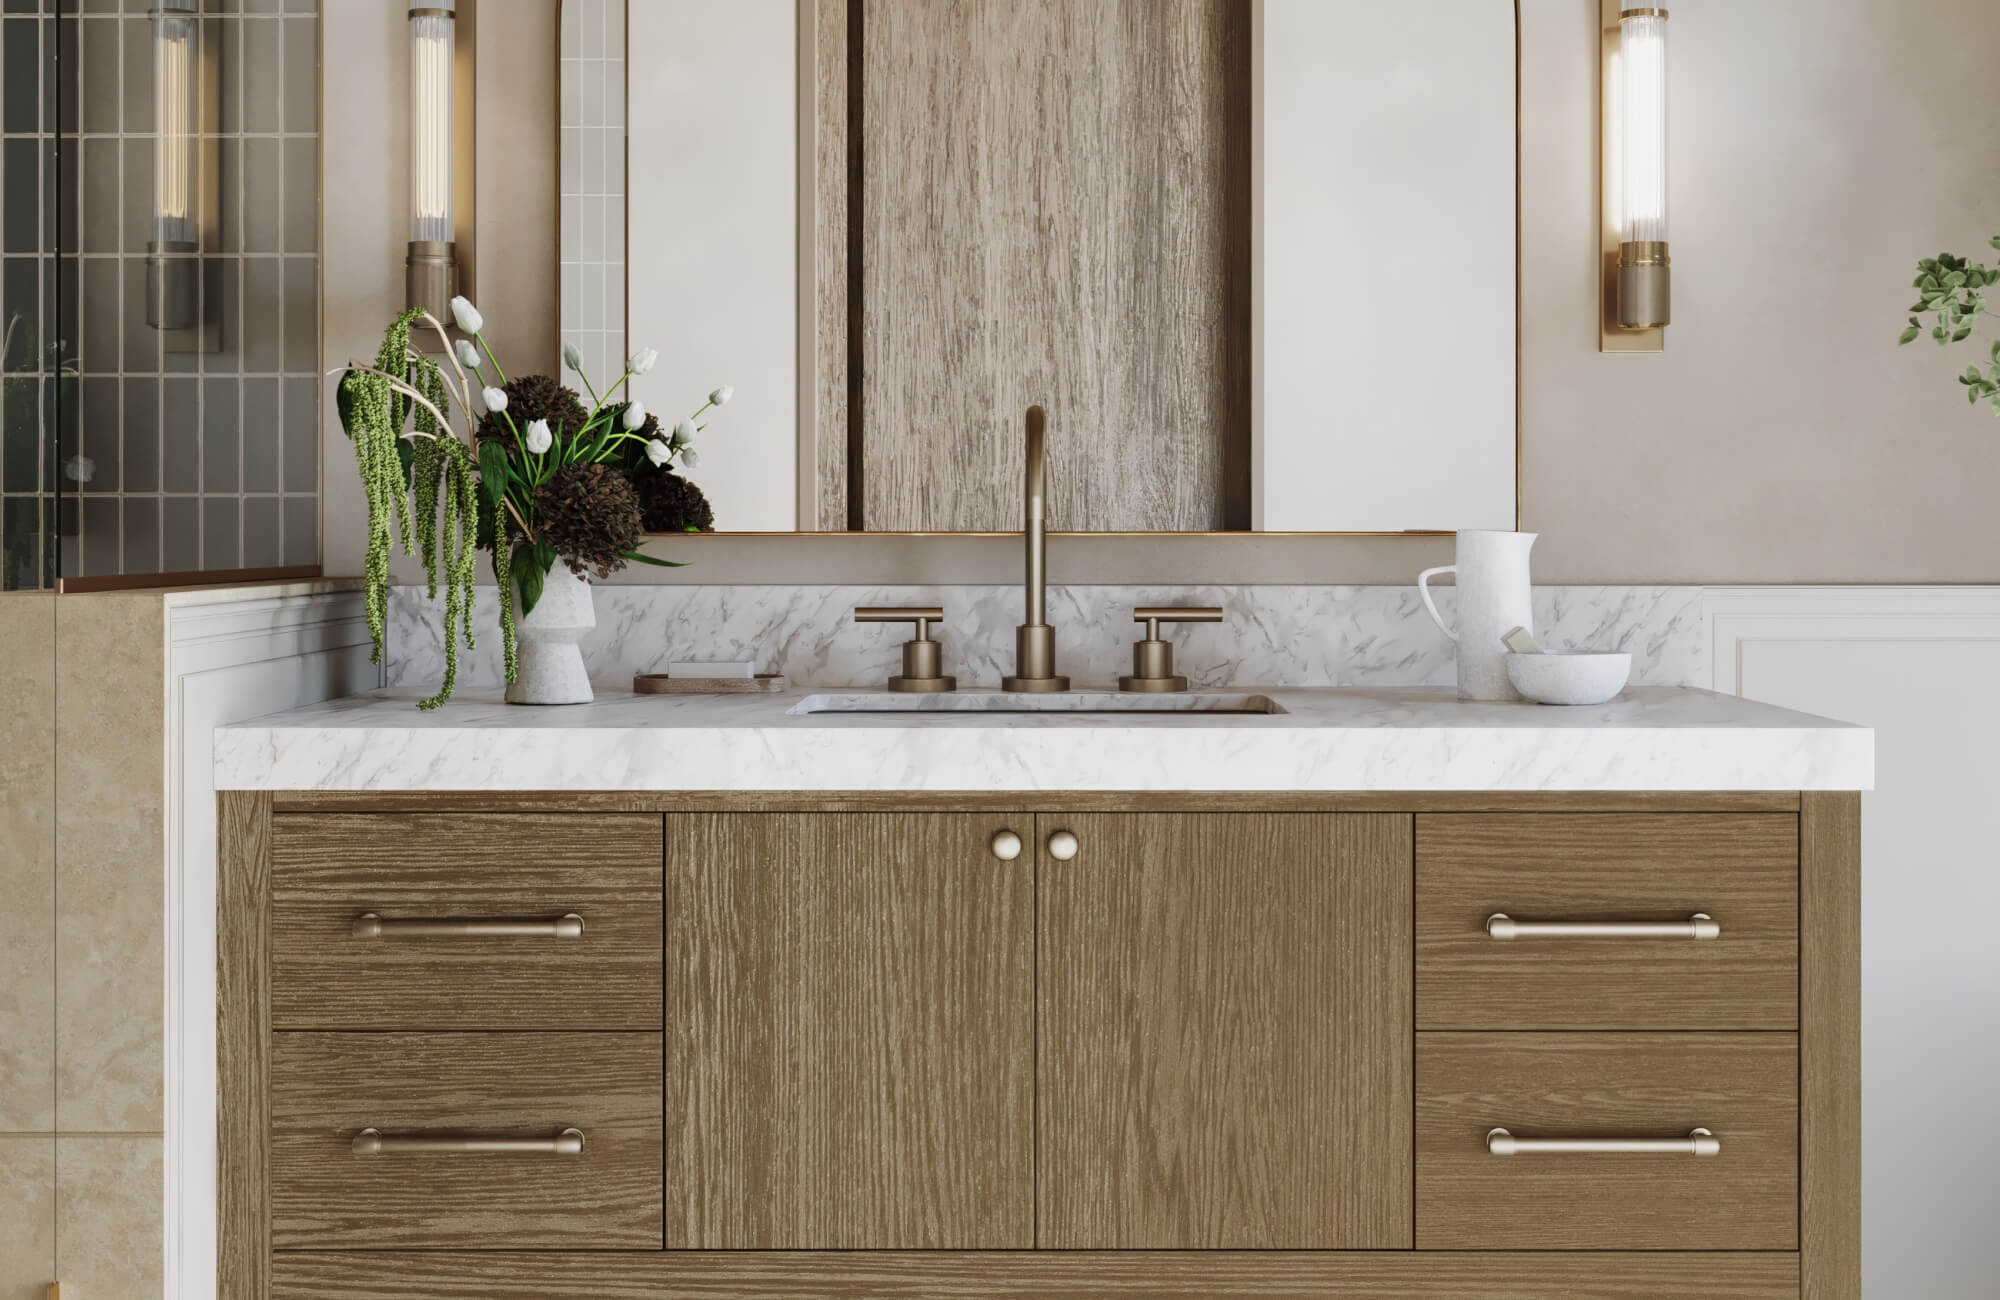
This preparation becomes especially important when working with glossy or elongated tiles like Edward Martin’s Teagan 3x12 Glossy Ceramic Tile in Moss, as illustrated in the image above. Its reflective surface and vertical layout highlight any imperfections in the substrate. In installations where aesthetic precision matters, as in the paired gold fixtures and warm wood tones, substrate quality is as critical as the tile itself.
Furthermore, detailed areas such as corners, fasteners, and plane transitions should not be overlooked. These zones must be reinforced with additional membrane layers, banding, or preformed corners to accommodate structural movement. Lastly, a properly sloped shower pan is essential to guide water to the drain and prevent standing water from undermining the entire waterproofing system.

Installation Techniques for Shower Integrity
Once the waterproofing is in place, how the tile is installed can make or break the system. From proper adhesive coverage to directing water where it needs to go, execution is essential to keeping moisture out of areas vulnerable to damage. For this reason, professional installation is strongly recommended to ensure all components work together effectively and meet long-term performance expectations.
Achieving Complete Thin-Set Coverage
One of the most important installation details is securing proper adhesion between the tile and its substrate. In particular, thin-set mortar acts as the bonding agent, and in wet environments like showers, ANSI A108.5 mandates at least 95% coverage beneath each tile. This also prevents hidden air pockets where moisture can collect and compromise the assembly.
To achieve this, installers must match the trowel notch size to the tile’s dimensions. Larger formats typically require 1/2" x 1/2" notches, while smaller tiles may only need a 1/4" notch. Mortar should be combed into uniform, directional ridges, and back-buttering, applying a thin layer of mortar to the back of each tile, is strongly recommended for larger or slightly bowed pieces.
Additionally, using straight, parallel ridges (rather than swirling) helps air escape more effectively during installation. Tiles should be pressed firmly and twisted slightly to collapse the mortar ridges and create full contact. Without this, voids can develop, leading to issues like mold growth, delamination, or early failure, especially in high-moisture areas.
To ensure proper coverage, installers should routinely lift a tile to inspect mortar transfer and make adjustments to their technique or tool selection as needed.
Correctly Sloping the Shower Pan
Equally essential to moisture control is the slope of the shower pan. According to TCNA and UPC standards, it must pitch toward the drain at a minimum of 1/4 inch per foot. This ensures water flows properly and doesn’t pool beneath the tile, where it can lead to damage or microbial growth.
Traditional shower systems involve two layers: a pre-slope laid beneath the waterproof liner, and a mortar bed installed above to support the tile. Both layers must follow a consistent pitch that channels water toward the drain’s weep holes. Without this, standing water can soak into materials, deteriorating the substructure and causing odor or mold issues.
Alternatively, many installers now use foam shower trays with built-in slopes for added convenience. While efficient, these trays must be carefully cut and installed to avoid reverse slopes or flat spots. The drain system should also include unobstructed weep holes and use a weep guard, such as pea gravel or a flange protector, to prevent mortar from clogging drainage paths.
Given the precision required, it’s advisable to hire a licensed professional for this step, as improper slope remains one of the most common and costly errors in DIY bathroom remodels.

Common Mistakes and Prevention
Even with the right materials and a solid waterproofing plan, small missteps can lead to big problems. Overlooking how fixtures are sealed or mishandling caulk at critical joints can quietly compromise an otherwise well-built shower.
Inadequate Sealing Around Fixtures
One of the most frequently overlooked vulnerabilities in shower systems is at plumbing penetrations such as showerheads, valves, and body sprays. These elements interrupt the waterproofing envelope and, if not properly sealed, can allow moisture to reach the substrate. Relying solely on tight tile cuts or escutcheon plates is a common mistake that often results in hidden, long-term water damage.
To address this, installers should seal all penetrations with a flexible, mold-resistant silicone or urethane-based sealant. This step begins at the membrane level, where preformed seals or liquid membrane reinforced with mesh should be used around pipe openings. Then, once the tile is installed, the surrounding gaps must also be sealed, never grouted, to accommodate movement and prevent water intrusion.
This approach becomes even more important when working with tiles like Edward Martin’s Lilah 6x6 Glossy Ceramic Tile in Marine, as shown in the photo above. Its character-rich surface and tonal variation elevate the space but also require greater precision. Any misstep in sealing can compromise both the system’s integrity and the visual design. When executed correctly, this attention to detail results in a seamless, watertight installation that delivers both function and elegance.
Skipping or Improperly Applying Caulk
Another critical area where mistakes often occur is at change-of-plane joints, where walls meet floors or other walls. Because these areas naturally shift with structural movement, grout is not suitable. TCNA guidelines (EJ171) recommend using 100% silicone caulk in these joints to provide the necessary flexibility and durability.
Unfortunately, common errors persist. These include using grout for visual continuity, applying caulk to dusty or damp surfaces, or using too little sealant and failing to tool it properly. Each of these shortcuts can lead to cracking, mold buildup, and water penetration over time.
To avoid these issues, best practice involves thoroughly cleaning the joint, applying painter’s tape to maintain clean lines, and applying a generous bead of mildew-resistant silicone caulk. It should then be tooled smoothly and allowed to cure fully, typically 24 hours, before water exposure.
To enhance confidence in the planning phase, Edward Martin’s Augmented Reality (AR) Visualization Tool helps homeowners visualize how their chosen tile will appear in real space, including how it interacts with corners and joints. By tapping “View in Your Space,” users can preview the layout, assess how caulking lines will integrate with the design, and order physical samples for in-person evaluation, ensuring both aesthetic cohesion and functional reliability.

Maintaining Your Waterproof Shower
Even the best-installed showers need a little upkeep to stay at their best. Over time, subtle wear in grout, caulk, and cleaning habits can quietly impact both waterproofing performance and the look of your space.
Regular Grout and Caulk Inspection
Periodic inspection of grout and caulk is critical for maintaining a watertight seal. Cementitious grout, even when sealed, can develop microcracks or discoloration due to moisture and cleaning products. Epoxy grout is more durable but should still be checked annually for signs of deterioration or separation.
Similarly, silicone caulk, especially in corners and around fixtures, can degrade with age or soap buildup. Look for common issues such as peeling, mold, or separation every 3–6 months, and proactively replace any compromised areas with mildew-resistant 100% silicone.
This type of upkeep becomes even more important in high-design installations like Edward Martin’s Maisie 2.5x16 Glossy Ceramic Tile in Ocean. Its reflective surface and vertical layout accentuate every joint, making clean, well-maintained seams essential not just for function, but for visual cohesion.
By addressing minor issues early, such as sealing cracks or re-caulking failing sections, homeowners can protect the waterproof membrane underneath, preserving both the structure and the hygiene of the space long term.
Proper Cleaning Practices
In addition to inspections, daily and weekly cleaning routines are key to prolonging the life of your shower system. Harsh or abrasive cleaners can wear down grout and caulk prematurely, so it’s best to stick to pH-neutral or mildly alkaline products that are safe for tile finishes.
When it comes to tools, opt for non-abrasive sponges or microfiber cloths to avoid scratching tiles or dislodging caulk. Regularly clean high-risk areas such as corners, the shower floor, and shelf niches to prevent buildup. In hard water environments, a diluted vinegar rinse (on acid-safe tiles only) followed by a clean water rinse can effectively remove scale without damaging the surface.
It's also important to maintain proper ventilation after each use, as running an exhaust fan or keeping the shower door open helps reduce condensation and discourages mold growth on grout lines and caulk seams.
Lastly, resealing cementitious grout every 12–18 months with a penetrating sealer helps reinforce moisture resistance, unless using epoxy or pre-sealed tiles. For best results, always follow manufacturer guidelines, as specific care instructions can vary by product.
Waterproofing Beyond the Surface
While glazed ceramic tiles offer surface-level water resistance, true moisture protection is built from the inside out. Without an integrated system, including membranes, proper slope, and sealed transitions, water can still find its way into vulnerable areas, regardless of how well the tile is laid.
Ultimately, building a lasting shower system requires more than just choosing beautiful tile. It demands expert-grade waterproofing and a commitment to regular maintenance. For tailored support at every stage, visit Edward Martin to explore tile solutions and tools designed for a truly water-safe installation!
