


If you're seeking a timeless yet trendy tile option for your home, subway tile is the perfect choice. This classic type of tile has been a favorite for centuries and remains a popular option today. Whether you're considering a fresh backsplash in the kitchen or a sleek new bathroom look, subway tile offers a versatile solution. With so many subway tile patterns to choose from, this guide will walk you through the most popular options so you can confidently find the right fit for your space.

Most Popular Subway Tile Patterns
Subway tile patterns play a major role in how a space looks and feels, often shaping everything from visual flow to perceived size. While the tile itself stays consistent, the layout can shift a design from classic to modern with just a small adjustment. Below, we’ll take a closer look at the most popular subway tile layout patterns, including both timeless options and more current, architect-preferred subway tile patterns used in kitchens, bathrooms, and beyond.
Herringbone Pattern
The herringbone pattern, as seen above with our Chantel 12x15 Polished Porcelain Herringbone Mosaic Tile in Apuano, is one of the most recognized subway tile designs, known for its angled, zigzag layout that introduces strong visual movement. Each tile is placed at 45 degrees to form a repeating V shape, which naturally draws the eye across the surface. Because of this, it works especially well for subway tile backsplash ideas or feature walls where you want a clear focal point. It can also make narrower spaces feel wider by guiding the eye outward. This layout is often used in both kitchen subway tile ideas and shower subway tile patterns because it balances structure with visual interest. While it feels elevated, it still holds onto a timeless quality that keeps it relevant across different styles.
Basketweave Pattern
The basketweave pattern offers a more detailed take on subway tile layout patterns by creating an interlocking, woven appearance. This layout introduces texture through repetition, which gives walls or floors a more layered and dimensional look. It’s often associated with traditional or vintage-inspired interiors, but it can also work in transitional spaces when paired with neutral tones. Because of its smaller pattern scale, it is commonly used in subway tile bathroom ideas, especially on floors or accent areas. The visual texture helps break up flat surfaces without relying on bold colors or finishes. This makes it a strong choice if you want something decorative that still feels grounded.
Brick Pattern (Running Bond)
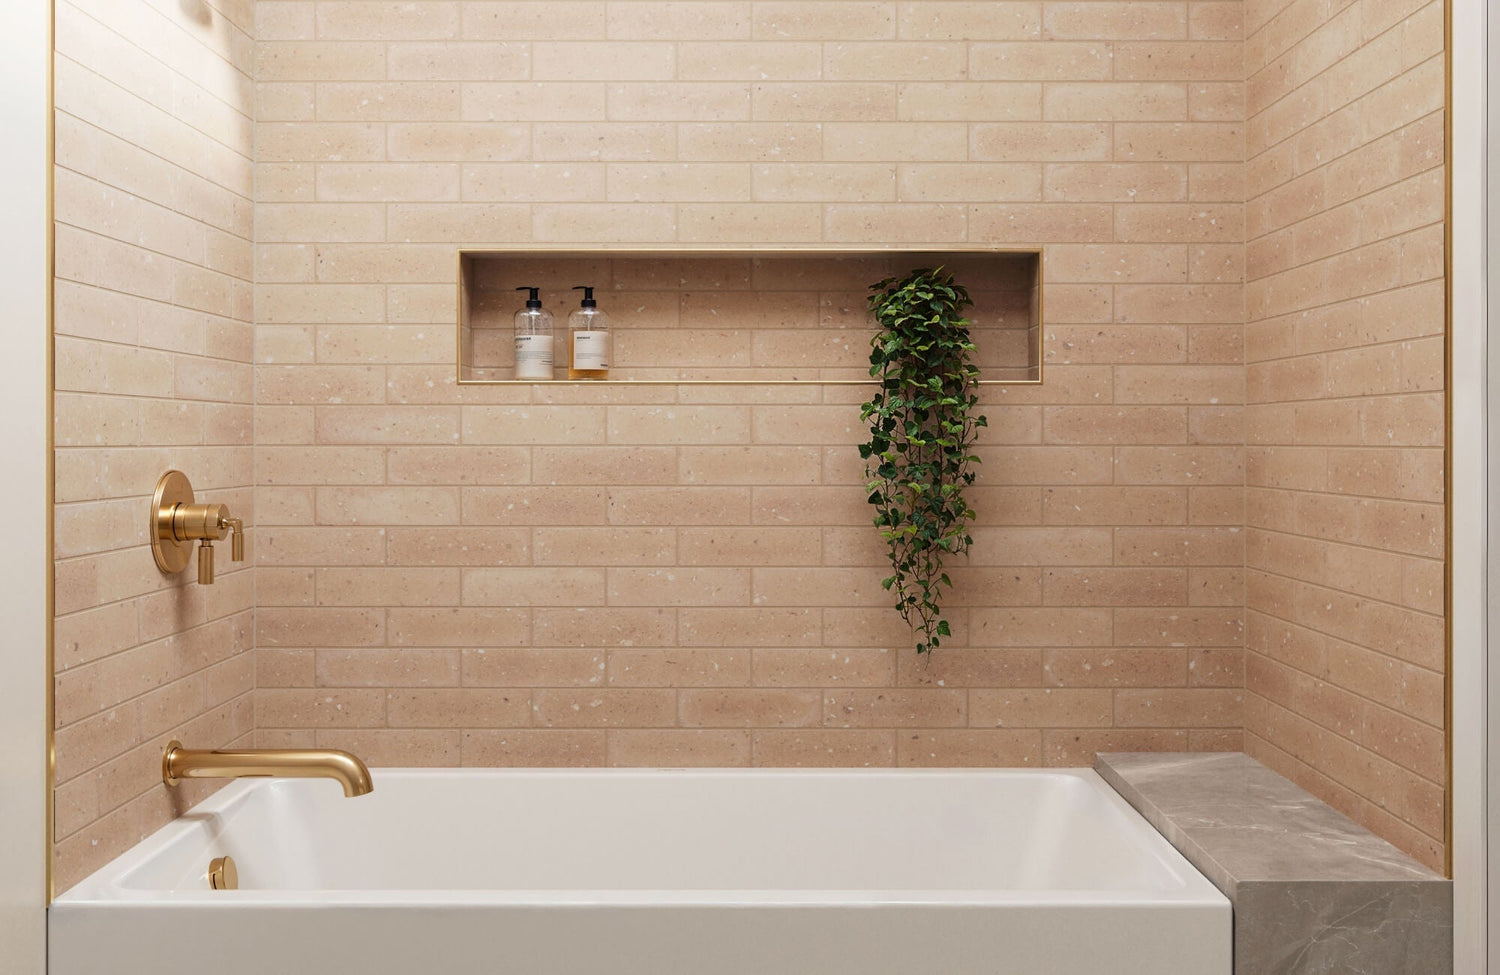
The brick pattern, also known as the running bond, is the most classic subway tile layout and often the first design people think of. Tiles are offset by 50%, creating a staggered layout that feels familiar and easy to work with. This subway tile brick pattern is widely used because it fits almost any style, from traditional kitchens to more modern spaces. It also helps soften the linear look of rectangular tiles, making walls feel less rigid. In smaller rooms, this pattern can help visually stretch the space without overwhelming it. If you’re looking for something reliable and timeless, this remains one of the most commonly used patterns for subway tile.
Chevron Pattern
The chevron pattern is often compared to herringbone but offers a sharper and more continuous look. Instead of overlapping angles, each tile is cut so the edges meet perfectly to form a clean, uninterrupted V shape. This creates a more directional and structured version of a zigzag layout, which can feel more modern and intentional. It works especially well in larger wall tile patterns where the full design can be appreciated without interruption. Because of its precision, it is often seen as a more design-forward choice. This makes it a strong option if you want a layout that feels current while still rooted in classic geometry.
Stack Bond Pattern
The stack bond pattern is a simple but impactful layout where tiles are aligned directly on top of each other in straight rows. Unlike the brick pattern, there is no offset, which creates a clean grid-like appearance. This style is commonly used in modern and minimalist subway tile designs because it emphasizes symmetry and order. It can also make vertical or horizontal lines more pronounced, depending on the orientation, which affects how the space is perceived. In many stacked vs brick tile pattern comparisons, stacked layouts feel more contemporary while brick feels more traditional. This makes it a go-to choice for those looking for a more updated subway tile layout.
Vertical Stack Pattern
A variation of the standard stacked layout, the vertical stack rotates the tiles upright to shift the visual direction of the space. Instead of drawing the eye side to side, it encourages upward movement, which can make ceilings feel taller. This is especially useful in smaller bathrooms or tight wall areas where height needs to be emphasized. Vertical layouts have become more popular in recent years and are often considered one of the more on-trend subway tile patterns. They also pair well with elongated tile formats, which further stretch the look of the wall. This approach keeps the design simple while still offering a noticeable change from traditional layouts.
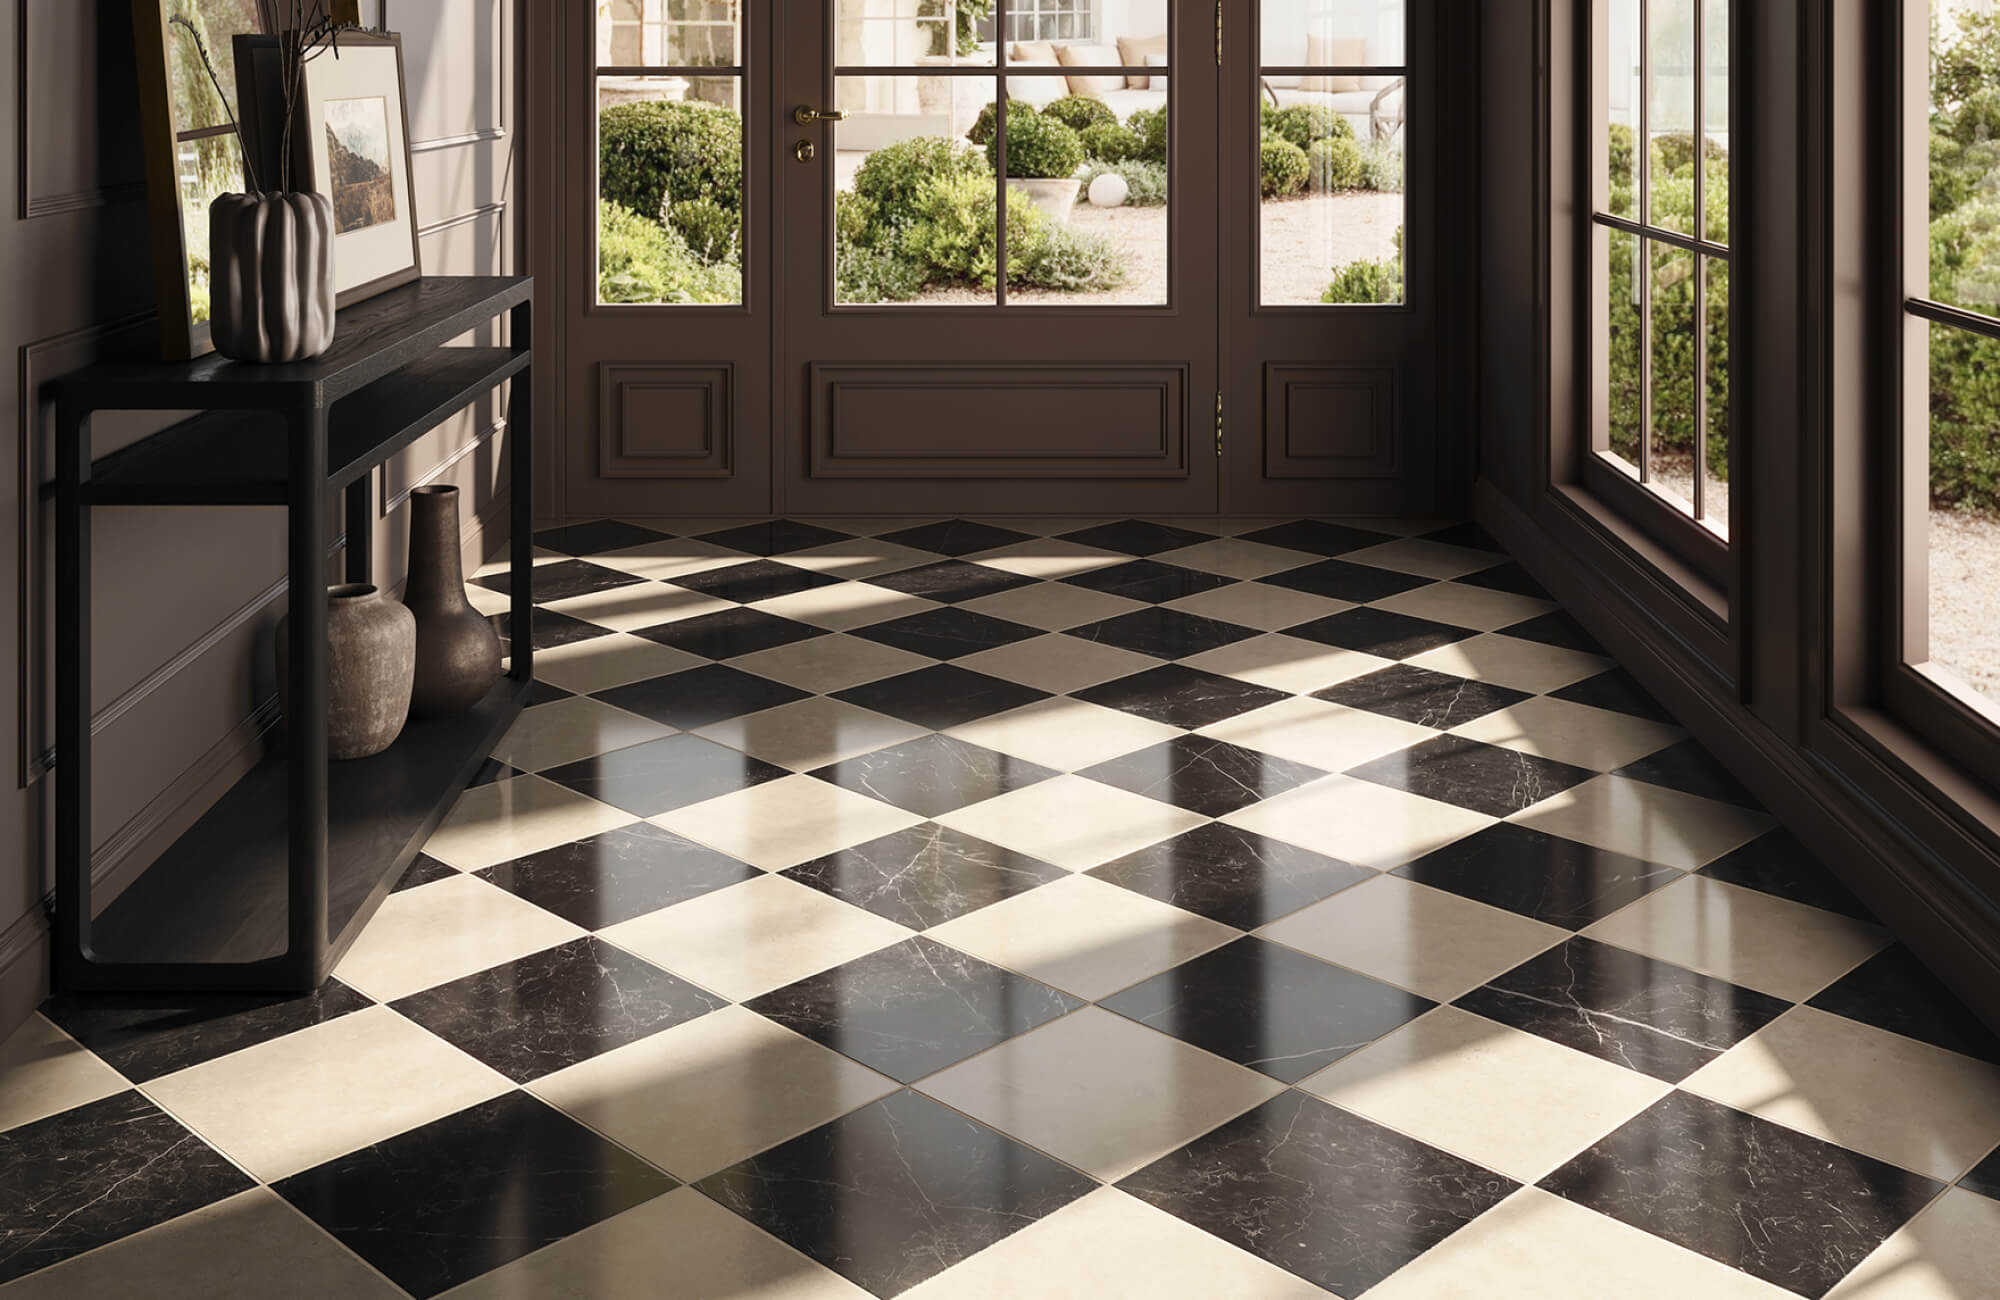
Subway Tile Patterns With Two Colors
Using two colors within the same subway tile layout introduces contrast without changing the overall pattern. This can be done subtly, such as alternating soft neutrals, or more boldly with high-contrast combinations like black and white. In layouts like herringbone or brick, the color variation can highlight the pattern even more, making it stand out as a design feature. This approach is often used in kitchen subway tile ideas to create a focal backsplash or in bathroom walls to add depth. It also allows for more personalization without needing a completely different tile style. When done well, it keeps the design cohesive while adding visual interest.

Selecting the Ideal Subway Tile Pattern for Your Home
Choosing the right subway tile pattern is not just about appearance; it also affects how your space feels, functions, and flows. The same tile can look completely different depending on how it is arranged, which is why layout plays such a key role in the overall design. Below, we’ll walk through a few practical factors to help you narrow down the best subway tile layout patterns for your space.
Consider the Space and Size
The size of your space should guide which subway tile layout will work best, especially when it comes to balance and proportion. In larger areas, more expressive wall tile patterns like herringbone or chevron can create a strong visual statement without overwhelming the room. These layouts add movement and help define open spaces, making them feel more intentional. In smaller rooms, simpler subway tile patterns like brick or stack bond tend to work better because they keep the design clean and easier to follow. Horizontal layouts can help stretch the look of a wall, while vertical subway tile patterns can make ceilings feel taller. Choosing the right layout for the scale of your space helps maintain clarity while still adding interest.
Consider the Overall Look You Want to Achieve
Your preferred style plays a big role in narrowing down the right subway tile designs. If you’re aiming for something timeless, the classic subway tile brick pattern remains one of the most reliable choices because it works across both traditional and modern interiors. For a more current look, stacked or vertical subway tile layouts are often considered on-trend and are commonly used in modern kitchen subway tile ideas and bathroom designs. If you want something more eye-catching, patterns like herringbone or chevron can create a stronger focal point, especially for subway tile backsplash ideas. Color can also shift the overall look, particularly when exploring subway tile patterns with two colors for added contrast.
Consider Installation Complexity and Practicality
Not all subway tile patterns require the same level of effort, and this can influence both cost and timeline. More intricate layouts like herringbone or chevron involve angled cuts and precise alignment, which can make installation more time-consuming. Simpler layouts, such as stack bond or brick, are more straightforward, making them a better option if you’re considering a DIY approach. Larger or more detailed patterns may also require additional tools or preparation to achieve a clean finish. This is especially important in areas like shower subway tile patterns, where precision affects both appearance and performance. If you’re working with a more complex design, it’s often worth consulting a professional to ensure everything comes together properly.
Think About Where the Pattern Will Be Used
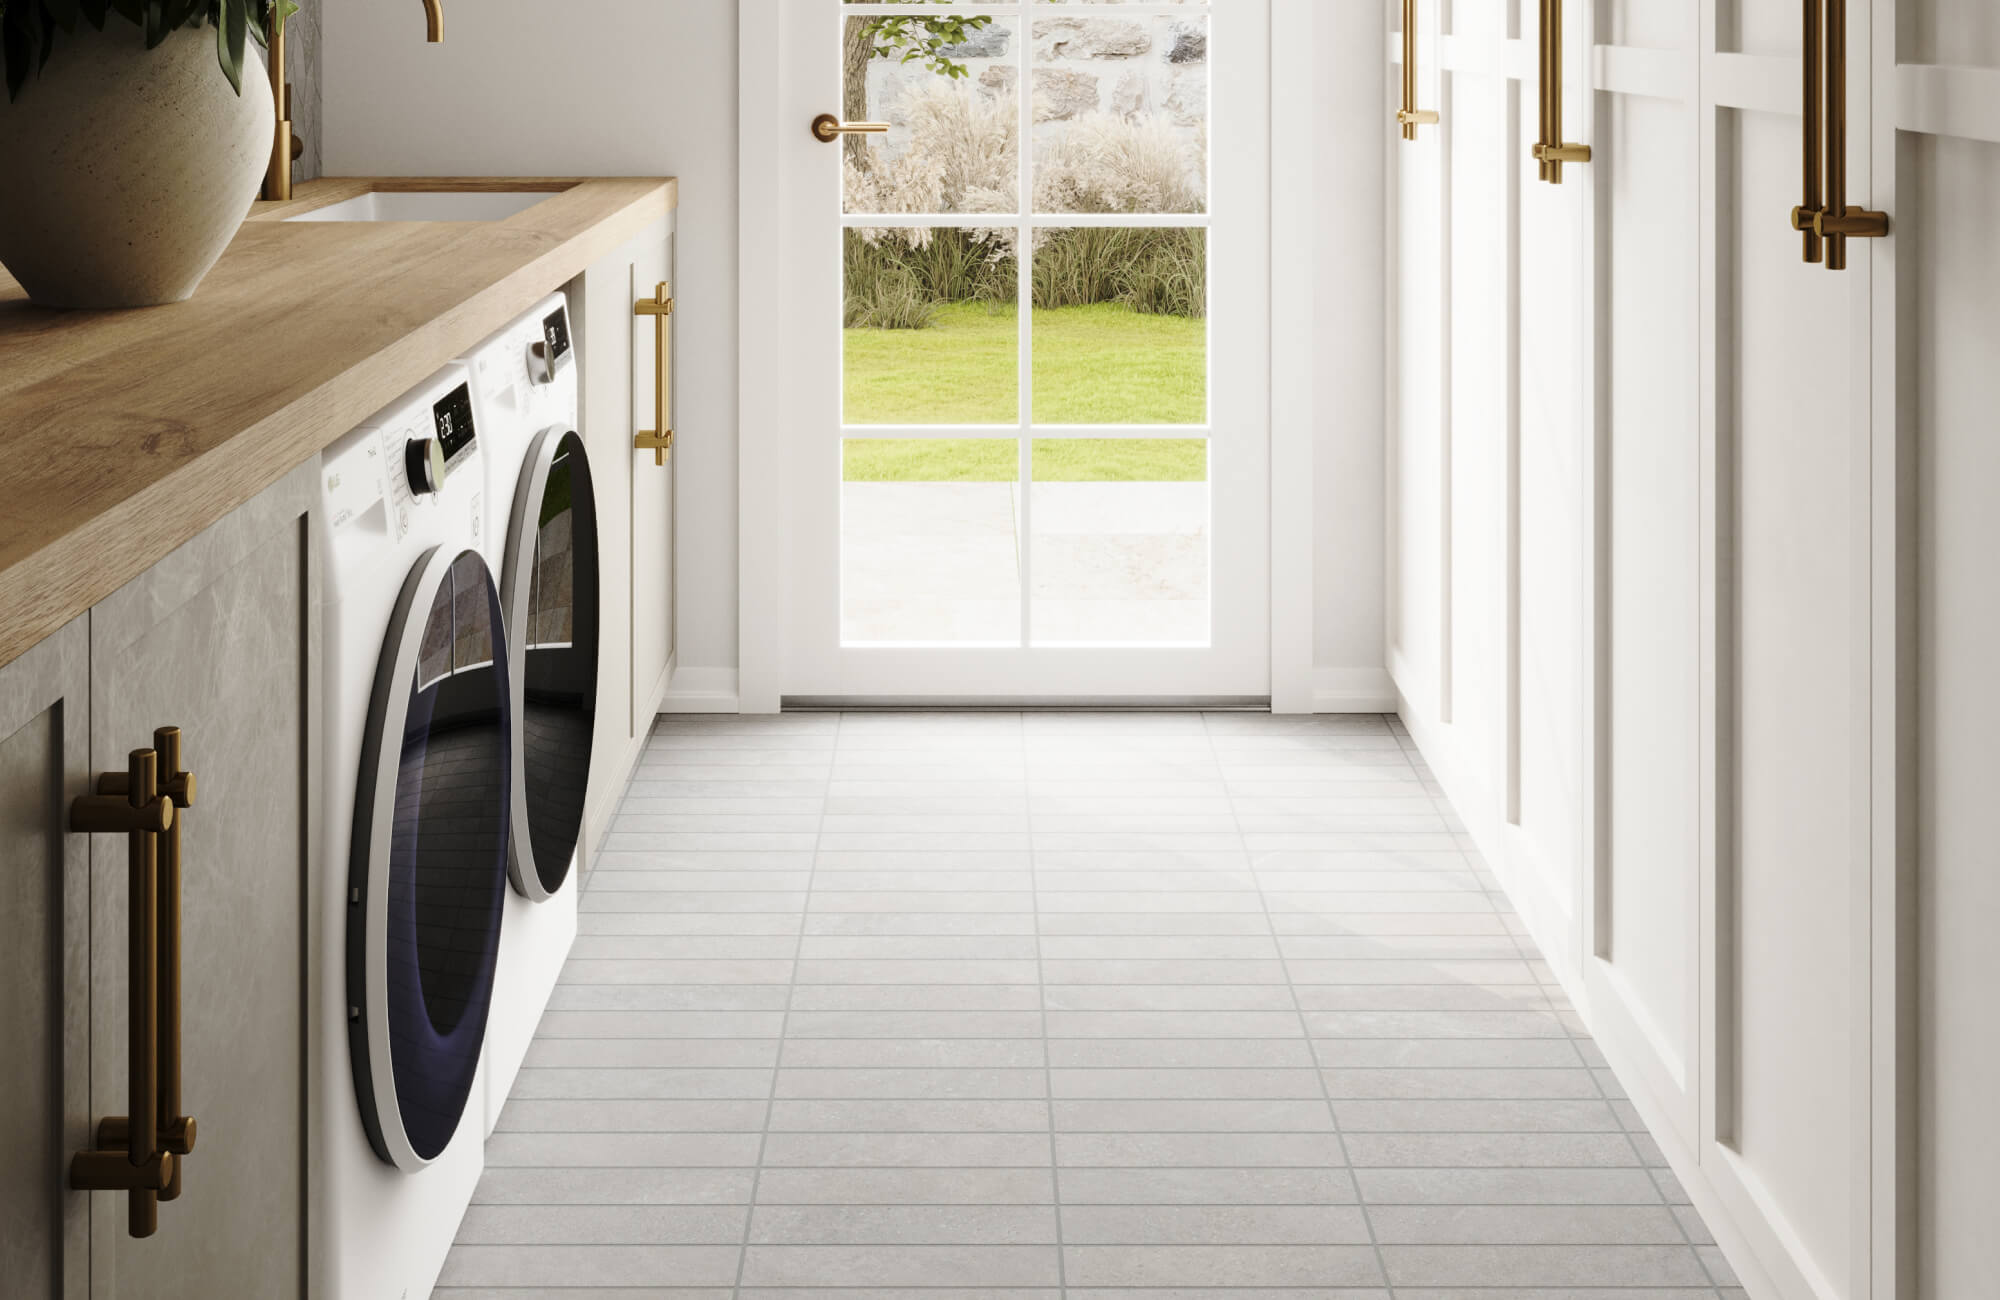
Where you plan to install the tile can also influence which pattern works best. For example, subway tile bathroom ideas often lean toward layouts that balance style with practicality, such as vertical stacks for walls or smaller-scale patterns for shower areas. In kitchens, backsplash designs tend to focus on patterns that are easy to clean while still adding visual interest, such as brick or herringbone layouts. Floors may require patterns that provide more grip or break up the surface visually, especially in smaller tiles. Matching the pattern to the function of the space helps create a design that feels both intentional and easy to live with. This approach ensures your subway tile ideas work not just visually, but also in everyday use.

Essential Tips for Installing Subway Tile
Getting the most out of your subway tile design comes down to proper planning and execution. Even the best subway tile patterns can fall short if installation is rushed or uneven, so taking the time to get each step right makes a noticeable difference. In here, we’ll walk through a few key tips to help you achieve a clean, consistent finish across any subway tile layout.
Selecting the Ideal Adhesive
Choosing the right adhesive is one of the most important first steps, as it directly affects how well your tiles stay in place over time. Not all adhesives are suited for every application, so it’s important to select one that matches your tile type and installation area. For example, backsplash installations often require a different adhesive than shower or floor applications due to moisture exposure. A high-quality thinset or tile-specific adhesive helps ensure strong bonding and reduces the risk of shifting during installation. This becomes even more important when working with detailed subway tile layout patterns like herringbone or chevron, where alignment needs to stay precise. Starting with the right adhesive sets the foundation for a long-lasting and stable installation.
Ensure Level Installation
Keeping your installation level is essential for achieving a polished and professional result. Even slight misalignments can become noticeable, especially in structured subway tile designs like stack bond or vertical layouts. Using a level throughout the process helps maintain straight lines and consistent spacing from start to finish. It’s also helpful to check alignment after every few rows rather than waiting until the end. This approach makes it easier to catch and correct small shifts before they affect the entire layout. Taking your time with leveling ensures that the final result looks clean, balanced, and intentional.
Measuring for Accuracy
Accurate measurements play a major role in keeping your subway tile layout consistent, especially when working around edges, outlets, or corners. Before making any cuts, it’s important to measure each section carefully to avoid gaps or uneven spacing. This step becomes even more critical with patterned subway tile layouts, where small miscalculations can disrupt the overall design. Marking your tiles clearly before cutting can help reduce mistakes and material waste. It’s also a good idea to dry-fit a few tiles beforehand to see how everything lines up. Staying precise with measurements helps maintain a smooth and cohesive look across the entire surface.
Cut the Tile Precisely
Clean, precise cuts are key to achieving a professional-looking finish, particularly along edges and transitions. Using the right tools, such as a wet saw for straight cuts or tile nippers for smaller adjustments, helps ensure accuracy without damaging the tile. This is especially important for layouts like subway tile, brick pattern, or more intricate designs, where edges are more visible. Rough or uneven cuts can disrupt the flow of the pattern and make the installation look unfinished. Taking the time to cut each piece properly helps tiles fit neatly into place with minimal gaps. In the end, precision during this step ties the entire installation together and supports a cleaner final result.

Bringing Your Subway Tile Pattern Together
Subway tile continues to stand out because of how easily it adapts to different styles while still feeling consistent over time. The pattern you choose plays a major role in that, whether you lean toward the familiarity of a brick layout or explore more expressive subway tile patterns like herringbone or chevron. Each option shapes how the space feels, from creating movement to adding structure or even making a room appear larger. By considering your layout, color choices, and where the tile will be used, you can create a design that feels both intentional and easy to live with.
If you’re still narrowing down the right direction, having a second perspective can make the process much clearer. Our personalized design consultation is here to help you compare subway tile ideas, refine your layout, and choose combinations that work seamlessly in your space. Whether you’re planning a kitchen backsplash, a bathroom wall, or a full feature installation, our team can guide you toward a result that feels cohesive, practical, and tailored to your vision.

Frequently Asked Questions
Explore answers to other common questions about subway tile, including its features, uses, and maintenance, providing you with essential insights and tips below.
1. What is a subway tile?
Subway tile is a type of ceramic or porcelain tile that's known for its rectangular shape and glossy finish. Originally used in subway stations in the early 20th century, it has become a popular choice for both residential and commercial spaces due to its clean lines and versatility.
2. Can subway tile be used on floors?
Yes, subway tile can be used on floors, although it's more commonly used on walls and backsplashes. If you're considering subway tile for flooring, it's important to choose a tile that is rated for floor use to ensure it can withstand heavy use.
3. Are subway tiles waterproof?
Ceramic and porcelain subway tiles are waterproof, making them an excellent option for wet areas like bathrooms and kitchens. However, to fully protect your installation, ensure that the grout and substrate are properly sealed.
4. How do I maintain subway tiles?
Subway tiles made from ceramic or porcelain are low-maintenance. Regular cleaning with mild soap and water is typically sufficient to keep your tiles looking new. Avoid using abrasive cleaners, which can scratch the surface.
5. What grout color should I use with subway tile?
The choice of grout color can dramatically affect the look of your subway tile installation. A matching grout color can create a seamless appearance, while a contrasting grout can highlight the classic brick pattern and add more visual interest to your space.