


Installing a bathroom vanity might seem like a straightforward upgrade, but the details matter more than most people realize. From getting accurate measurements to understanding your plumbing setup, the early steps can make or break the entire project. Rushing through the process often leads to leaks, alignment issues, or stability problems that are harder to fix after the fact.
Whether you're working with a freestanding unit or a wall-mounted setup, a smart, steady approach goes a long way. In this guide, we’ll walk you through the key steps to help you install your vanity the right way, clean, secure, and built to last.

What to Know Before You Begin
Installing a bathroom vanity might seem simple, but the setup can make or break the project. Before picking up a drill or cutting any openings, it’s worth checking a few critical details that affect fit, stability, and plumbing. Taking time upfront to prep properly will make the actual installation go much smoother and help avoid costly or messy adjustments later on.
Measure Twice, Cut Once
Before anything gets attached or drilled, it’s essential to measure your space accurately. Confirm the width and depth of your vanity and compare it to your available wall and floor space, leaving enough room for door swing, drawers, and plumbing connections. Don’t forget to check the height as well, especially if you're working around existing tile, backsplashes, or outlets. A vanity that fits visually might still cause headaches if it crowds other fixtures or makes access difficult.
It also helps to dry-fit the vanity in place before making any permanent cuts or holes. This gives you a chance to catch any conflicts with plumbing or wall placement and adjust as needed. Taking extra time here can prevent having to redo caulk lines, patch drywall, or force connections later. If you're installing near a toilet or tub, make sure you have enough clearance for comfortable use and cleaning access.
Know Your Plumbing Setup
Understanding where your water lines and drains are located will save you a lot of frustration during installation. Older homes, especially, might have pipes that aren’t centered or valves that sit too high or low for modern vanities. Take a few minutes to inspect your existing plumbing, noting whether shut-off valves are in good shape and whether they’ll clear your new cabinet base. If you’re changing from a single to a double vanity, spacing and pipe extensions might be necessary.
While full rerouting should be left to a plumber, knowing what you're working with helps you choose a vanity that matches your setup. Some cabinets have open backs or wider cutouts that make plumbing connections easier without major modifications. If your vanity doesn’t line up with existing pipes, you might need to adjust the base or work with offset fittings. Planning around the plumbing early avoids panic when everything's halfway installed.
Check Wall Strength and Level
A solid install starts with a stable wall. Check that the wall you’re mounting to is structurally sound and, for wall-mounted or heavy vanities, that you can locate studs or suitable anchor points. A quick check with a level will also tell you if the wall is even; an uneven surface can throw off everything from door alignment to caulk lines. If the floor beneath the vanity slopes, that’s another factor you’ll want to address with shims during installation.
Don’t rely solely on drywall to support the vanity’s weight, especially if it’s wall-mounted or topped with a stone countertop. Use a stud finder and plan your screw placements ahead of time. Even freestanding vanities benefit from wall anchoring to prevent tipping or shifting over time. Making these checks early saves you from having to backtrack or make risky last-minute adjustments once the unit is in place.

Types of Bathroom Vanities and Their Installation Needs
Not all vanities are installed the same way, and knowing which type you have can help you avoid surprises once you start the work. Freestanding models require floor-leveling considerations, while wall-mounted options demand more attention to structural support. Below, we’ll walk through the key differences in prep and installation based on how your vanity is built.
Freestanding Vanities
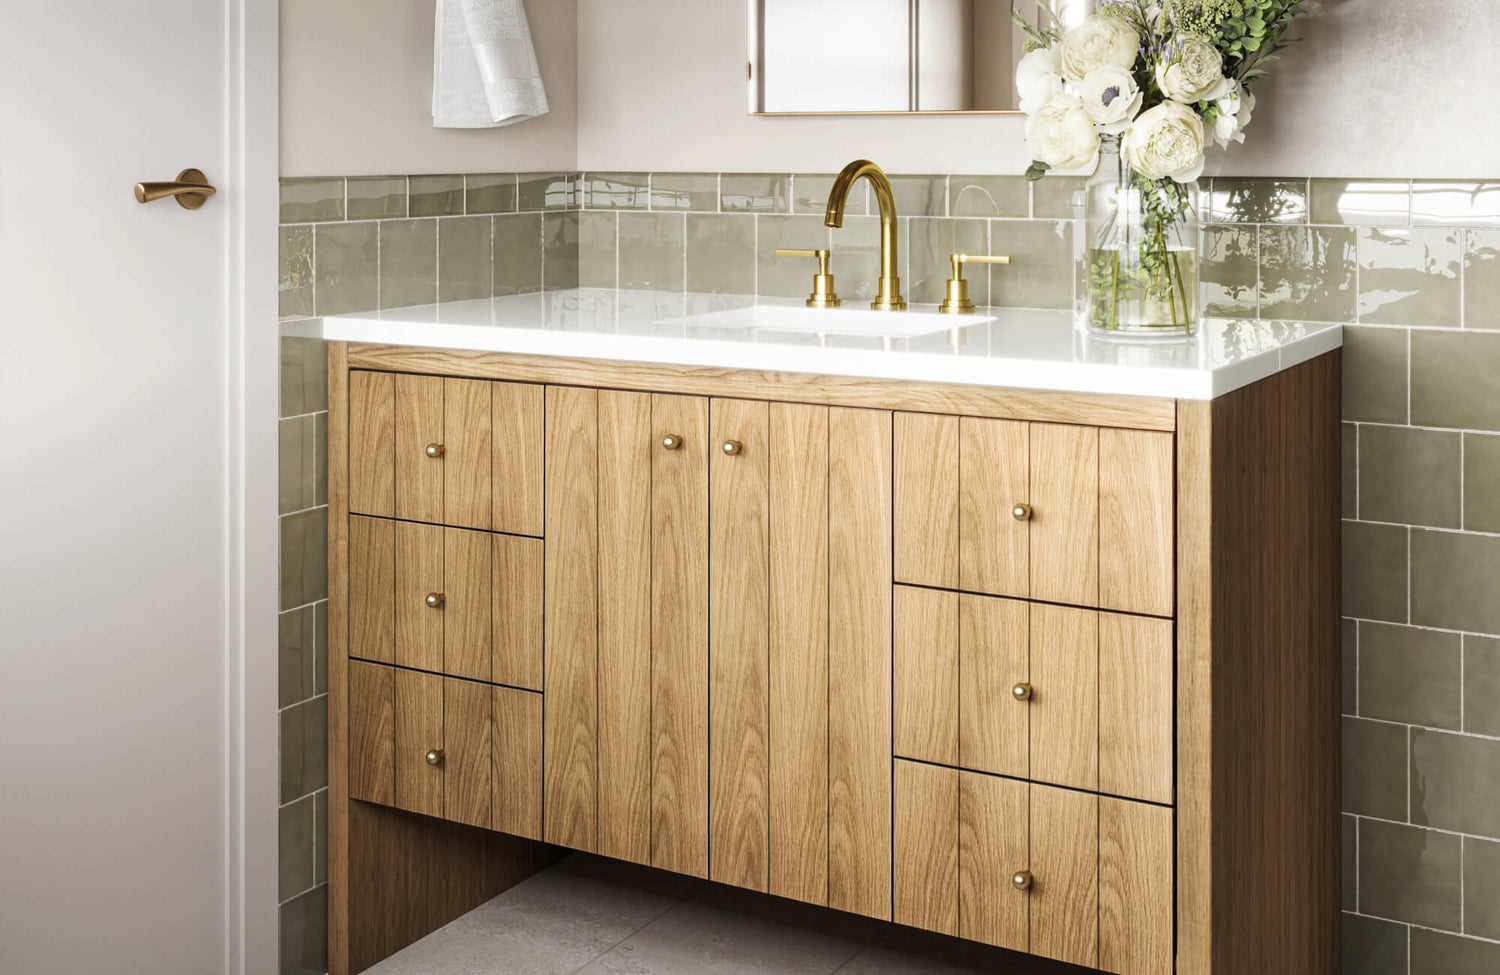
Freestanding vanities, such as our Easton 72" Double Vanity in Whitewashed Walnut with Glossy White Composite Stone Top above, sit directly on the floor, making them easier to install in many cases. However, that doesn’t mean they’re completely straightforward; uneven floors can cause wobbling or misalignment, so it’s important to check for level and use shims if needed. Many freestanding models still require wall anchoring to keep them stable, especially if they’re top-heavy or placed in households with children. Don’t skip this step; it helps prevent shifting over time and keeps everything square.
Some freestanding vanities come with adjustable feet, which can be helpful in older homes where floors may slope slightly. Even though they don’t require wall brackets, make sure the back of the unit aligns with your plumbing layout or allows enough clearance for supply lines and drains. You may still need to trim or notch the back panel to accommodate pipes. Taking the time to stabilize and align the vanity properly up front will make the rest of the install and your daily use far easier.
Wall-Mounted and Floating Vanities
Wall-mounted and floating vanities require a bit more planning, since they rely on the wall for all their support. Finding studs is crucial; drywall alone won’t hold the weight, especially once a countertop and sink are added. Use a stud finder to mark anchor points and consider adding blocking between studs if the existing framing doesn't align with your mounting brackets. Keep in mind that even floating vanities, which leave space below, need precise height placement for both function and plumbing clearance.
Depending on the vanity, you may need to install a metal mounting bracket or use long lag bolts directly into the framing. Double-check the unit’s weight rating and compare it to your wall’s strength, particularly if you're working with plaster or tile surfaces. It’s also important to level the vanity both horizontally and vertically before tightening everything down; small misalignments will show once drawers or doors are added. With the right prep, wall-mounted vanities offer a clean, modern look while staying secure and functional.

Tools and Materials You’ll Need
A smooth installation often comes down to preparation, and that includes having the right tools within reach. Some basics are essential for every vanity install, while a few extras can make the process faster, cleaner, or more precise.
Basic Tools for DIY Vanity Installation
Most vanity installations don’t require specialty equipment, but you’ll definitely want a few core tools on hand. A power drill with a variety of bits, a level, and a measuring tape are non-negotiables. You’ll also need a wrench or adjustable pliers for connecting plumbing fixtures, along with caulk (preferably silicone) to seal around the base or edges. Shims are useful for leveling the vanity on uneven floors or ensuring a snug wall fit.
Keep a utility knife nearby for trimming any excess caulk or making light adjustments to the vanity base. A stud finder can also save time and prevent guesswork if you’re working with a wall-mounted unit. While you don’t need to overstock your toolkit, gathering these items ahead of time keeps the workflow steady and avoids mid-installation trips to the hardware store. It’s all about being ready for small surprises that might pop up along the way.
When to Use a Vanity Bracket or Mounting Kit
Not all vanities require brackets, but if you’re installing a wall-mounted or floating model, a mounting system is often essential. Many modern units come with a pre-installed bracket that needs to be aligned and secured directly to the wall studs. These brackets distribute weight more evenly and help simplify the leveling process. Without proper support, even the best-installed vanity can shift or sag over time.
Freestanding vanities typically don’t need mounting kits, but may still benefit from basic wall anchoring, especially if the floor is uneven or the cabinet is top-heavy. If you’re not sure whether your vanity requires a bracket, check the installation instructions or look for pre-drilled support holes along the back. Using the right system for your vanity type keeps everything secure while reducing the risk of stress on your plumbing connections. It's a simple upgrade that can make a big difference in long-term stability.

Step-by-Step Vanity Installation Process
Now that you’ve done the prep work, it’s time to move on to the actual install. The steps below walk you through the process in a clear, manageable way, even if you’re tackling this for the first time. With the right tools and a little patience, you’ll have your new vanity secured, sealed, and ready to use in no time.
Prep the Space and Shut Off Water
Start by clearing out the installation area, removing the old vanity if there is one, and making sure the floor and wall surfaces are clean and dry. Shut off the water supply valves to prevent any accidental leaks, and open the faucet briefly to release pressure. Disconnect the plumbing carefully, keeping a bucket and towel nearby for leftover water. It’s a good idea to double-check that all parts, vanity, hardware, and fixtures are on hand before moving forward. A clean, organized workspace makes the rest of the job go much smoother.
Mark and Align the Vanity Position
Use a pencil and level to mark where the top and sides of your vanity will sit. Check for stud placement if you’re anchoring the unit to the wall, and note where plumbing lines will enter through the back or base of the cabinet. If needed, trace and cut out holes for pipes or supply valves using a jigsaw or hole saw. Dry-fit the vanity in place to make sure everything lines up before making anything permanent. Getting the alignment right now helps avoid future issues with plumbing connections or stability.
Secure the Vanity to the Wall or Floor
Once aligned, anchor the vanity using screws into studs or drywall anchors, depending on your wall type and vanity weight. For freestanding models, securing the back to the wall with a few screws helps prevent shifting or tipping over time. Wall-mounted vanities should be installed with brackets or lag bolts, ideally hitting at least two studs for proper support. Avoid overtightening, as this can crack the frame or strip the hardware. Double-check for level before finishing this step; adjustments are easier now than later.
Connect Plumbing Fixtures
With the vanity in place, install the faucet, drain assembly, and P-trap according to the manufacturer’s instructions. Be sure all fittings are tightened by hand first, then gently snugged with a wrench; overtightening can damage seals or strip threads. Use plumber’s tape where needed to prevent leaks around threaded joints. Reconnect the water lines, open the valves slowly, and test for leaks while the water runs. Make any adjustments right away so you’re not sealing over an issue in the next step.
Seal the Edges and Check for Leaks
Run a clean, even bead of silicone caulk along the back edge where the vanity meets the wall and around the base if needed. Smooth it with a caulk tool or a damp finger for a neat finish. Let the caulk cure according to the product instructions before exposing it to moisture. While you wait, double-check underneath for any slow drips or moisture near fittings. Catching minor leaks early prevents damage and gives peace of mind that everything’s properly sealed.

Common Mistakes to Avoid
Even if you're comfortable with tools, it’s easy to miss small details that can lead to bigger issues down the line. From sloppy measuring to rushed plumbing, these common missteps are worth keeping in mind. Catching them early can save you from leaks, gaps, or worse, redoing the whole install.
Rushing Through Measurements or Leveling
Quick measurements or skipping the level check can lead to a vanity that tilts, wobbles, or has crooked doors and drawers. Even a slight slope in the wall or floor can throw off alignment and affect the plumbing fit. Taking a few extra minutes with a tape measure and level can prevent visible issues later. If you're installing next to a wall or other fixture, double-check spacing for door and drawer clearance. A clean, level start sets the tone for the entire installation.
Overtightening Plumbing Connections
It's tempting to crank down on plumbing fittings to make sure they’re tight, but overdoing it can actually cause damage. Too much force can crack plastic fittings, strip threads, or compress rubber washers, leading to slow leaks that aren’t immediately obvious. Instead, hand-tighten connections first, then give them a slight turn with a wrench—just enough to seal without stress. Watch for leaks after turning the water back on and adjust only if needed. It’s all about control, not muscle.
Skipping Proper Sealing or Waterproofing
Neglecting to seal around the vanity edges can let water seep behind the cabinet, damaging the unit and possibly the wall or floor beneath. Silicone caulk along the backsplash, sides, and base helps protect against splash zones and slow drips. This is especially important in bathrooms with kids or heavy sink use, where moisture buildup is more likely. If left unsealed, even small amounts of water can cause swelling, warping, or mold over time. A clean caulk line is a simple way to keep your vanity looking good and lasting longer.

When to Call a Professional
Some vanity installations cross the line from DIY-friendly to “best left to the experts.” If you're dealing with outdated plumbing, electrical surprises, or heavy custom builds, bringing in a professional can save time and prevent costly damage.
Hidden Plumbing or Electrical Work
If you open up the wall and find unusual pipe placements, outdated shut-off valves, or electrical lines where they shouldn’t be, it’s time to pause. These kinds of surprises can complicate even the simplest install and pose safety risks if handled incorrectly. A licensed plumber or electrician will know how to reroute or update connections without damaging nearby materials. Trying to work around it on your own could lead to leaks, code violations, or worse. When in doubt, it’s safer to let a pro handle the behind-the-wall work.
Floating or Custom-Built Vanities
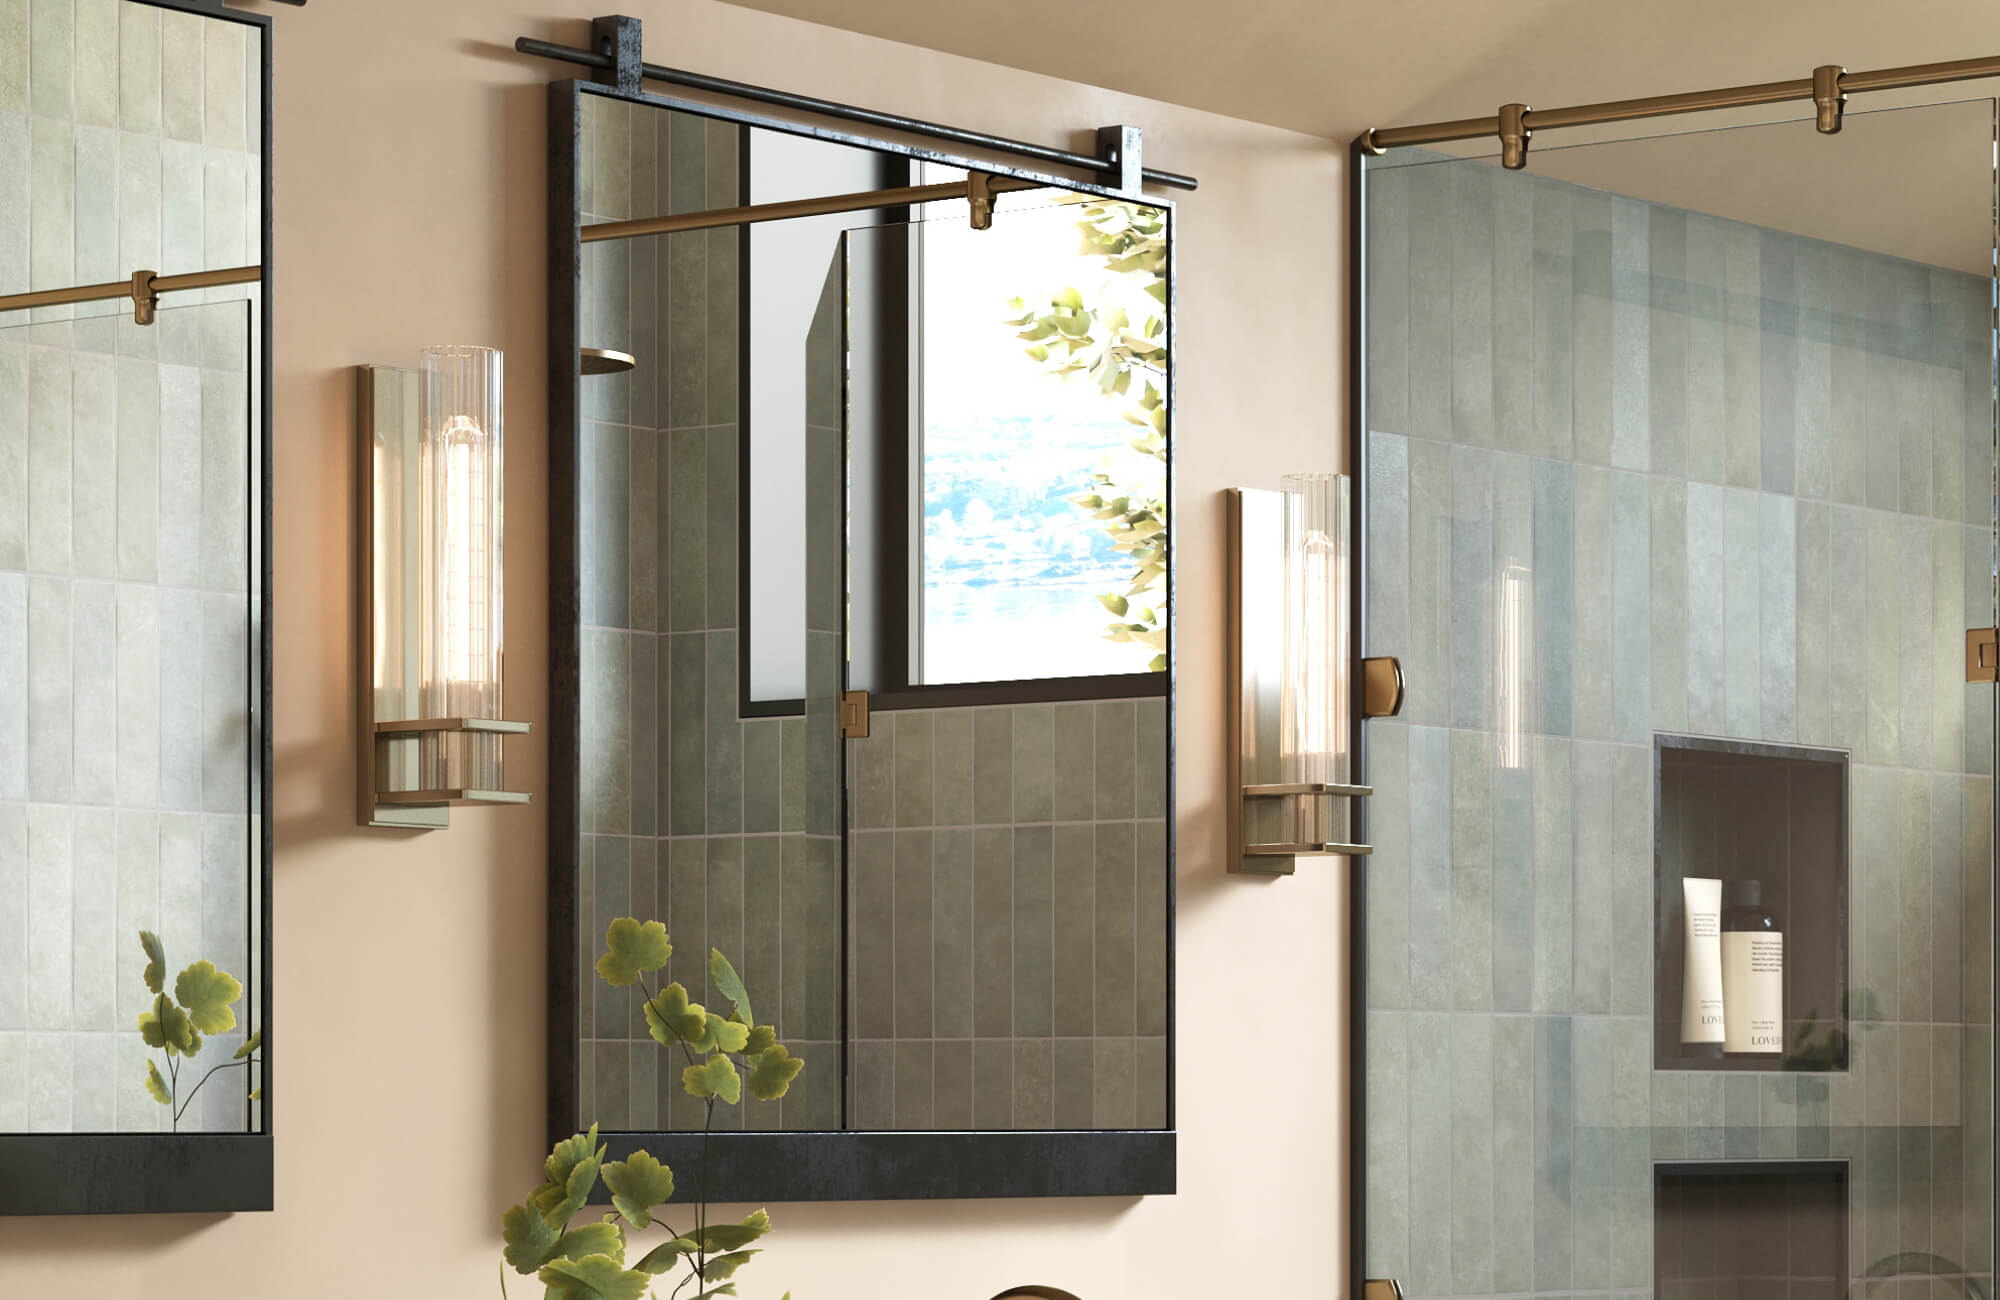
Floating, like our Royce 36" Single Vanity in Chestnut with 3 cm White Zeus Quartz Top above and custom-built vanities, often look sleek and modern, but they come with added complexity during installation. These units usually need strong wall reinforcement, precise measurements, and sometimes specialized mounting hardware. If you're not confident in locating studs or evaluating load capacity, it’s worth hiring someone who can ensure a safe, level install. Custom pieces may also involve pre-cut holes or made-to-fit specs that require careful handling to avoid damage. A professional can make sure everything lines up properly, both structurally and visually.

Final Checks Before You Call It Done
You’re almost there, but before you call it a day, take a few moments to double-check your work. Small issues can go unnoticed in the rush to finish, but a quick inspection now can prevent future leaks, wobbles, or wear. These last steps will help make sure your vanity is fully functional and ready for everyday use.
Test Water Pressure and Drain Flow
Turn on the faucet and let the water run for a minute or two while watching closely for any leaks under the sink. Check both hot and cold lines, and make sure water is flowing freely through the drain without backing up or gurgling. A slow drain might mean the trap isn’t aligned properly or there's debris inside. Also, inspect the supply lines and fittings to ensure nothing is dripping or overly tight. Addressing these now can save you from water damage or repair headaches later.
Inspect for Movement or Wobble
Give the vanity a gentle shake from side to side and front to back to check for movement. It should feel solid against the wall or floor, with no obvious shifting or squeaking. Make sure all screws or anchors are secure and that drawers or doors are opening smoothly. If the unit is freestanding, check that all legs are touching the floor evenly add a shim if needed to fix any tilt. A stable vanity looks better and lasts longer with daily use.
Clean Up and Seal Any Gaps
Before you put your tools away, take time to clean up any caulk smudges, dust, or packaging left behind. Inspect along the back edge, sides, and base for small gaps that could collect moisture or dirt, and apply fresh silicone where needed. Use a damp rag to smooth caulk lines and remove stray adhesive from the counter or backsplash. Clearing debris now keeps your vanity looking sharp and prevents buildup in hard-to-reach spots. A clean finish makes the whole install feel polished and complete.
Making Your Vanity Installation Last
Installing a bathroom vanity the right way takes more than just the basics. It’s about careful prep, smart measuring, and working with the quirks of your space, from uneven floors to tricky plumbing. Skipping small steps like sealing or leveling can lead to bigger problems down the line, so a steady, detailed approach always wins out.
Whether you’re tackling a freestanding unit or planning a wall-mounted setup, getting the design and layout right from the start makes the whole process smoother. If you’re unsure about sizing, style, or where everything should go, a quick design consultation can go a long way. We’ll help you choose the right fit, so your new vanity doesn’t just look good, it works for your space too.