


Chequered tiles bring bold geometry and visual drama to any space, but their alternating light and dark tones demand more than just occasional upkeep. These high-contrast surfaces tend to spotlight every speck of dust and trace of grime, making thoughtful, routine maintenance critical to preserving both their sharp aesthetics and structural integrity.
From ceramic and porcelain to natural stone, each tile material responds differently to moisture, cleaners, and friction. Without the right techniques, like pH-balanced solutions, soft-bristle tools, and strategic sealing, what starts as subtle wear can quickly turn into lasting damage. In this blog, we’ll break down the expert care strategies that keep chequered tiles looking crisp and clean for the long haul.

The Foundation of Effective Cleaning For Your Chequered Tiles
Before you dive into cleaning, it’s important to understand exactly what you’re working with, because not all chequered tiles are created equal. From tile composition to the condition of grout lines, a careful assessment sets the stage for cleaning that’s not only effective but also safe for the surface beneath your feet.
Identifying Tile Material
To start, chequered tiles are typically made from ceramic, porcelain, natural stone (like marble or slate), or vinyl composite tile (VCT), each requiring distinct care.
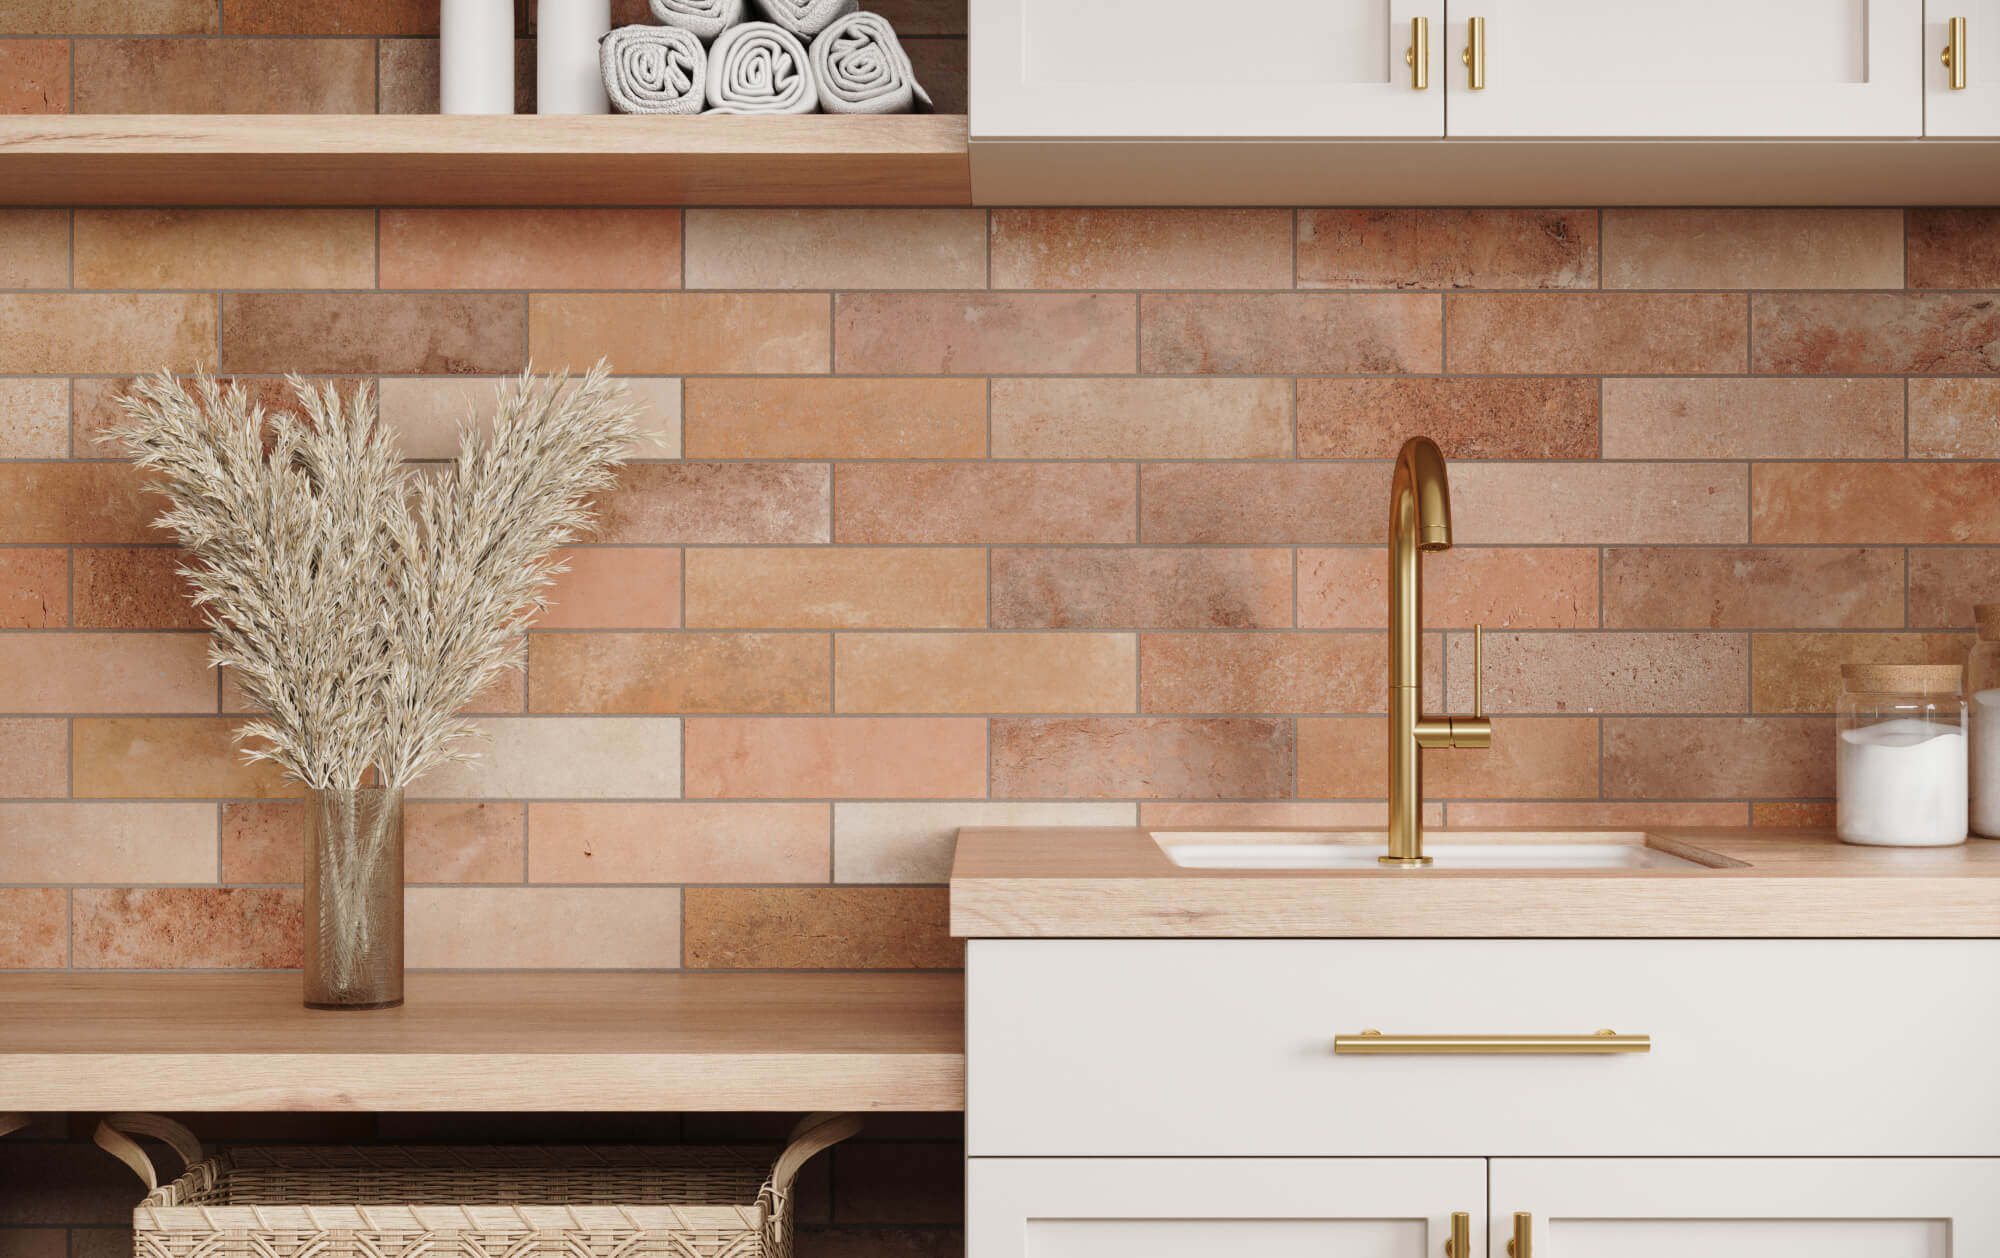
For example, porcelain and ceramic tiles, while both clay-based, differ in density and durability. Porcelain is denser and more water-resistant due to higher firing temperatures. These tiles are usually glazed, making them easier to clean with pH-neutral detergents. A practical application of this is Edward Martin’s Brody 24x24 Checkerboard Matte Porcelain Tile in Sand and Smoke, a matte-finish tile well-suited for busy areas, as illustrated in the image above with its subtle, neutral-toned contrast that adds understated depth to both traditional and modern interiors.
In contrast, natural stone tiles such as marble or slate are more porous and reactive to acidic or abrasive cleaners. Honed finishes can trap dirt, while polished ones are prone to etching and staining if not properly maintained. Meanwhile, vinyl composite tile (VCT), common in commercial settings, is highly durable but requires periodic stripping and waxing to preserve its finish.
Ultimately, identifying your tile involves visual checks, texture assessment, and in some cases, consultation with the manufacturer. This step is crucial for selecting compatible products and avoiding irreversible damage.
Assessing Tile Condition and Grout Lines
Once the material is identified, the next step is to evaluate the current condition of the tile and grout. This will guide both the intensity and frequency of your maintenance plan. Look for surface issues such as micro-scratches, dulling, or embedded grime, especially in active areas. A simple microfiber cloth test can reveal whether dirt is superficial or more deeply set.
As for grout, whether it’s cement-based or epoxy, it tends to stain or deteriorate over time. Discoloration, cracking, efflorescence, or mold are all signs of wear, particularly in moisture-prone zones like bathrooms and kitchens. In such cases, a deeper clean or even regrouting may be necessary before resuming regular maintenance.
To further simplify the process of selecting or replacing tiles, Edward Martin offers an Augmented Reality (AR) Visualization Tool. With it, you can preview tile designs directly in your space using your mobile device. And when you’re ready, ordering tile samples lets you test your selection before committing, bridging the gap between visual inspiration and real-world application.

Essential Tools and Cleaning Solutions for Chequered Tiles
Once you’ve assessed your tiles and grout, the next step is gathering the right tools and cleaners to match. After all, using the wrong brush or solution can do more harm than good, especially with materials as varied and detailed as chequered tiles.
Recommended Cleaning Tools
To begin, choosing the right tools ensures effective cleaning while protecting the tile surface. This selection should be based on your tile’s material and finish.
For routine maintenance, microfiber mops and cloths are a top choice. Their electrostatic properties attract fine dust and debris without scratching, making them ideal for glazed ceramics and polished stone. Additionally, their absorbency helps control moisture, minimizing water pooling and residue.
When it comes to grout lines and textured surfaces, soft-bristle brushes, particularly those with nylon bristles, are essential. These brushes provide thorough cleaning while remaining gentle enough for softer materials like marble.
For deeper sanitation, steam cleaners can be highly effective. They work well on porcelain and ceramic without the need for chemicals. However, avoid using them on porous natural stone, which can absorb moisture and compromise any existing sealants. To eliminate dry debris before it scratches the surface, vacuum cleaners with hard floor settings are invaluable. Opt for models with rubber wheels and adjustable brush rollers to avoid mechanical damage during cleaning.
Finally, for precision work, detailing tools such as grout scrubbers and narrow brushes are perfect for accessing tight corners and maintaining the visual clarity of checkerboard patterns. Altogether, this toolkit supports a complete cleaning routine, from daily upkeep to occasional deep cleaning.
Choosing the Right Cleaning Solutions
In addition to tools, the effectiveness of your cleaning regimen also depends on using solutions that match your tile type and finish.
To start, pH-neutral cleaners are the safest choice for most tile types, especially natural stones like marble and travertine. These cleaners gently lift dirt without damaging delicate surfaces.
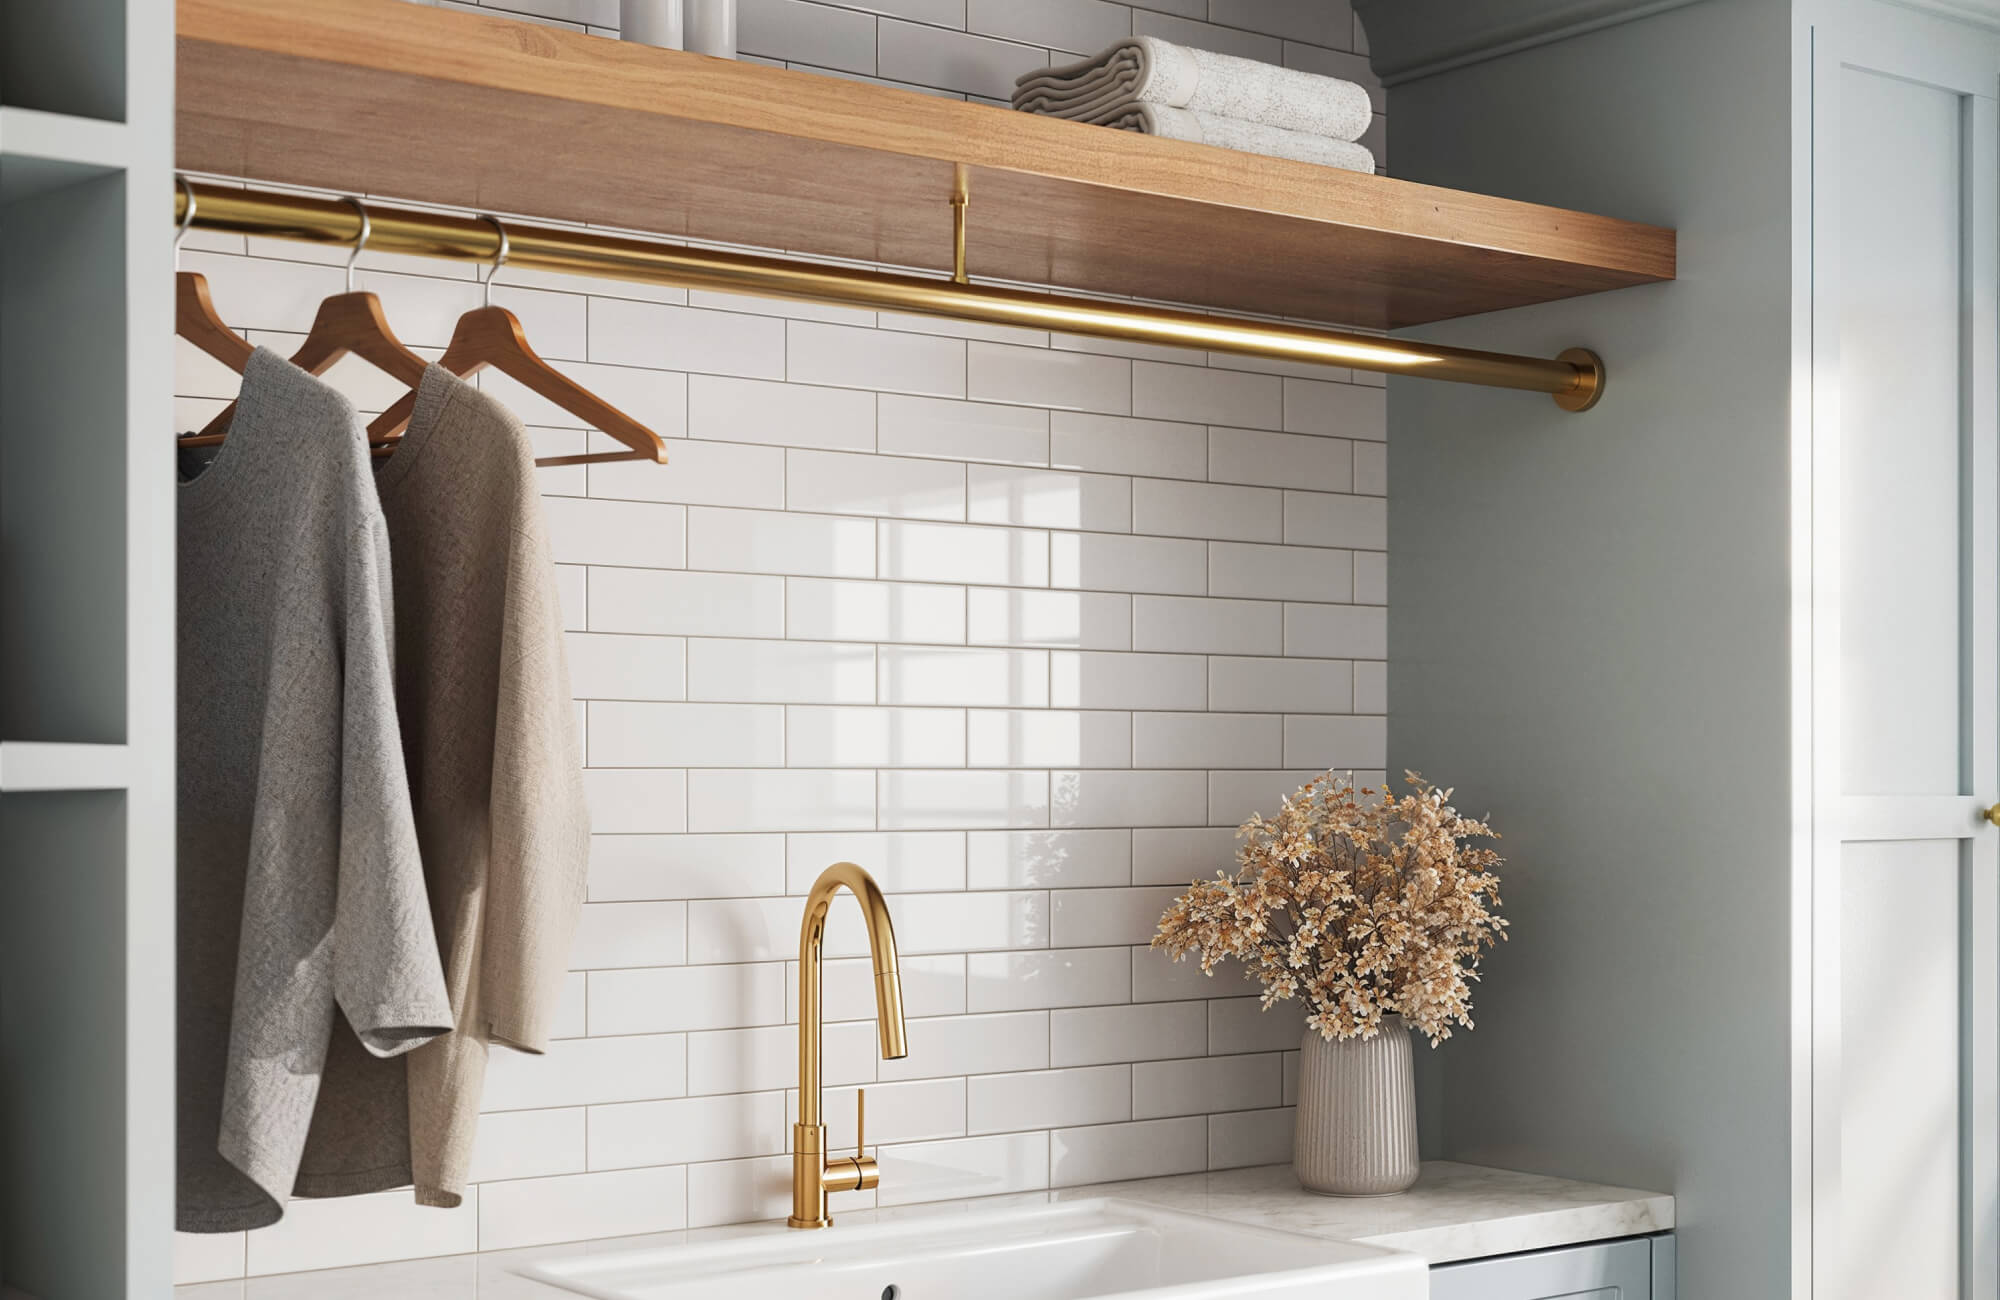
For more stubborn grime, alkaline cleaners are ideal for ceramic and porcelain. They effectively break down grease and organic buildup. For instance, Edward Martin’s Palmer 12x12 Checkerboard Raw Porcelain Tile in White and Grey benefits from this type of cleaner, though proper rinsing is essential to avoid residue. In certain cases, acidic cleaners, those containing citric or sulfamic acid, can be used to remove mineral deposits and soap scum. However, these should only be applied to non-sensitive materials like unglazed ceramic and never on calcium-based stone, which is vulnerable to etching.
When addressing grout discoloration, oxygenated bleach (hydrogen peroxide-based) provides a safer alternative to chlorine, lifting stains without harsh side effects. Moreover, for tiles that have been sealed or treated, always choose sealant-compatible products. Harsh chemicals or abrasive agents can strip away protective coatings, leaving the surface more vulnerable to moisture and staining.
As a final note, always follow manufacturer instructions and perform a spot test in a discreet area. This precaution ensures your chosen cleaner is safe and suitable for your specific tile system.

Step-by-Step Cleaning Process for Chequered Tiles
With the right tools and solutions in hand, knowing how to apply them effectively is what truly makes the difference. Whether you're tackling everyday dust or built-up grime, a thoughtful cleaning approach helps maintain the sharp contrast and lasting finish of your chequered tiles.
Routine Cleaning for Daily Maintenance
To begin with, consistent daily or weekly care prevents dirt buildup and helps preserve the distinct pattern and surface integrity of chequered tile floors.
Dry Sweep or Vacuum
Start by removing loose debris with a soft-bristle broom or a vacuum designed for hard floors. This simple step helps prevent surface scratches, particularly in high-movement areas where grit and dust accumulate quickly.
Damp Mop with pH-Neutral Solution
Next, mop the floor using a diluted pH-neutral cleaner and a microfiber mop. Avoid excessive water, especially on porous materials or unsealed grout, as it can lead to staining or microbial growth. This method is particularly well-suited for matte finishes like Edward Martin’s Leona 24x24 Checkerboard Matte Porcelain Tile in Marfil and Amani Bronze, where a subtle texture requires gentle yet thorough cleaning.
Spot Cleaning
In addition to mopping, address spills promptly using a soft cloth and a tile-appropriate cleaner. Quick action is especially important for light-colored or porous tiles to prevent deep staining.
Dry Buffing (Optional)
To finish, buff polished surfaces with a dry microfiber cloth to remove any remaining moisture and enhance shine. This extra step is particularly useful for preventing water spots on glossy finishes.
Taken together, these simple practices keep your floor looking fresh while reducing the frequency of more intensive interventions.
Deep Cleaning for Stubborn Grime and Stains
However, when regular cleaning no longer restores the tile’s original vibrancy, a deep-cleaning session is necessary to eliminate embedded grime and restore overall hygiene.
Pre-Inspection and Protection
Begin by examining the condition of both tile and grout. Before applying any cleaning agents, protect nearby surfaces, like baseboards and cabinetry, with painter’s tape or plastic sheeting.
Apply Targeted Cleaner
Then, apply a suitable cleaning solution. Use an alkaline cleaner for greasy or organic buildup. For mineral deposits, a diluted acidic solution may be appropriate, though always with caution. Allow the product to dwell for several minutes to break down stubborn residues.
Agitate with Brush or Scrubber
Following application, scrub the tile and grout using a nylon-bristle brush or a low-speed floor scrubber. Avoid abrasive tools that can scratch or damage the surface, particularly on sensitive finishes.
Rinse Thoroughly
Next, rinse the area with clean water to remove all chemical residues. You may need multiple rinses, especially after using stronger agents, to fully neutralize the surface.
Dry Completely
After rinsing, extract moisture with a wet/dry vacuum or towels. Ventilate the area thoroughly to speed drying and prevent mold or mildew, which is especially important on porous materials.
Optional: Re-Seal
As a final step, assess any previously sealed tiles or grout. If the protective layer has worn down, reapply a compatible sealer to enhance resistance against future staining and moisture intrusion.
To maintain optimal appearance and performance, deep cleaning should be scheduled every 3–6 months for residential spaces, or more frequently in commercial settings. As always, refer to your tile manufacturer’s care guidelines to ensure your methods align with recommended practices.

Protecting Your Chequered Tiles For Long-Term Maintenance
Once your tiles are clean and looking their best, the focus shifts to keeping them that way for the long haul. From sealing and surface protection to troubleshooting common issues, a few smart habits can go a long way in preserving both the style and structure of your chequered floors.
Sealing Grout and Porous Tiles
To start, porous materials like natural stone and cementitious grout tend to absorb moisture and stains, making sealing one of the most effective long-term safeguards. Penetrating sealers offer durable protection without altering the tile’s appearance or slip resistance and should be reapplied every 1–3 years, depending on footfall and environmental exposure.
In some cases, topical sealers may be used to enhance the sheen on specific ceramic or concrete tiles. However, it's important to note that these coatings tend to wear faster in busy areas and may require more frequent reapplication.
Before sealing, be sure the surface is thoroughly cleaned and completely dry. Then, apply the sealer using a foam brush for grout lines or a microfiber pad for larger tile areas, wiping away any excess to avoid hazing. As a result, a properly sealed surface is not only easier to clean but also more resistant to everyday dirt and staining.
Preventing Scratches and Damage
Beyond sealing, protecting the surface from mechanical wear is just as important. The key is minimizing friction and impact in daily use.
For example, use felt pads under furniture legs and rubber wheels on mobile pieces to prevent gouging, especially on polished or glazed finishes. In addition, placing walk-off mats at entryways traps abrasive particles before they reach your floor. Just make sure the mat backing is non-slip and non-staining.
To maintain cleanliness between cleanings, regular sweeping or vacuuming helps eliminate grit that can scratch over time. Focus especially on corners and tile transitions where debris tends to accumulate. Moreover, avoid using abrasive tools or harsh chemicals such as steel wool or acidic cleaners, which can etch or permanently damage sensitive materials like marble.
Altogether, these consistent preventive measures help maintain the clarity, integrity, and appearance of your chequered tiles.
Addressing Common Issues and Troubleshooting
Nevertheless, even with the best care, tile issues may still arise. Addressing them early is key to avoiding more extensive repairs.
One common concern is efflorescence, a white, powdery residue often seen on grout or unsealed stone. This usually indicates moisture intrusion. To resolve it, use a dedicated efflorescence remover and assess whether a new round of sealing is needed to block moisture at its source. In other cases, grout staining or mold can develop due to persistent moisture. Treat these areas with oxygenated bleach and follow up with resealing. If damage is extensive, you may need to regrout entirely.
For etching or dullness on polished stone, often caused by acidic spills, buffing with a stone-safe polish may restore its shine. If damage is deeper, professional resurfacing might be necessary. Even matte-finished porcelain tiles, like Edward Martin’s Leona 24x24 Checkerboard Matte Porcelain Tile in Calacatta and Nero Marquina, benefit from regular inspections to avoid buildup and maintain their crisp contrast, as shown in the photo above, where the bold black-and-white pairing creates a striking, high-impact visual that demands careful upkeep to retain its sharp definition.
Finally, if you notice loose or hollow tiles, this may point to substrate or adhesive failure. These tiles should be lifted, reset with appropriate mortar, and resealed to prevent further disruption. In short, regular inspection and prompt action help ensure your tile installation remains both visually appealing and structurally sound over time.
Enduring Elegance for Chequered Tiles
Ultimately, caring for chequered tiles isn’t just about keeping them clean, it’s about preserving the precision and visual rhythm that make them stand out. By understanding your tile’s material, using the right techniques, and protecting vulnerable areas like grout and natural stone, you ensure lasting beauty and performance.
Whether you're maintaining a classic checkerboard foyer or a bold kitchen statement, the right upkeep reflects thoughtful design and lasting craftsmanship. For personalized guidance or deeper maintenance support, the tile experts at Edward Martin are always ready to help.