Subway tiles may be timeless, but what you can do with them today is far from ordinary. If you’ve always pictured them in a simple white grid, it’s time to see them differently. Just by changing the layout, these classic subway tiles can shift from subtle to bold, from traditional to striking, adding personality and purpose to any room.
Whether you're renovating a bathroom, refreshing a kitchen, or designing a standout feature wall, the pattern you choose makes all the difference. In this article, we’ll explore seven creative subway tile layouts that do more than cover a surface, but also influence the mood, enhance the room’s proportions, and help bring your unique design vision to life.
Why Subway Tile Still Works
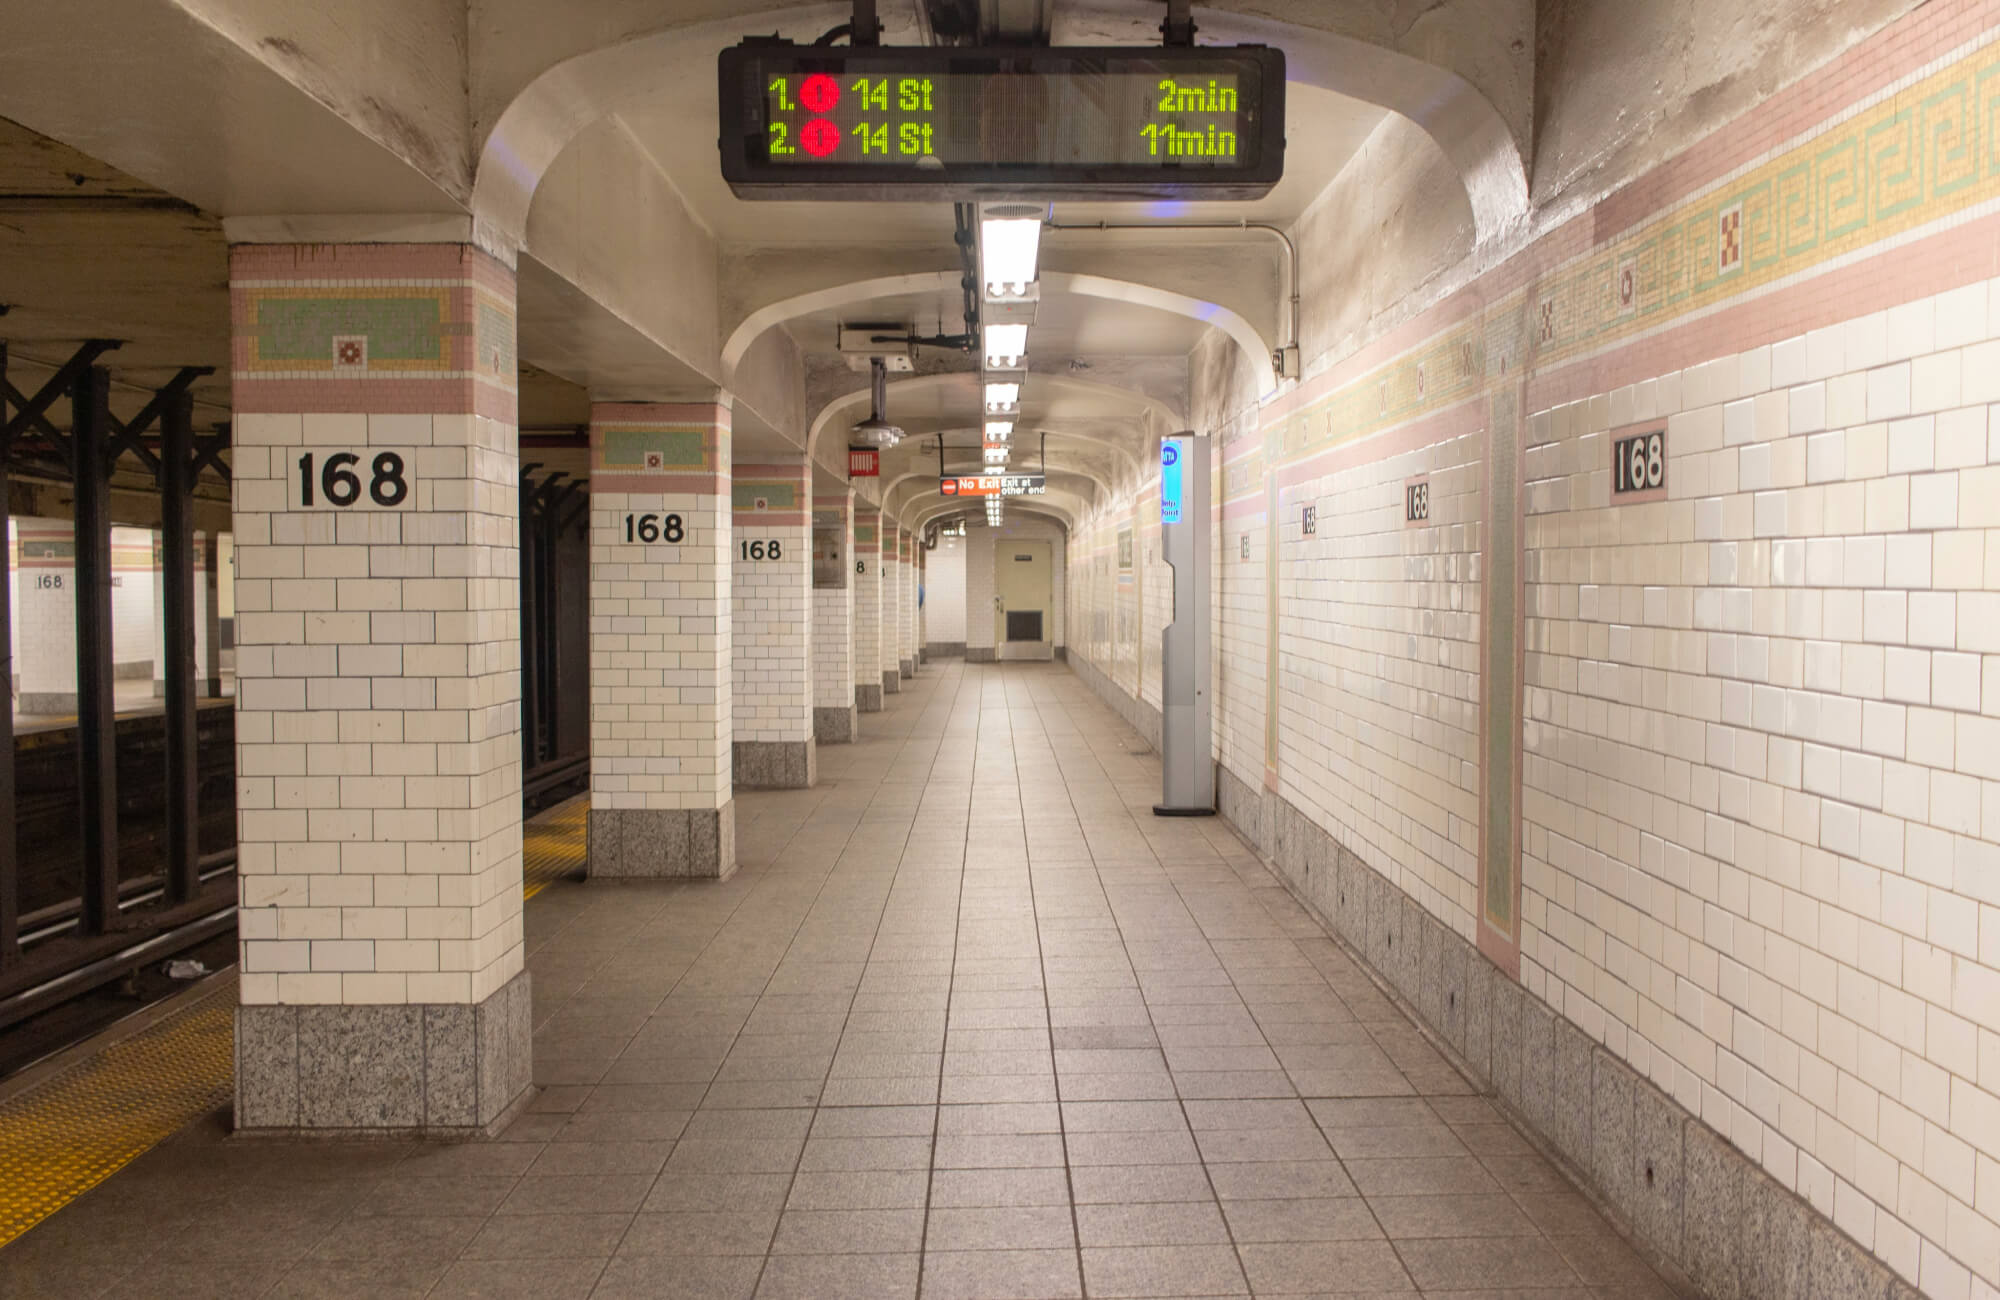
Subway tile earned its name in the early 1900s, when New York City’s subway platforms were lined with clean, white ceramic tiles. Designed for practical reasons, resisting grime, reflecting light, and staying easy to clean, they served a functional purpose in a busy urban environment. Over time, however, this unassuming tile made its way from transit tunnels into our homes, becoming a go-to choice for kitchens, bathrooms, and beyond.
So, why does subway tile still have such staying power? It’s not just nostalgia, it effortlessly connects past and present. With its classic 2:1 ratio and clean lines, it also adapts to almost any setting. Whether you lean toward sleek industrial finishes or a soft, farmhouse feel, subway tile fits right in. Offered in matte, gloss, beveled, and handmade styles, and made from materials like ceramic, porcelain, and even glass, it’s as flexible as it is stylish.
Most importantly, subway tiles give you creative control. Whether you're planning a full renovation or updating a single accent wall, you can keep things simple or go bold with color, grout, and pattern. When used thoughtfully, it doesn’t just cover a surface, but can also redefine the look and feel of the entire room.

Horizontal Patterns
Horizontal layouts are the most familiar use of subway tile, and for good reason. These patterns can bring balance, structure, and a sense of width to any space, making them especially effective in kitchens, bathrooms, and open-plan areas. Let’s explore how each variation creates its distinct visual rhythm.
Classic Running Bond
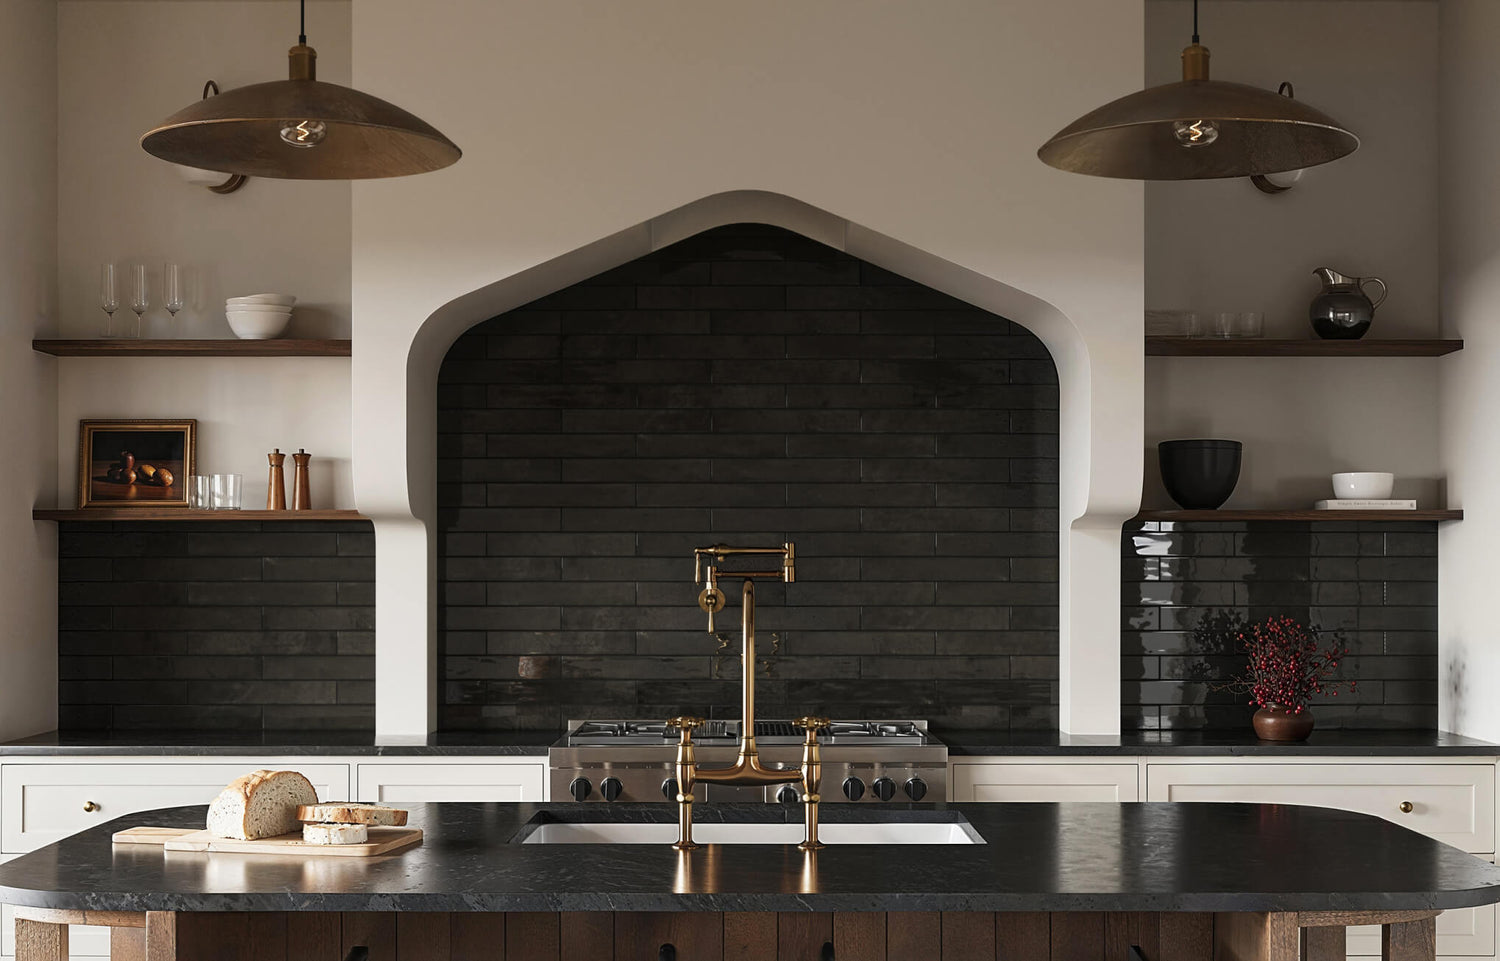
If you're drawn to timeless charm with just enough character, this is the pattern to start with. The classic running bond mirrors the staggered lines of brickwork, where each tile is offset by half the length of the one beneath it. This layout creates a natural rhythm on the wall, making it especially effective in kitchens, bathrooms, and showers where balance and familiarity matter most.
One reason it remains so popular is how forgiving it is during installation. If your wall has slight imperfections, the staggered pattern can also help conceal them, making it a smart choice for both beginners and seasoned DIYers.
For a more elevated take on this classic layout, consider using a tile that brings richness through color and finish. In the photo above, Edward Martin’s Ellie 2.5x8 Matte Ceramic Tile in Denim brings the running bond pattern to life with a deep, velvety blue that adds warmth and depth. Matte ceramic softens the overall tone, while the longer format enhances visual flow across the wall, showing how a traditional layout can feel fresh and sophisticated with the right material choice.
Horizontal Stacked Bond
Let’s shift the focus to a layout that’s sleek, structured, and distinctly modern. The horizontally stacked bond aligns all tiles evenly, both vertically and horizontally, creating a clean grid that immediately feels fresh and intentional.
This pattern is a go-to for minimalist kitchens and modern bathrooms, where simplicity is part of the appeal. It functions almost like a quiet backdrop, allowing elements like lighting, cabinetry, and fixtures to take center stage. While a classic running bond draws the eye in a zigzag motion, the stacked bond also guides it straight across, reinforcing a sense of calm and clarity.
If you're looking to inject personality without disrupting the pattern’s order, consider incorporating colored tiles or experimenting with texture. The strength of this layout lies in its restraint, which can also make it the perfect canvas for letting other design features truly stand out.

Vertical Patterns
When you want to create the illusion of height or draw the eye upward, vertical layouts are a smart design move. These patterns can bring a fresh perspective to traditional subway tile and work especially well in smaller rooms or areas with lower ceilings.
Vertical Running Bond
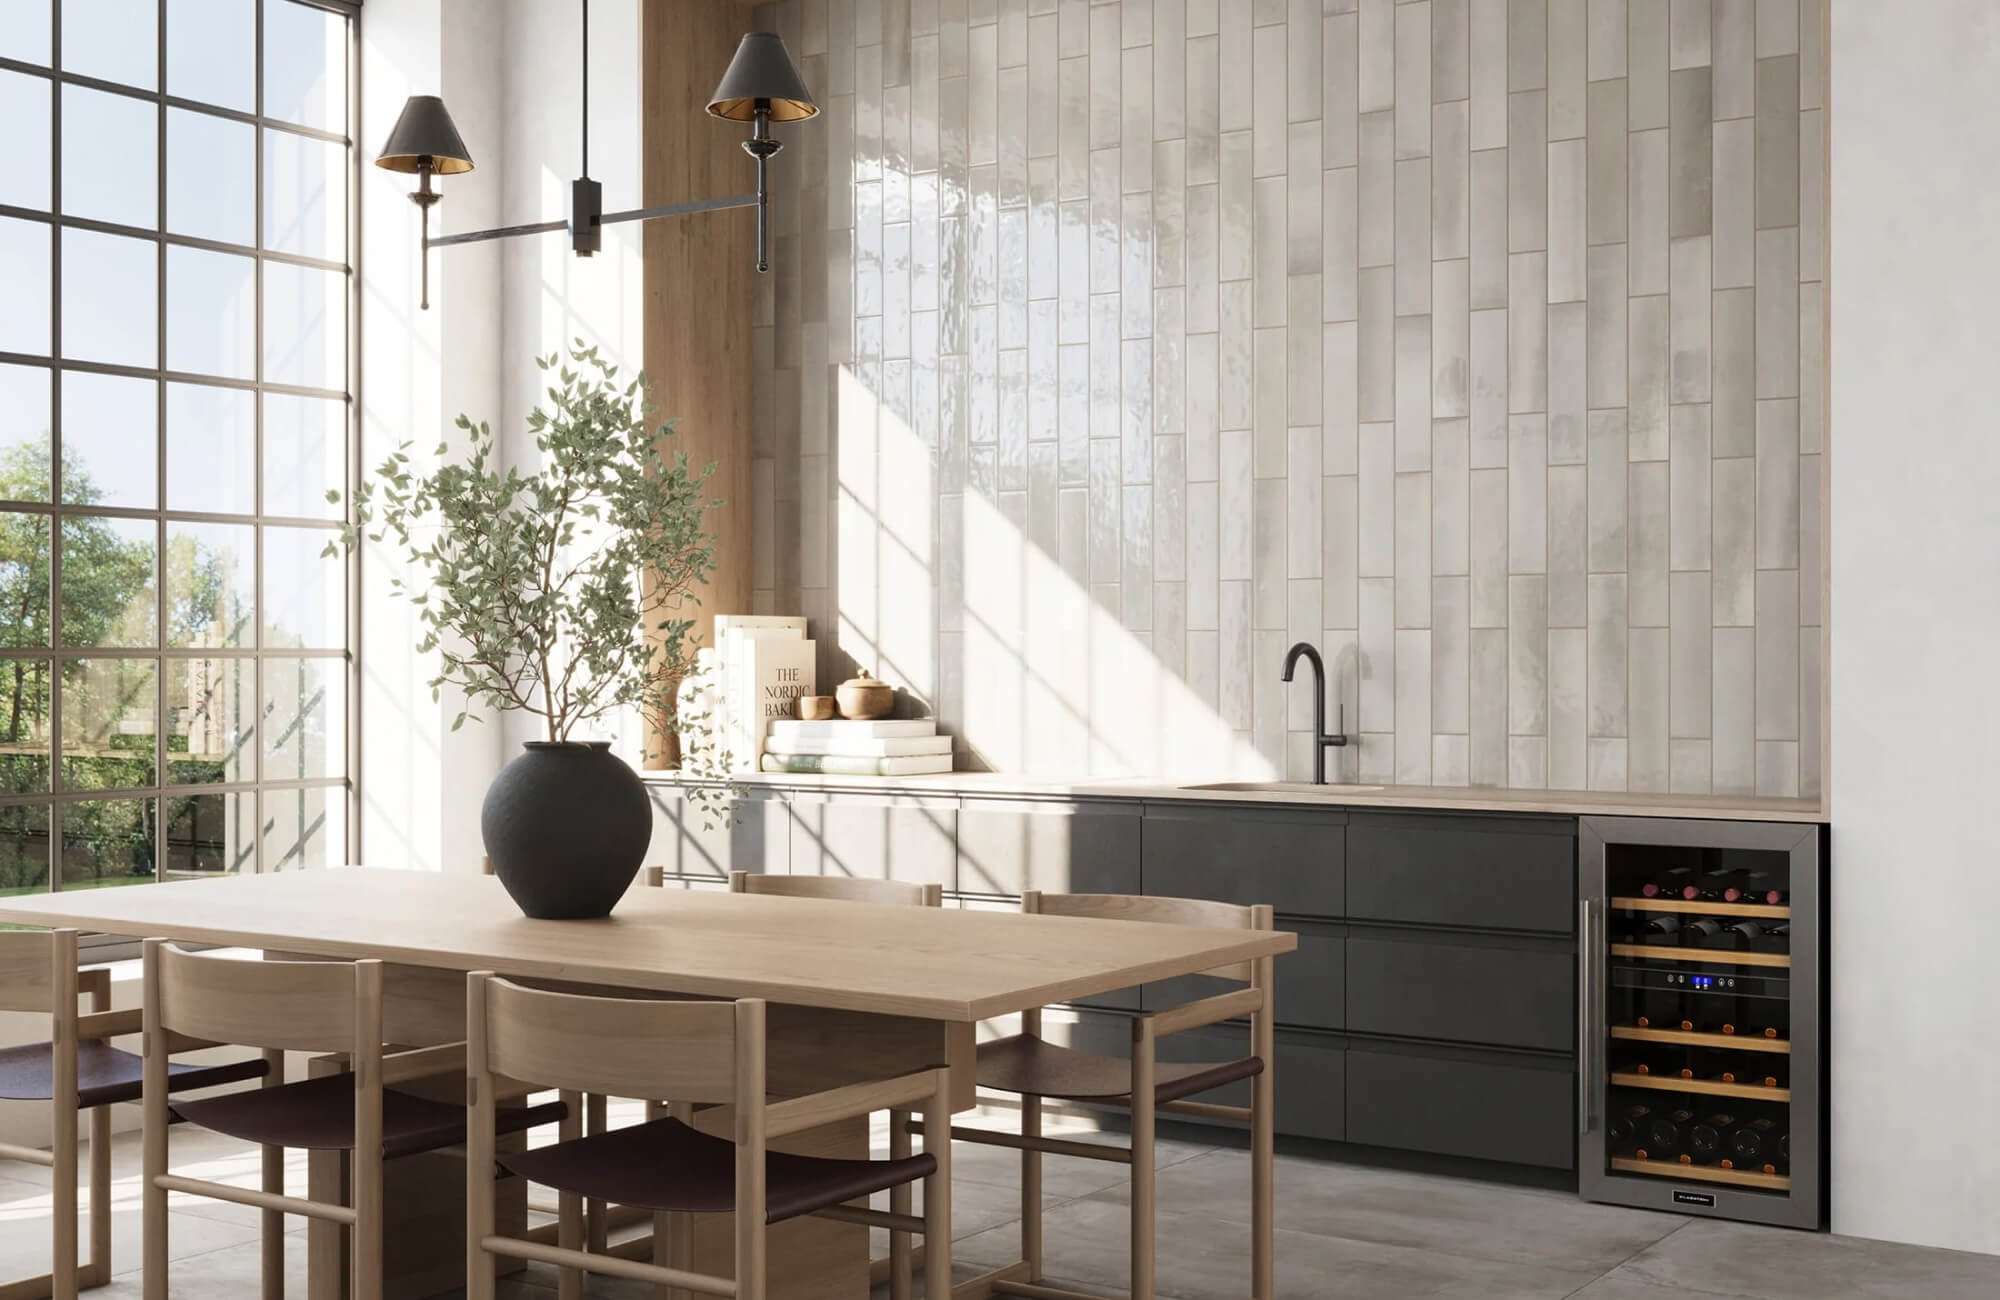
If you're trying to make a space feel taller, vertical running bond is a smart choice. By rotating the classic brick pattern vertically, you can naturally draw the eye upward, making ceilings appear higher and walls feel more open.
This layout works particularly well in walk-in showers, galley kitchens, or any area that could benefit from a sense of added height. It becomes even more effective when installed floor to ceiling, creating a continuous line that visually elongates the space. To enhance this effect, consider pairing vertical subway tiles with grounded materials like wood look or slate flooring. The contrast between vertical movement and solid foundation can also bring balance, dimension, and a thoughtful finish to the room.
Vertical Offset Bond
If you’re drawn to the clean, structured look of vertical subway tile but want something with a more personalized touch, vertical offset bond is a refined and visually engaging alternative. In this layout, subway tiles are stacked vertically, but rather than aligning by halves, they’re staggered by a third or even a quarter of a tile. This slight shift alters the rhythm just enough to create a fresh sense of movement.
What sets this pattern apart is its ability to add depth and interest without overwhelming the room. It introduces gentle variation that breaks up the rigidity of uniform lines, making it especially well-suited for accent walls, compact bathrooms, or narrow architectural features. Additionally, the off-center staggering creates a soft, ripple-like flow that naturally draws the eye upward. When applied in niches or backsplash areas, it can also provide a subtle architectural element that feels intentional and well-balanced, adding character without visual clutter.
Vertical Stacked Bond
For those who gravitate toward symmetry and clean structure, vertical stacked bond delivers a striking and modern aesthetic. In this layout, slender rectangular tiles are arranged in neat, vertical columns that run from floor to ceiling. The result is a sharp, geometric rhythm that feels both deliberate and visually expansive.
This configuration thrives in spaces where clarity and simplicity are key. It works beautifully on open shower walls, vanity backsplashes, or anywhere you want a contemporary feature with a strong architectural presence. To keep the lines crisp and intentional, many designers finish the top edge with a horizontal trim tile, creating a polished frame that ties everything together. Smaller format tiles can enhance the vertical lift even more, especially when aligned with precision.
A perfect example of this approach is shown in the photo above, where Edward Martin’s Teagan 3x12 Glossy Ceramic Tile in Moss brings a refreshing, refined energy to the shower space. The rich green tone adds warmth and depth, while the glossy finish reflects light subtly across the tiled surface. Together, the color, scale, and layout create a serene, high-end look that’s clean yet far from plain.

Herringbone Styles
When you want to introduce movement and texture to your space, herringbone patterns offer a bold yet refined solution. These layouts use angled subway tile placement to create an eye-catching direction and flow, turning any wall or floor into a design feature with personality.
45-Degree Herringbone
If you want your backsplash or feature wall to feel like a piece of art, the 45-degree herringbone layout is a bold and sophisticated choice. Each subway tile is set at a 45-degree angle, creating sharp, V-shaped intersections that evoke the elegance of fishbone patterns. The result is a surface full of movement, drawing the eye across the wall in rhythmic, angular flow.
In addition, it adds unmistakable energy to a room and is especially effective in spaces where you want a focal point, above a vanity, behind a range, or as a statement shower wall. While it requires more planning and precision during installation, the visual payoff is worth every detail. You can also tailor the look with your choice of grout; a soft match enhances flow, while subtle contrast highlights the pattern’s dynamic peaks and valleys.
In the space above, Edward Martin’s Harley 3x12 Polished Porcelain Tile in Greige brings the 45-degree herringbone to life with soft, wood-inspired tones that feel calm yet elevated. Polished porcelain reflects just enough light to add depth without overpowering the room, while the warm greige color blends beautifully into modern and natural design palettes. It’s a stunning example of how a classic pattern can deliver artistic impact with quiet sophistication.
90-Degree Herringbone
Not every space needs to make a bold statement. Sometimes, the most elegant designs come from subtle detail, and that’s exactly where the 90-degree herringbone shines. Unlike its angled counterpart, this layout arranges tiles at right angles, creating a gentle zigzag effect with a more structured, understated feel.
It’s particularly well-suited to traditional and transitional spaces, where you want to introduce texture and movement without disrupting the room’s balance. We often suggest this pattern for floors, smaller backsplashes, or fireplace surrounds, where it adds visual interest in a quiet, intentional way. For a seamless look, consider using grout in a similar tone to the tile. This can also soften the contrast and let the pattern enhance the space without overpowering it.
Grout as a Design Tool
Grout might seem like a minor detail, but it also plays a powerful role in shaping the overall look of any tiled space. The color you choose can either quietly blend the tiles into a seamless surface or make each one stand out with striking clarity. If you’re going for a soft, continuous feel, where the pattern supports the design without stealing the spotlight, matching your grout to your subway tile is the way to go. This approach works especially well with stacked layouts or 90-degree herringbone patterns, where clean lines and symmetry are essential.
On the other hand, contrasting grout can dramatically change the character of a subway tile pattern. If your goal is to emphasize the layout, using a grout color that stands out against the tile will define each shape and add strong visual rhythm. This effect is particularly effective in running bonds and diagonal herringbone designs, where every angle and edge adds to the overall impact.
In spaces that mix materials, tones, or finishes, grout can also act as a quiet unifier. It can subtly tie everything together, creating a sense of cohesion without drawing too much attention, proving that even the smallest design choices can make a big difference.
Pro Tips for a Seamless Look
Now let’s get into the finer details, the small choices that can elevate a subway tile project from simply complete to thoughtfully designed. Start with tile size. Larger subway tiles, like 4x12 or 6x12, can create a more expansive feel, making them a great fit for wide walls or open-concept spaces. In contrast, traditional 3x6 subway tiles offer a timeless, compact look and tend to be easier to work with in tighter or more intricate areas.
To introduce depth and personality, consider mixing textures. For example, glossy subway tile paired with matte flooring creates a sophisticated contrast without overwhelming the space. This layering adds subtle dimension while maintaining visual harmony. Trim pieces are another detail worth planning, they’re more than just decorative. A well-placed trim also provides a clean, polished edge that helps define the space with intention.
As you begin planning, one of the most helpful tools you can use is augmented reality (AR). Our AR feature allows you to visualize different subway tile styles and layouts directly in your space, before any tile is installed. It’s an easy way to explore how size, orientation, and color interact with your lighting and layout, helping you feel confident in your choices from the beginning.
Finally, it’s important to know when to go the DIY route and when to bring in a professional. Simple layouts like stacked or running bond can be handled with a bit of patience and careful planning. But if you’re tackling something more intricate, like a 45-degree herringbone, professional help can make all the difference. It not only saves time and material, but also ensures your vision comes to life with precision and polish.
Bringing Your Subway Tile Vision to Life
Subway tile offers more than timeless appeal, it’s a flexible design tool that lets you shape the mood and flow of any space. From classic running bond to bold herringbone and modern stacked layouts, each pattern brings its personality and purpose. With the right grout, textures, and layout, you can elevate everyday surfaces into thoughtful design statements. Whether you're keeping it simple or going for high impact, these seven pattern ideas give you a strong foundation to start from. With a clear vision and the right tools, your subway tile project can feel as custom as your space deserves.
Have questions about which pattern suits your space best? We're here to help. Whether you need design advice, product recommendations, or just want to see samples in person, our team is happy to guide you. Reach out anytime, we’d love to help bring your vision to life!
Frequently Asked Questions
As you explore different subway tile patterns, it’s natural to have a few questions along the way. From choosing the right layout to deciding how bold or subtle to go, the details can make all the difference. Below, we’ve answered some of the most common questions to help you plan your project with clarity and confidence.
1. Can subway tile patterns work in spaces beyond kitchens and bathrooms?
Definitely, while these patterns are a go-to in wet areas, they can also bring style and structure to laundry rooms, entryways, fireplaces, and even living room feature walls. The right layout can add depth and texture to almost any part of your home.
2. Does the material of subway tile affect which patterns work best?
Yes. Heavier materials like stone or thicker porcelain may be better suited for simpler patterns, such as stacked or running bond, while lighter ceramic or glass tiles are often easier to use in intricate layouts like herringbone or basketweave.
3. How do different subway tile patterns affect grout maintenance?
Patterns with more grout lines, like herringbone, can require a bit more upkeep over time, especially in busy areas. Choosing a darker or stain-resistant grout color can help reduce visible wear while still complementing your chosen layout.
4. Can you combine more than one subway tile pattern in a single room?
Yes, and it can look fantastic when done intentionally. For example, you might use a vertical stacked pattern in a shower niche and a running bond on the surrounding walls. Just keep your color palette and scale consistent to maintain visual harmony.
5. How to choose the right pattern for subway tile size?
Tile dimensions can influence how a pattern feels in a space. Longer subway tiles, like 3x12 or 4x16, work beautifully in herringbone or vertical stacked layouts, adding a sense of flow and height. Shorter subway tiles, more traditional sizes like 3x6, lend themselves well to classic running bond or horizontal stacked designs where tight rhythm and balance matter.


